Edit
how to
How to Store Dehydrated Food for Long Term Storage
Posted under: how to, Food Preservation
Posted under: how to, Food Preservation
Did you know that some dehydrated foods can last up to 25 years when stored properly? While that is true, I personally try to eat my dehydrated foods within about five years for maximum nutrition, texture, and taste.
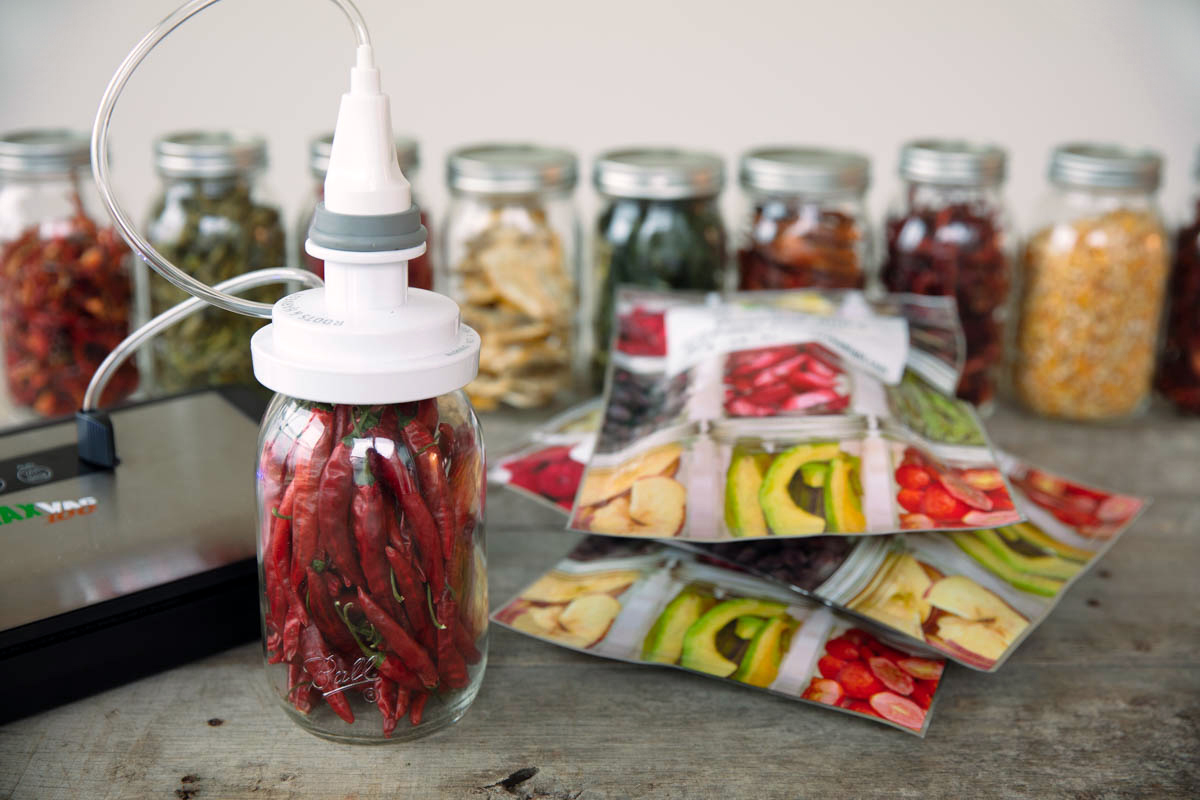
There are a few ways you can store dehydrated foods to extend the shelf life. The first is by using a mason jar, canning lid, and a canning jar sealing kit. The second is by using mylar bags with oxygen absorbers. Both are effective but based on how you use your dehydrated food you may like one over the other. Below, I explain pros and cons of both these options and how to use them.
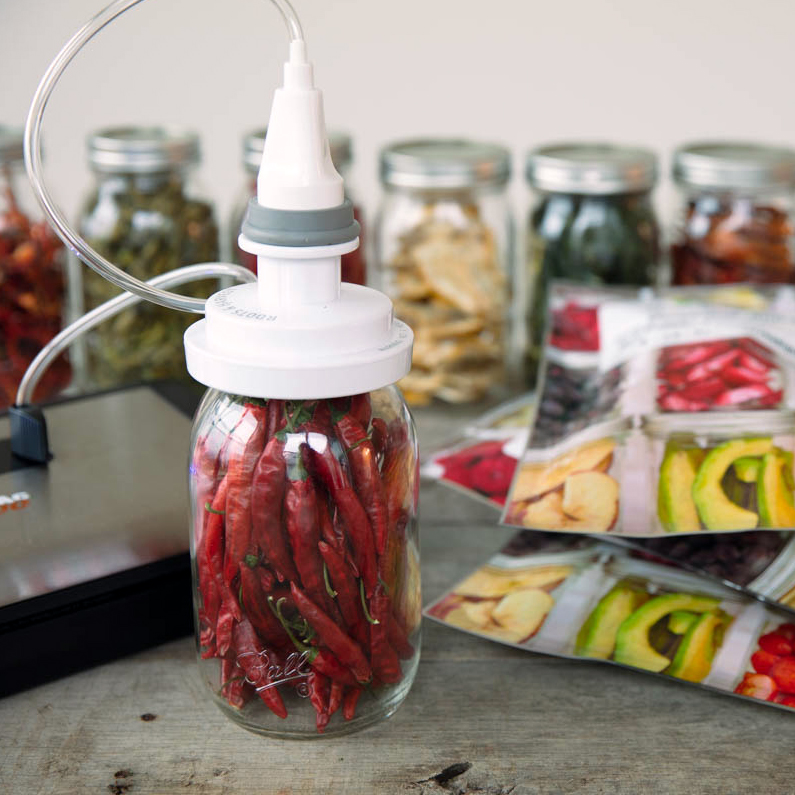
The canning jar sealing kit, in conjunction with a vacuum sealer, removes the air out of the jar and seals it. The main benefit of this method is it eliminates the need for oxygen absorbers and the jar can be easily resealed after each opening.
If you use your dehydrated food often and want to be able remove the oxygen and reseal it after each use, the canning jar sealer kit is a great option! The other benefit is that you have visibility into the mason jars and can see if the food still looks good. But keep in mind the clear mason jars can also have a detrimental effect on the food if left in light. They are best kept in a dark, cool area for maximum storage life.
The process of vacuum sealing a jar is made simple by the canning jar sealer. To begin, wash and dry your jars. Ensure the jars are completely dry before filling.
Next fill your jars with the dehydrated food you would like to use. Allow at least one inch of headspace. After filling, hook up the external hose attachment to the port on your vacuum sealer and press it in firmly.
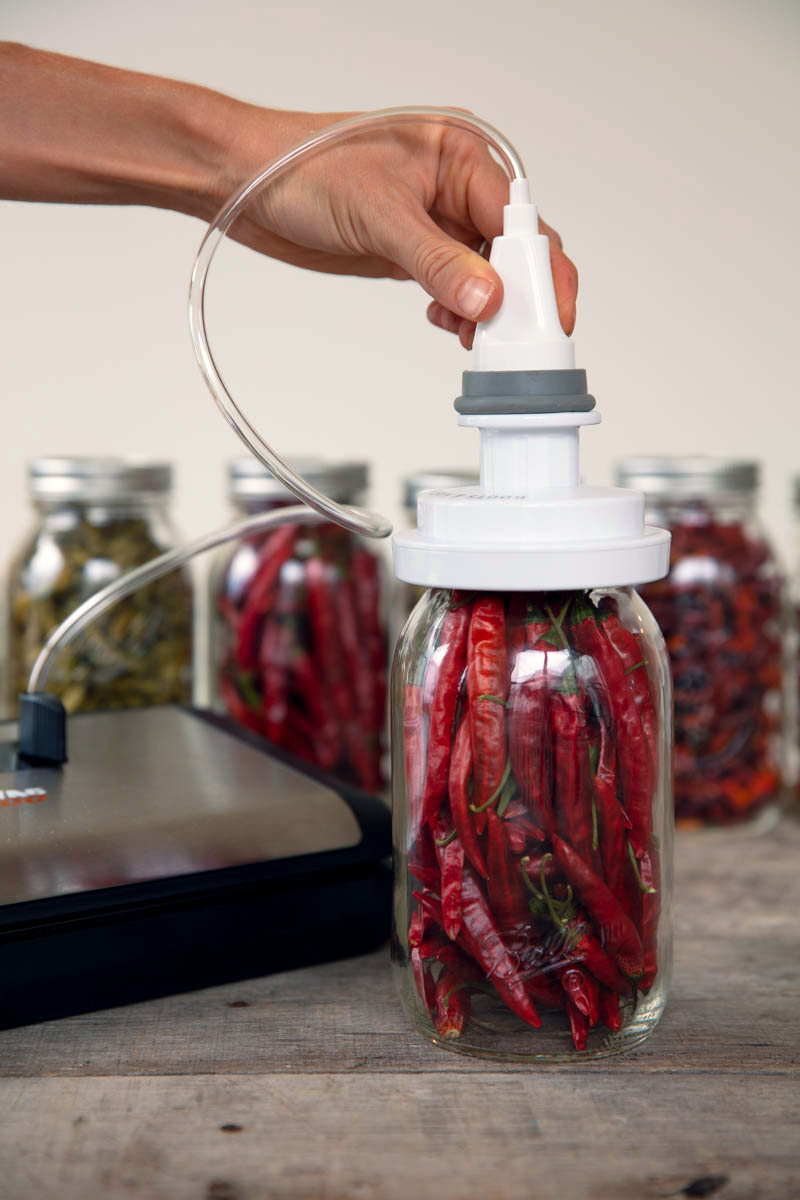
Add a canning lid to the jar with the dehydrated food, do not screw on a band over the lid at this point. Instead, cover just the lid with the sealer. Finally, place the available end of the vacuum external hose over the top of the canning jar sealer.
Press the canister function on the vacuum sealer. It will stop vacuuming when it is complete. The hose will be suctioned onto the jar sealer, this is good! Just give it a little tug and it will come right off. Finally, remove the jar sealer. The canning lid remains in place and will be firmly attached to the jar when done correctly.
Adding a band around the canning lid can be done at this point if desired.
Store jars in a dark, cool area.
*Please note that the canning jar sealer is not intended to be a substitute for heat canning.
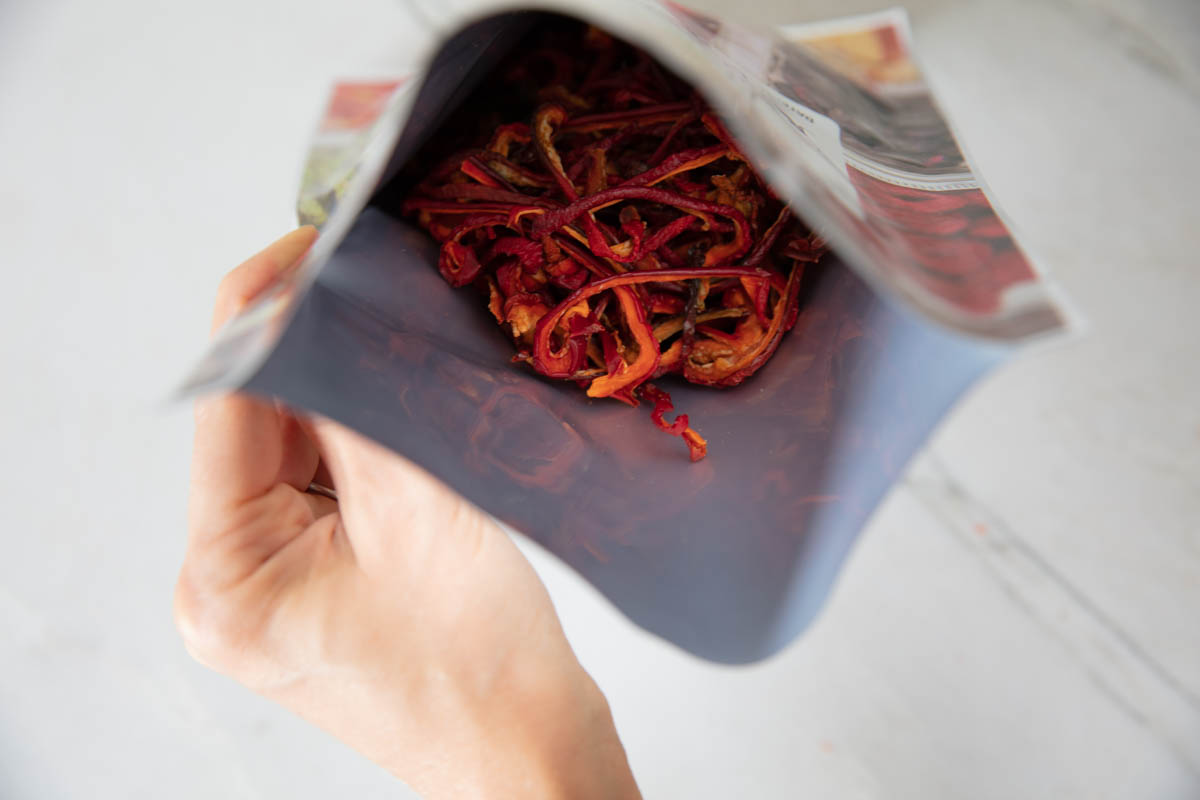
Another way you can store dehydrated food for long term storage is with mylar bags and oxygen absorbers.
Mylar bags are great for keeping out light, odors, oxygen, and moisture. Even though they are puncture resistant, they are not rodent proof. Storing the mylar bags in a bucket or other sealed rodent proof container will eliminate this problem.
Because of their ability to protect food from the environment around it, they are an excellent choice for long term storage.
The one downside of mylar bags is that they take a little more effort to be resealed if you don’t use all the dehydrated food immediately after opening. To reseal a mylar bag you’ll need enough space at the top to reseal and you’ll need to add a brand new oxygen absorber.
The process of storing in a mylar bag entails filling the bag with dehydrated food, leaving a few inches at the top. Add in an oxygen absorber that is appropriate for the size bag you are using. One 300cc oxygen absorber is the correct amount for a half gallon or gallon size mylar bag.
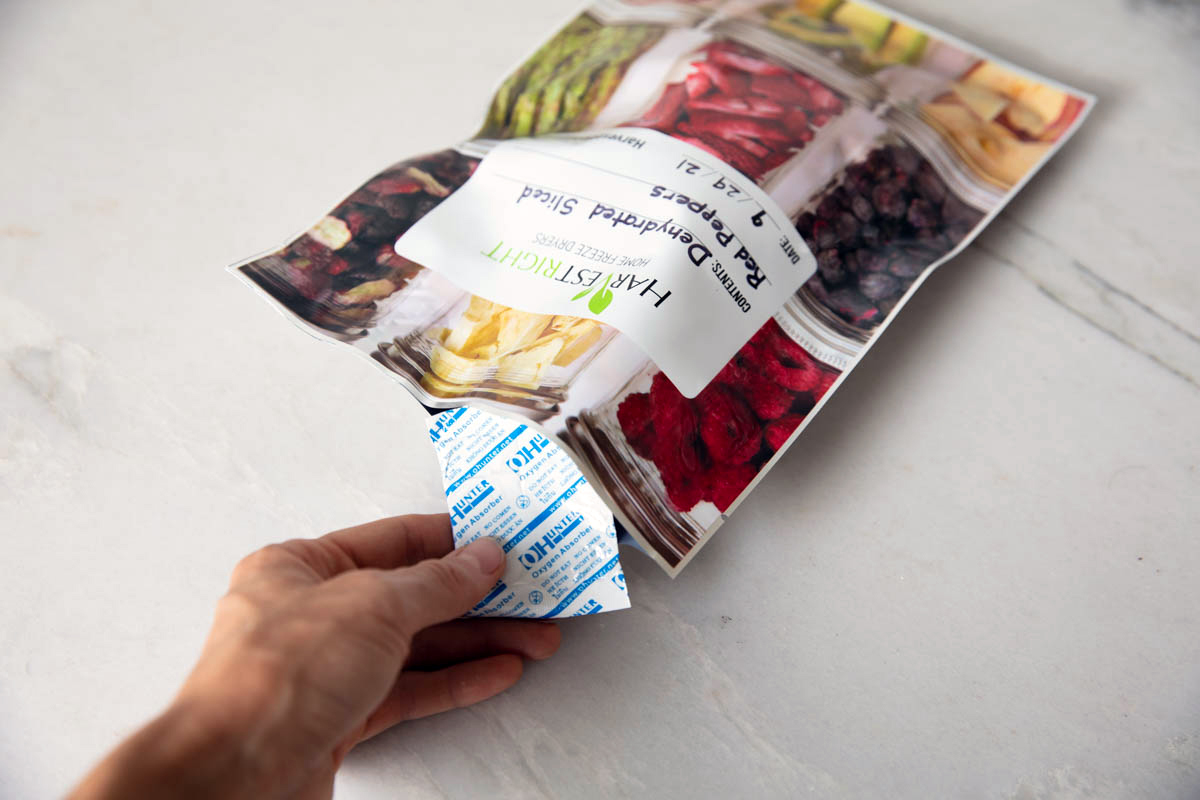
Press the open end of the mylar bag together and seal immediately. The mylar bag easily seals when heat is applied. Use an iron, flat iron, or impulse heat sealer to seal the open edge. Label and store in a rodent proof container.
A little tip: If I use an iron to seal the mylar bags, I seal most of the bag first and then leave only enough space for the oxygen absorber inside the bag. After adding the oxygen absorber, I seal the rest. This speeds up the process and helps the oxygen absorber spend less time exposed to air. If you are using an impulse sealer, this tip wouldn’t be necessary since it seals all at once and very fast.
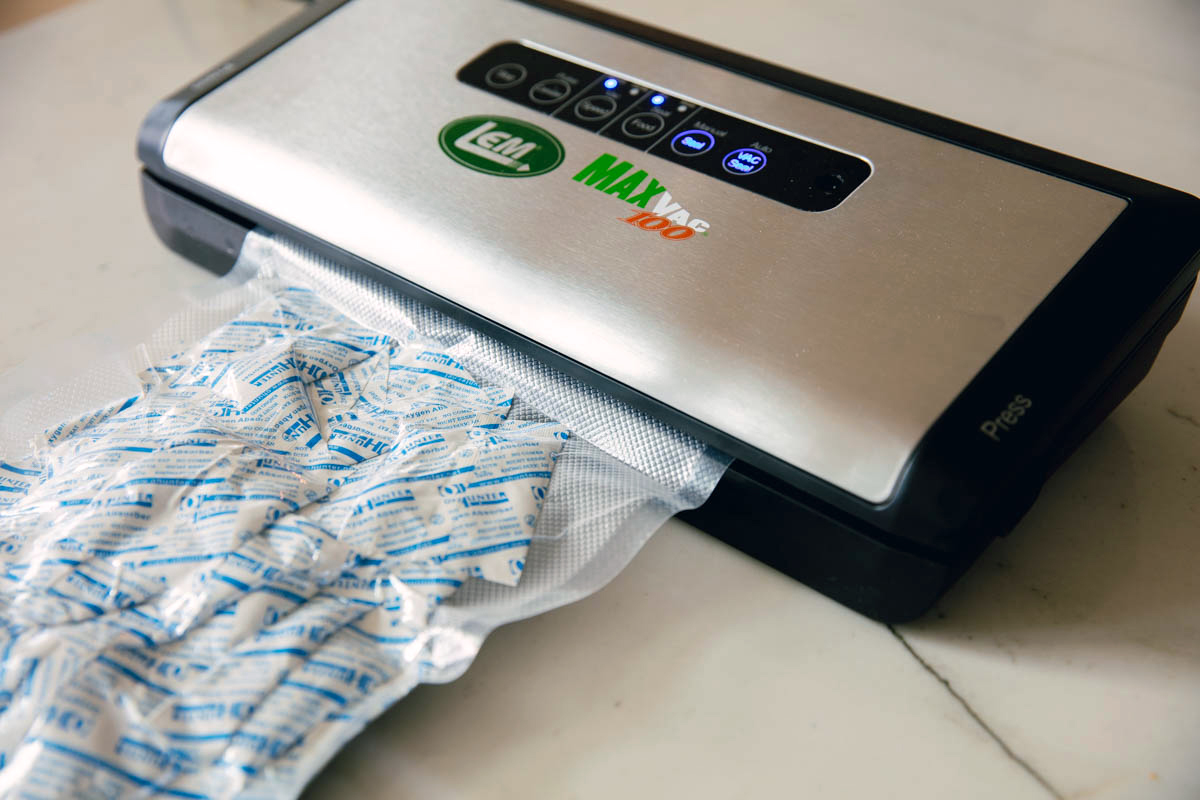
Another tip: After using the amount of oxygen absorbers you’d like, reseal them immediately in a vacuum seal bag with your vacuum sealer. They will stay fresh for multiple uses.
 Becky Porter is the writer and content creator behind The Seasonal Homestead. She is passionate about gardening, preserving, and self-sufficiency. Becky is also a professional artist and uses her artistic background in her homestead work. She, along with her husband and four children, homestead on a 52 acres in Arkansas, where deciding what seeds to grow or what farm animals to add is an almost daily topic of conversation.
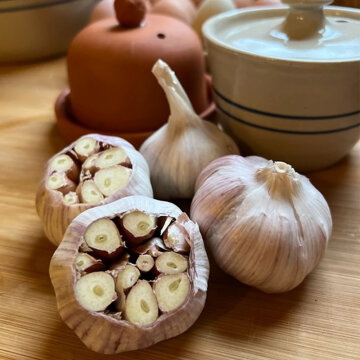
In honor of National Garlic Day, here are 3 different ways I use garlic on my homestead!
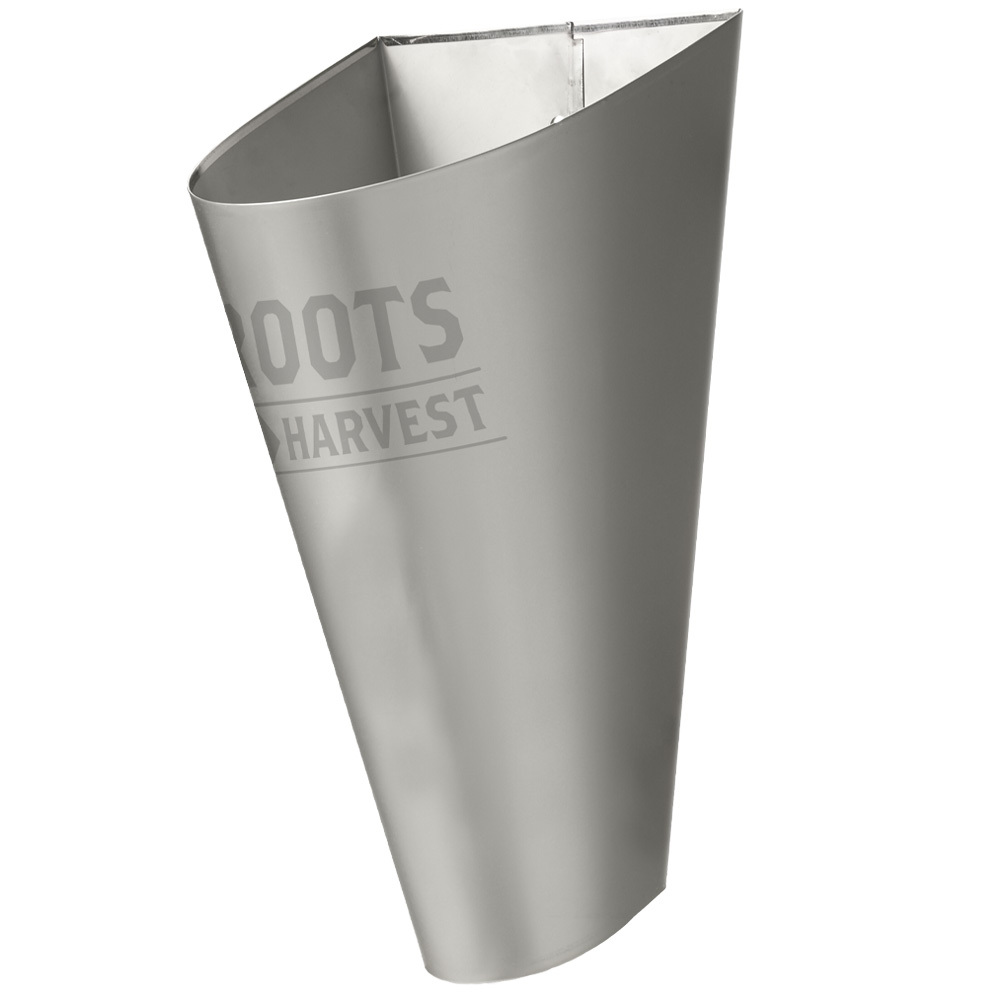
If you raise a large number of meat birds and/or plan to raise birds for a number of years, you’ll...
Our poultry shears have heavy-duty, super-sturdy blades that readily cut through cartilage, joints, and bones.