MAKE YOUR OWN KOMBUCHA
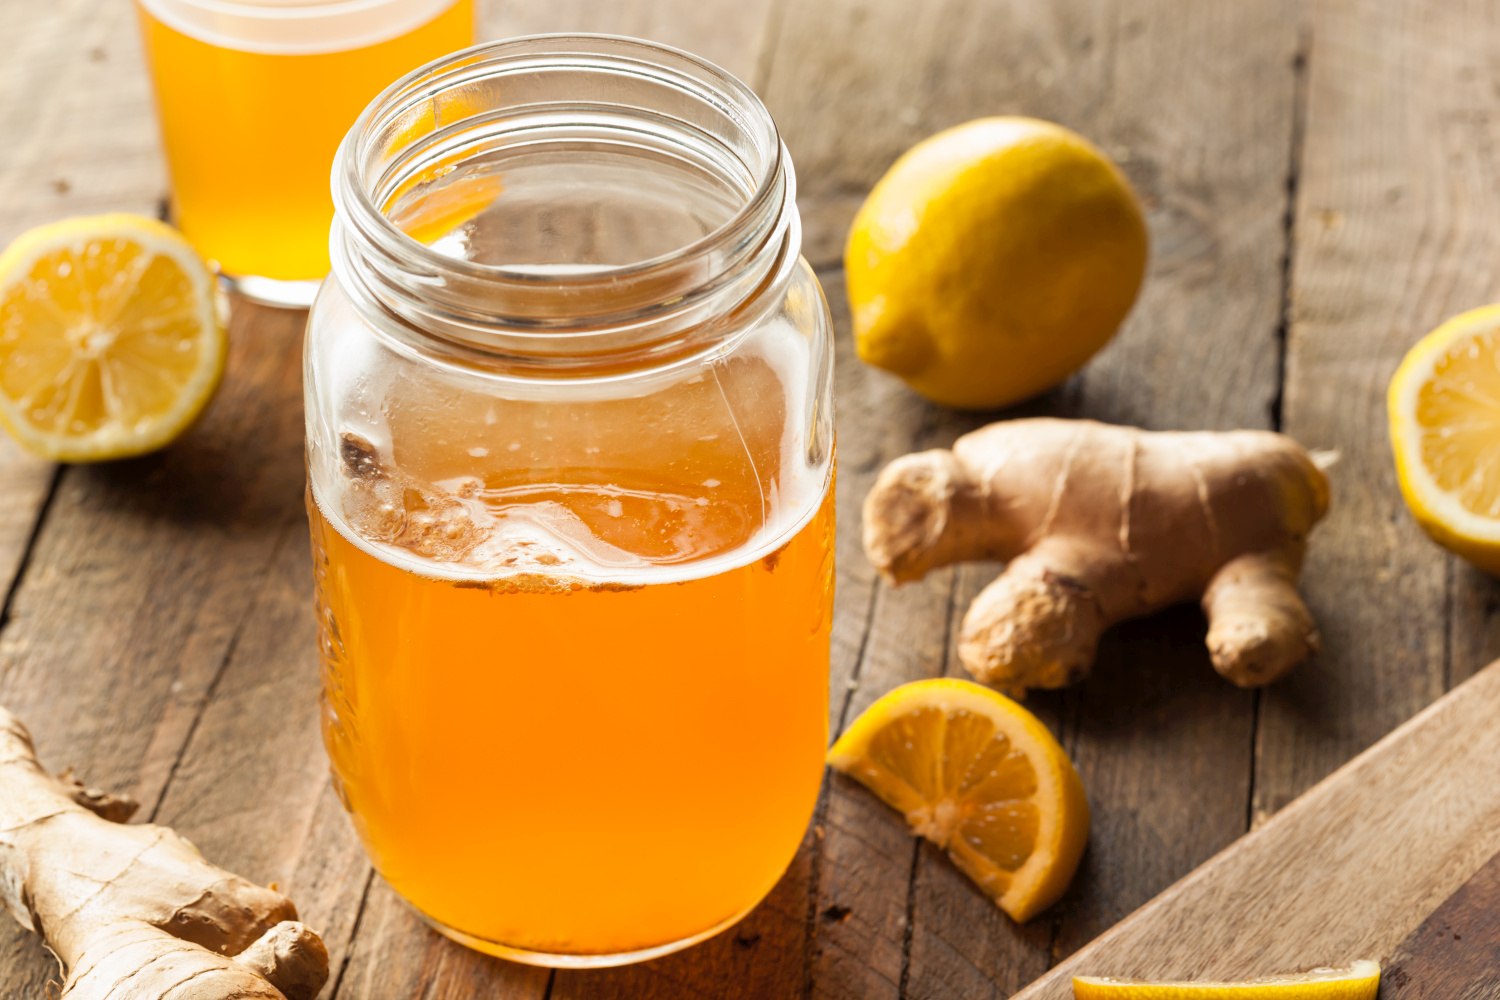 Kombucha is surprisingly easy to make. If you are just getting started brewing your own Kombucha or you are trying something new with your homemade Kombucha, we have the tips and tricks to help make the process effortless. What is Kombucha? Kombucha is an effervescent, slightly tart, slightly sweet fermented tea that has been consumed for thousands of years. It is known for its tangy, fizzy flavor and believed to have many health benefits including digestion, inflammation, and immunity. Kombucha is made from a base of sweet tea, which is then fermented and transformed into an effervescent, probiotic drink. How does it all happen? It all starts with the SCOBY.
THE SCOBY
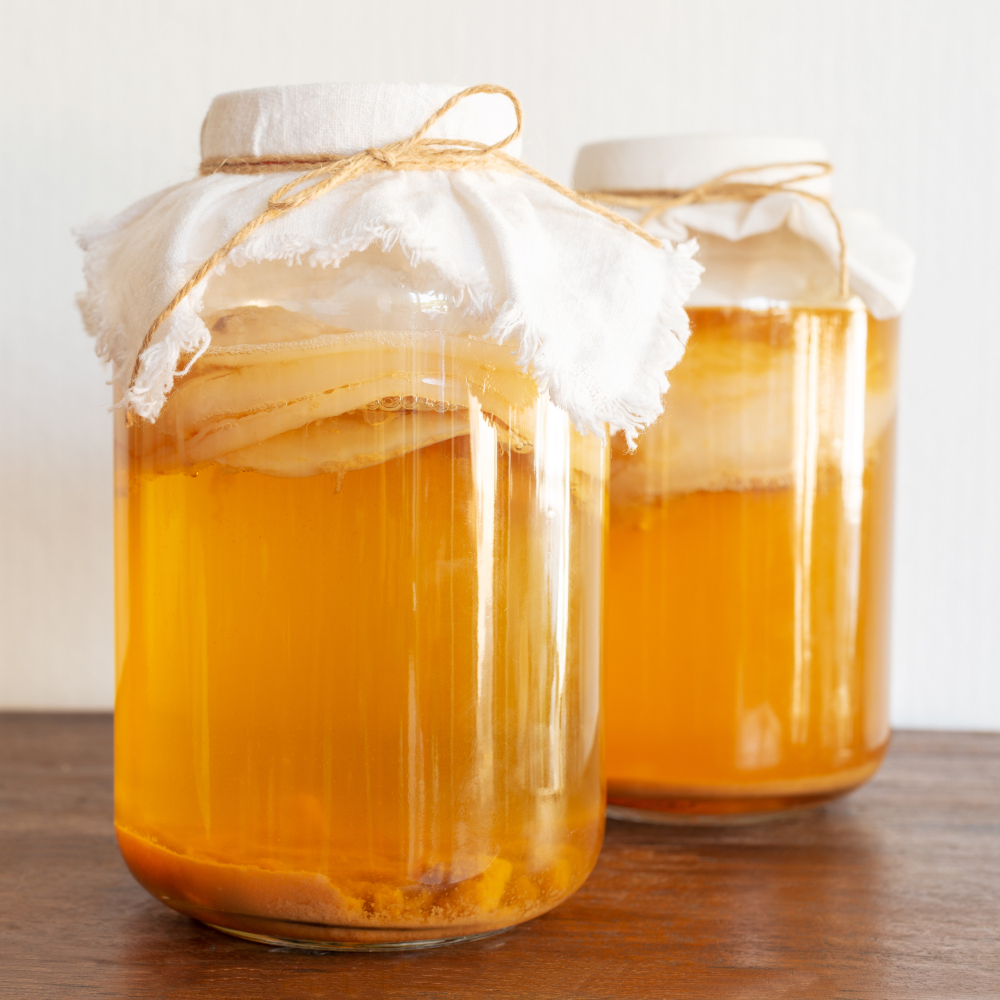
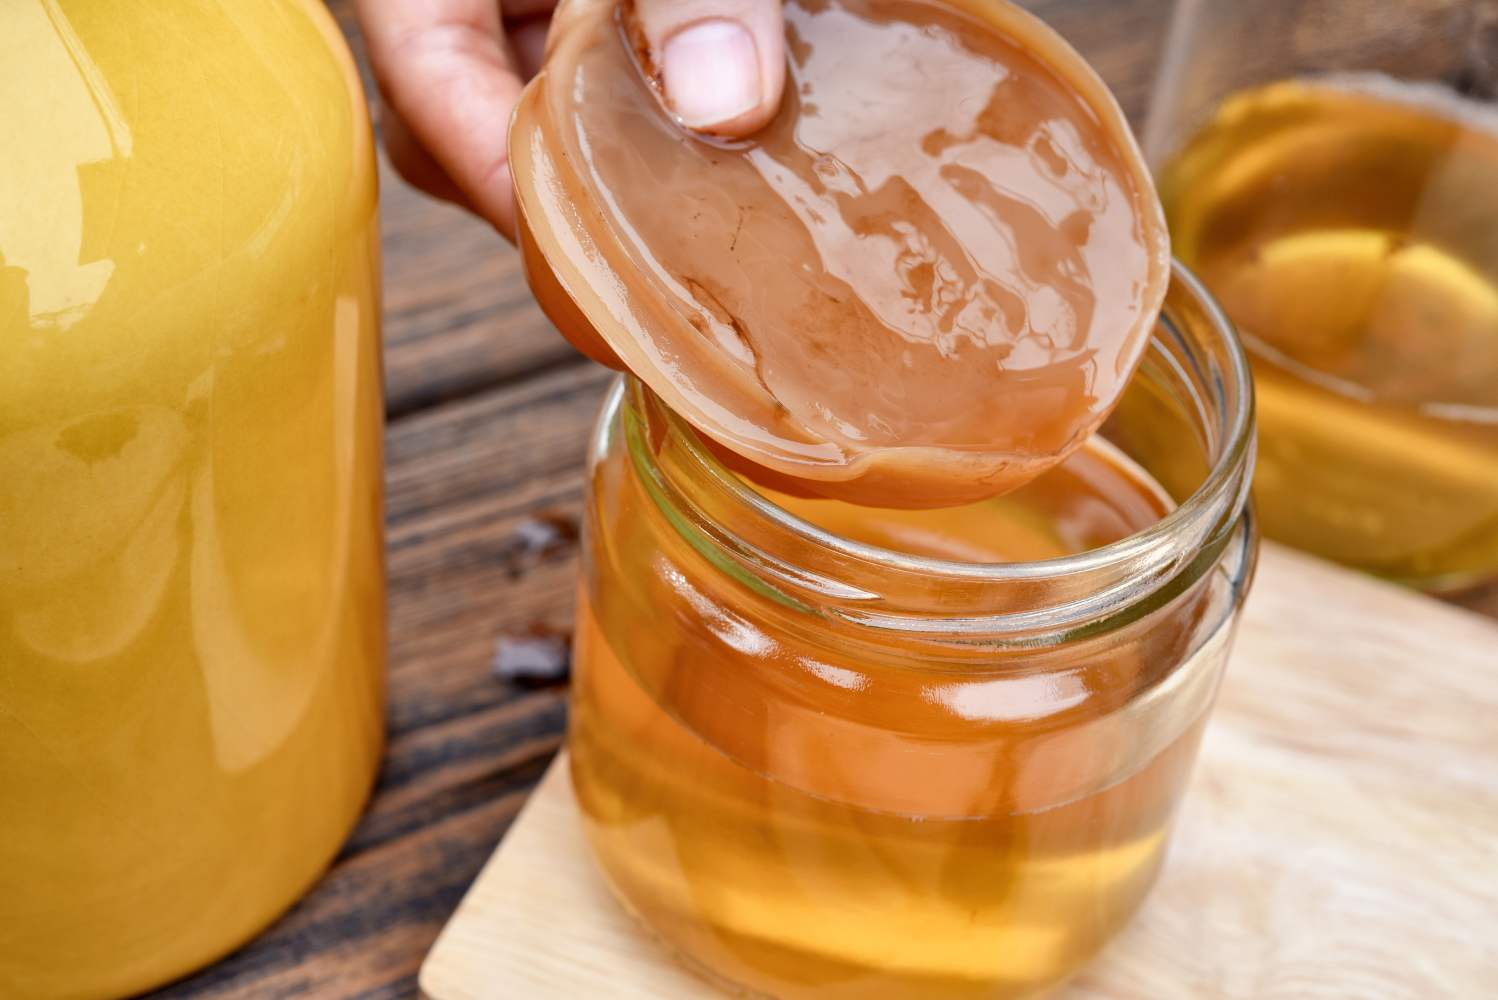
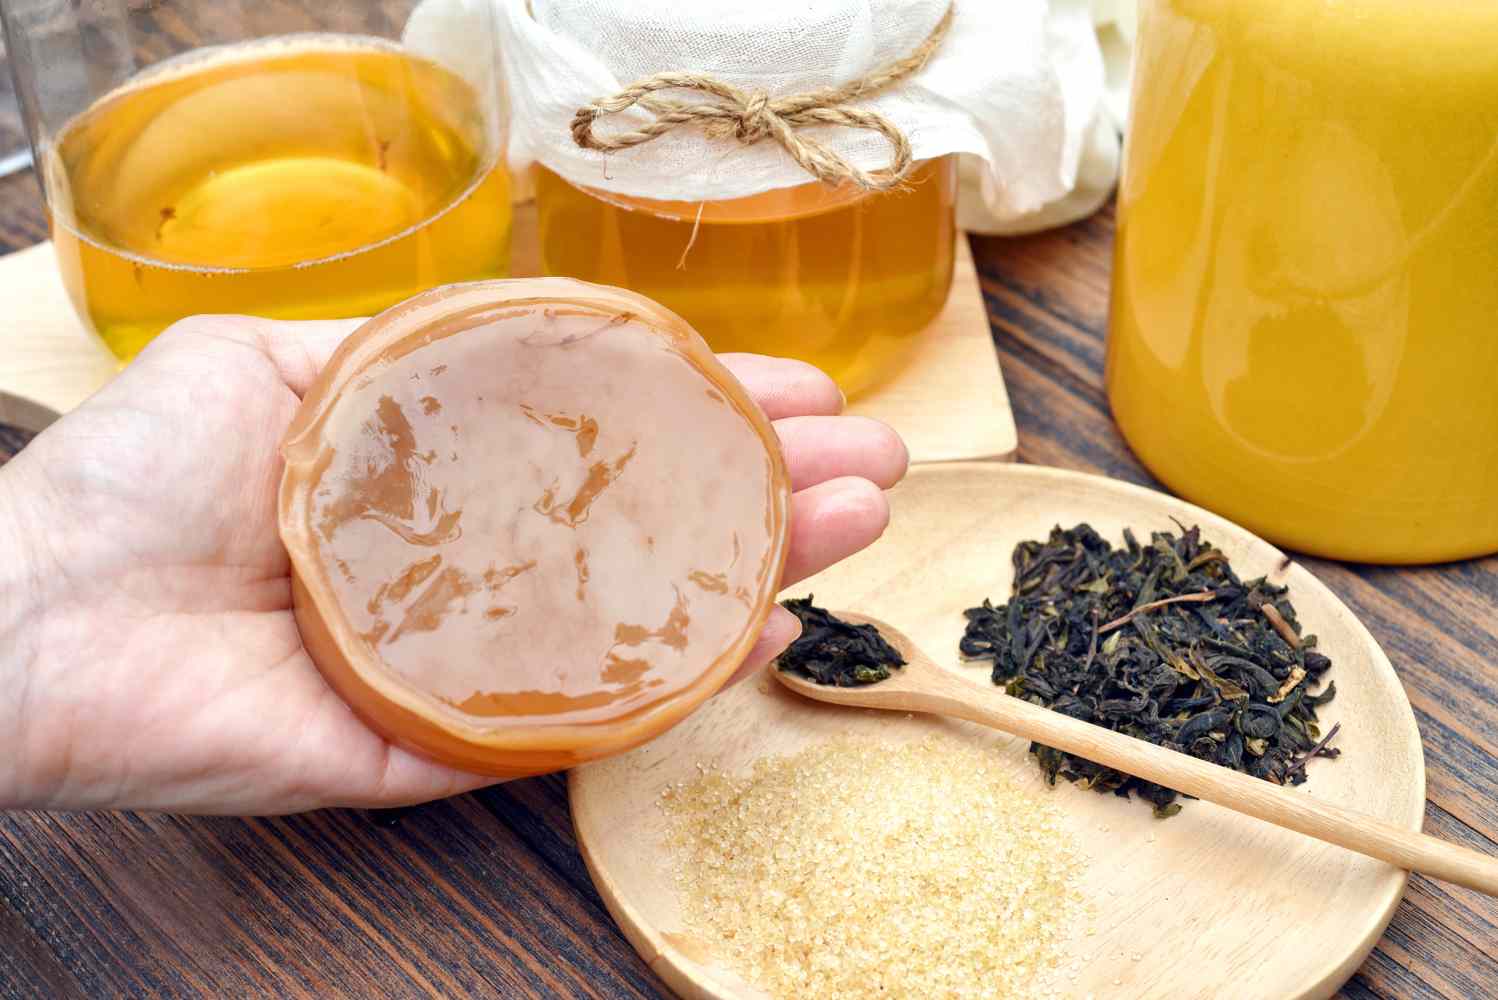 The Kombucha SCOBY is one of five ingredients that go into brewing Kombucha tea. SCOBY is an acronym for Symbiotic Colony of Bacteria and Yeast. Symbiotic means that the bacteria and yeast strains co-exist in a mutually supportive community. SCOBY is often referred to as a “mushroom” because it resembles the smooth, thick body of a mushroom. The pancake-shaped disk is somewhat slimy and has a rubbery texture. You add the SCOBY right into the sweet tea where it will thrive. The SCOBY bacteria and yeast eat most of the sugar in the tea, transforming the tea into a refreshingly fizzy fermented beverage that contains billions of probiotics, vitamins B and C, amino acids, and enzymes all ready to help keep your digestion regular and boost your overall immunity.
WHAT YOU WILL NEED
 Making Kombucha tea at home is easy, and it only requires a few pieces of equipment to get started.
INGREDIENTS YOU WILL NEED
- Filtered water
- Cane sugar
- Loose tea OR unflavored tea bags
- Starter tea
- Active Kombucha SCOBY
KOMBUCHA RATIOS FOR GALLON BATCH
- 2 tablespoons loose tea OR 8 unflavored tea bags
- 1 cup cane sugar
- 14 cups filtered water
- 2 cups starter tea
HELPFUL EQUIPMENT FOR THE BEST BREW
- 2-Gallon Keg with Spigot: Perfect size for a continuous brewing Kombucha. Allows plenty of room for your SCOBY and starter tea to always remain in the keg.
- Heat Mat: Designed to keep your fermented products at the optimal temperature.
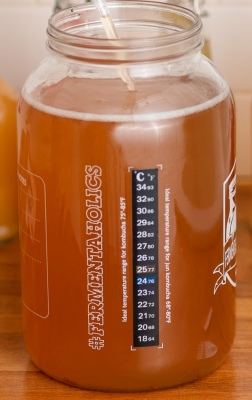
- Adhesive Thermometer: Know that your SCOBY is safe and comfortably fermenting in the proper temperature range. Temperature strip easily adheres to the side of your Kombucha vessel.
- Instant Read pH Test Strips: Produce more consistent results. Finished Kombucha can have a pH anywhere from 2.5-3.8 depending on the stage of the brew so testing it can hone in on your personal favorite times to stop brewing.
- Cotton Muslin Tea Bags: Unbleached cotton tea bags are a perfect, all-natural alternative for Kombucha brewing.
- Double Ear Fine Mesh Non-Metal Strainers: Strain delicate ingredients added to Kombucha for flavoring.
- Wide Mouth Half Gallon Glass Mason Jars: Airtight bottles to do a secondary fermentation and store your finished brew.
- Dissolvable Labels: Easily identify and organize your Kombucha brews.
- Silicone Dual-Head Bottle Cleaning Brush: Perfect for cleaning hard to reach places such as inside narrow neck bottles and Kombucha jugs.
- Fruit-Fly Catching Lids: Fermented products can attract fruit flies. This family safe, attractive trap will eliminate that concern.
HOW TO MAKE KOMBUCHA:
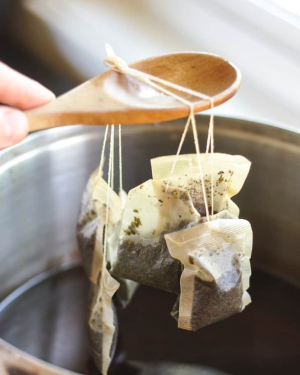 Make the Tea Base: In a stock pot, bring your filtered water to a boil. Remove from heat. Place tea bags in the pot. If you’re using loose leaf, you can either use a reusable tea steeper or muslin tea bags. Allow tea to steep for 5-10 minutes, then remove from pot. The longer the tea is left in the liquid, the stronger the tea will be. Add the sugar and stir with a wooden spoon until it’s fully dissolved.
- Cool and Transfer to Jar: Allow tea to cool to room temperature and then pour the contents of the pot into the gallon brew jar making sure to leave room for your SCOBY and starter tea plus a little breathing room –about 3 inches. The SCOBY can be damaged or killed with tea that is too hot, so always cool to room temperature.
- Add SCOBY and Starter Tea: Gently slide the SCOBY into the jar with clean hands. And, add the starter tea. You can also put the starter tea and SCOBY in the jar first to make sure you have enough room.
- Cover and Secure: Cover the mouth of the jar with a tightly-woven cloth, coffee filters, or paper towels secured with a rubber band. This is important to keep fruit flies out and allow your ferment to breathe.
- Ferment for 7-10 days and Bottle: Place your brew jar in a warm spot, out of direct sunlight for 7-10 days, undisturbed. After 7 days in the desired temperature range [78-85°F], taste your Kombucha. If it tastes overly sweet, then it needs more time to ferment. Cover and check back daily until it reaches a balance of slightly sweet, slightly tart. Pour Kombucha off the top of the jar for consuming. Retain the SCOBY and enough liquid from the bottom of the jar to use as starter tea for the next batch. The finished Kombucha can be flavored and bottled, if desired, or enjoyed plain.
KOMBUCHA KITS
If you’re just starting out, consider trying a DIY Kombucha Kit. These kits include hand-picked ingredients and supplies to make home Kombucha brewing easy and fun.
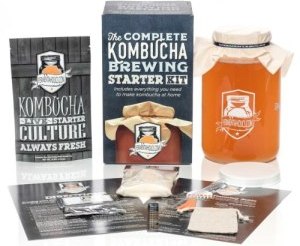 Complete Kombucha Brewing Starter Kit - The Complete Kombucha Starter Kit provides everything you need to get started brewing. Kit includes a fresh, healthy starter culture, a custom organic green and black tea blend, raw organic cane sugar, 1-gallon glass brew jar, 100% unbleached muslin cover and rubber band, an adhesive temperature strip, pH strips to test the consistency of your Kombucha, brewing directions and a recipe card for flavoring.
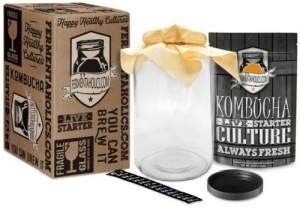 Kombucha Essential Kit - The Kombucha Essential Kit provides the basic essentials you will need to get started brewing. Kit includes a fresh, healthy starter culture, 1.5 cups of matured starter tea, 1-gallon glass brew jar, 100% unbleached muslin cover and rubber band, and an adhesive temperature strip so that your SCOBY is safe and comfortably fermenting in the proper temperature range. This is the perfect gift for someone just getting started brewing their own Kombucha.
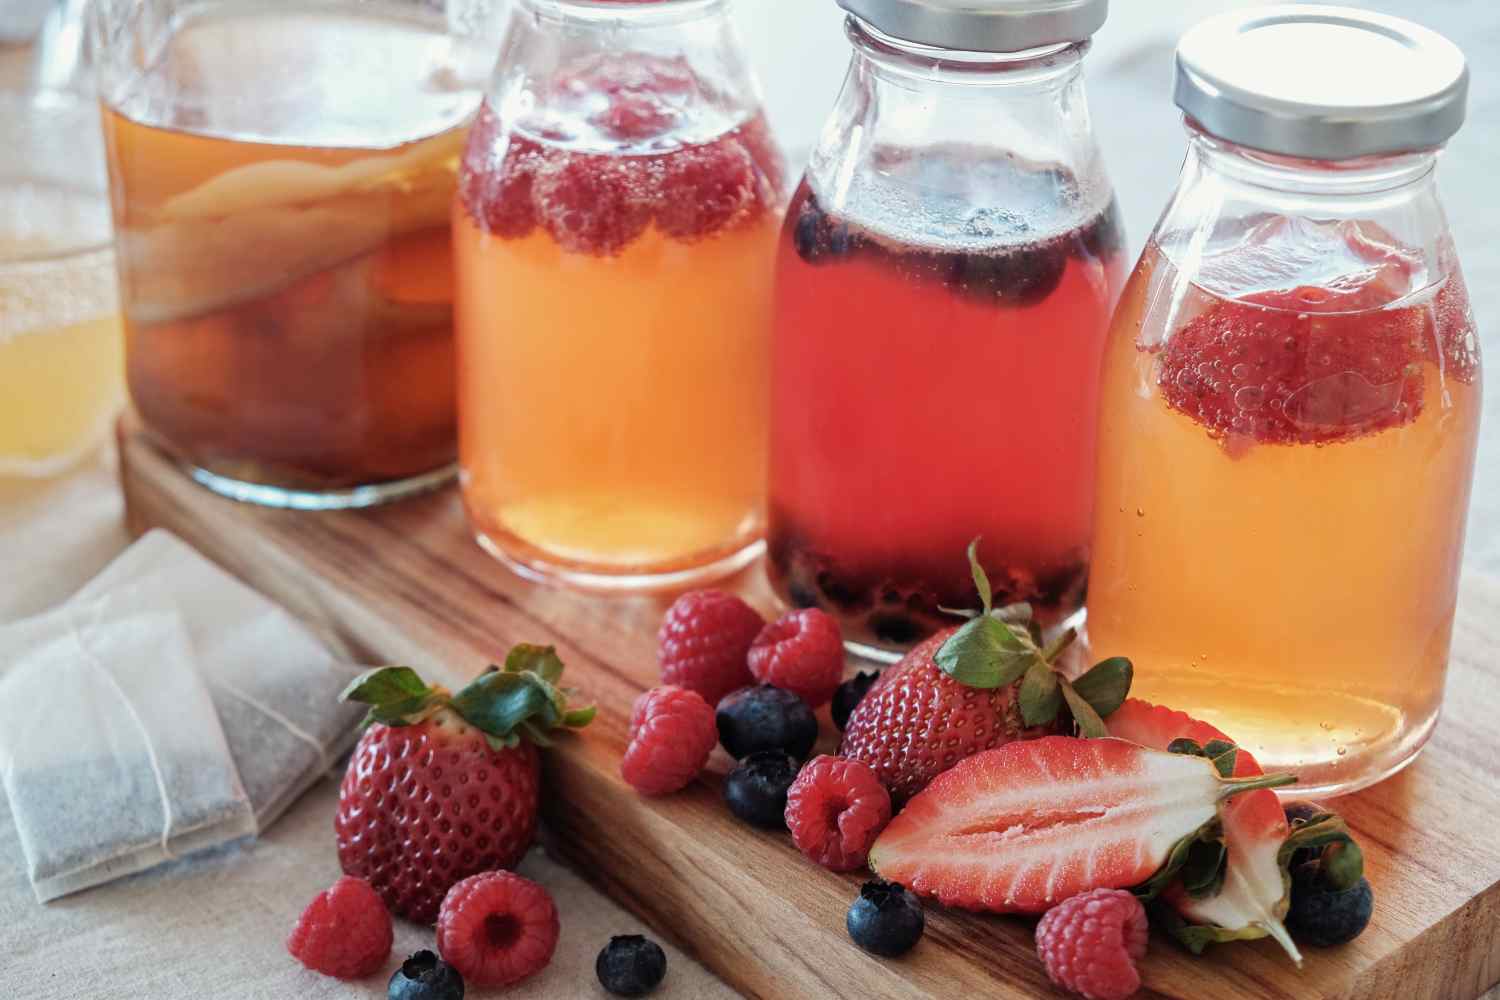
KOMBUCHA RECIPE:
Get started flavoring your kombucha with this soft, fruity and bright recipe. This recipe is for a 16 oz. bottle. Each gallon of brewed kombucha will yield 6-7 bottles.
Ingredients
- 10 blueberries, sliced
- ½ TBSP grated ginger
Directions
 Gently mash the blueberries .
- Combine ingredients in the bottle.
- Using a funnel, fill bottle with kombucha, leaving 1-2” of headspace
- Secure lid on tightly.
- After 24 hours, release the pressure build up by opening the lid. Replace lid and repeat for one of two more days.
- When you are happy with the flavor and fizziness of your kombucha, cool the bottles in the fridge.
- If you wish, strain out the berries and ginger before enjoying.
TIPS AND TRICKS:
- Choose the Right Kombucha Vessel: Best vessels to brew Kombucha are glass, porcelain, ceramic, and stoneware. Avoid fermenting or bottling the Kombucha in anything that brings them into contact with metal. Metals, especially reactive metals like aluminum, can give the Kombucha a metallic flavor and weaken the SCOBY over time. Also avoid plastics, rubber, crystal, colored glass, cast iron, or low-grade stainless steel.
- Desired Temperature Range: Did you know that fermenting outside the proper temperature zone is the number one mistake Kombucha home brewers make? The desired temperature range of the Kombucha tea is between 78-85ºF. Use an adhesive thermometer and heating mat to obtain the ideal temperature range.
- Desired pH: Finished Kombucha should have a pH anywhere from 2.5-3.8 depending on the stage of the brew. Slowly add distilled white vinegar to lower the pH. Taste along the way it to hone in on your personal favorite times to stop brewing.
- Choose the Right Cover: Cheesecloth is not ideal because it’s easy for small insects, like fruit flies, to get through the layers. Use a few layers of tightly woven cloth, coffee filters, or paper towels, to cover the jar.
- The SCOBY: It is normal for the SCOBY to float on the top, bottom, or sideways in the jar. It is also normal for brown strings to form below the SCOBY or to collect on the bottom. If your SCOBY develops a hole, bumps, dried patches, darker brown patches, or clear jelly-like patches, it is still fine to use.
- When to Throw out SCOBY: A SCOBY will last a very long time, but it’s not indestructible. If the SCOBY becomes black, that is a sign that it has passed its lifespan. If it develops green or black mold, it is has become infected. In both of these cases, throw away the SCOBY and begin again.
- Prolong the Life of the SCOBY: To prolong the life and maintain the health of your SCOBY, stick to the ratio of sugar, tea, starter tea, and water outlined in the recipe. You should also peel off the bottom (oldest) layer every few batches. This can be discarded, composted, used to start a new batch of Kombucha, or given to a friend to start their own Kombucha brew . A “baby” SCOBY will be produced with each batch of Kombucha a made so there will be plenty to share.