Edit
recipes
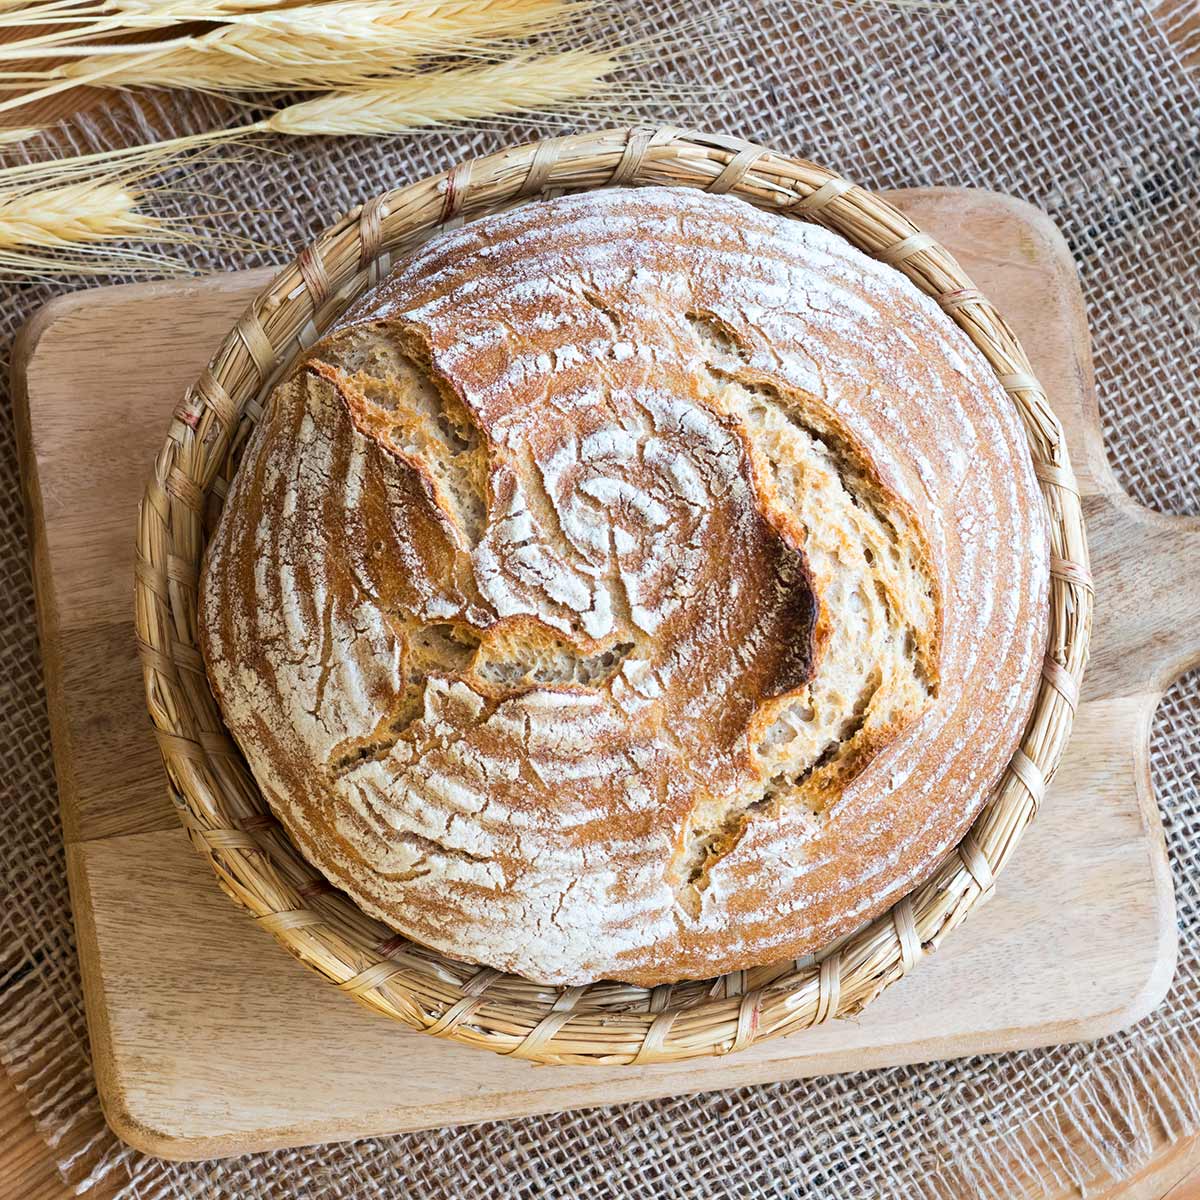
The Best Homemade Sourdough Bread. Period.
Posted under: recipes, Homesteading, Cooking And Food, Bread
Posted under: recipes, Homesteading, Cooking And Food, Bread
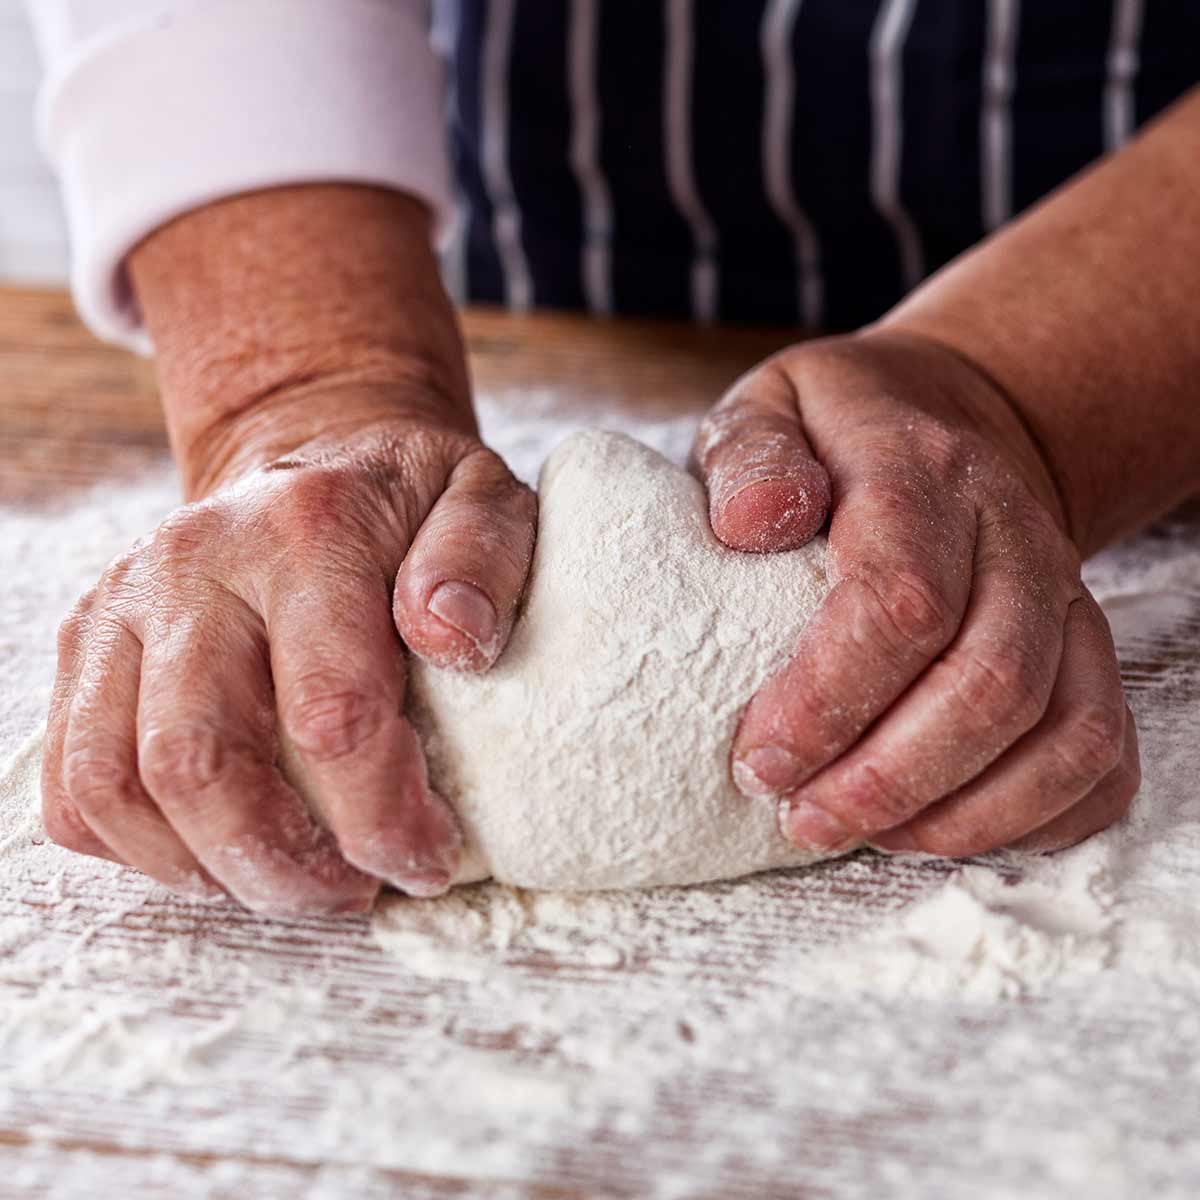
That’s not a claim we make lightly. But, if you start with quality ingredients, read a little and practice a lot, you can master the art of baking sourdough bread so amazing you’ll never want store-bought bread again. Baking sourdough bread is a journey, and this is your first step to mastery. However, bread this good starts well before the flour hits the mixing bowl. If you want to master sourdough bread, you should learn how to grind your own flour.
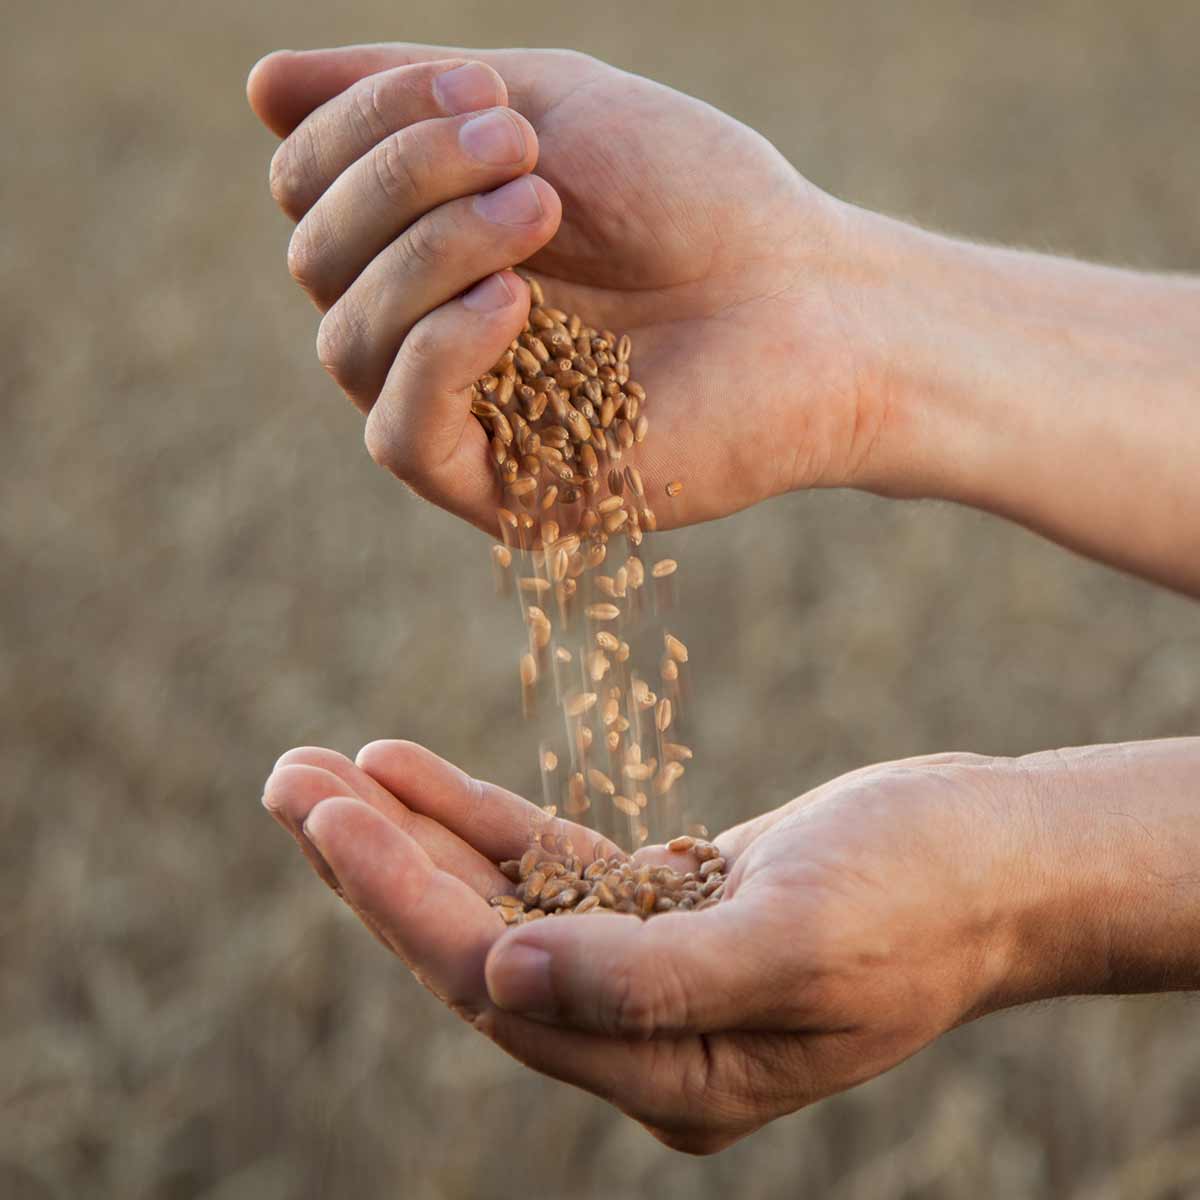 When you start with wheat berries, you know exactly what is and what isn’t in your flour. No fillers, additives, or preservatives. Common preservatives in commercial flour include calcium propanoate, sodium benzoate, tricalcium phosphate, and butylated hydroxyanisole, but when you grind flour yourself, you can be sure to leave those out. What is in freshly ground flour is the complete endosperm, meaning that the bran and germ are not sifted out like you’ll find in white flour. This means more nutrients in the bread you bake.
If the nutrients and the lack of preservatives isn’t enough to convince you, consider the taste. There is an undeniable difference in the smell and taste of both fresh-ground flour and the bread that you can bake from that flour. We’re not the only ones who think so, Daniel Duane of Food & Wine thought it was an absolute no-brainer. And if you don’t believe Daniel, Maurizio Leo has an even more detailed account on his site, Perfect Loaf, of why he bakes with fresh milled flour. For best nutrition, flour should be ground fresh for each baking session and used within three days of grinding (if stored at room temperature.) Milled grains should not be stored at room temperature for more than three days because of the danger of rancidity. If you do decide to grind for more than one baking session, flour can be refrigerated up to a week or stored in the freezer for up to six months.
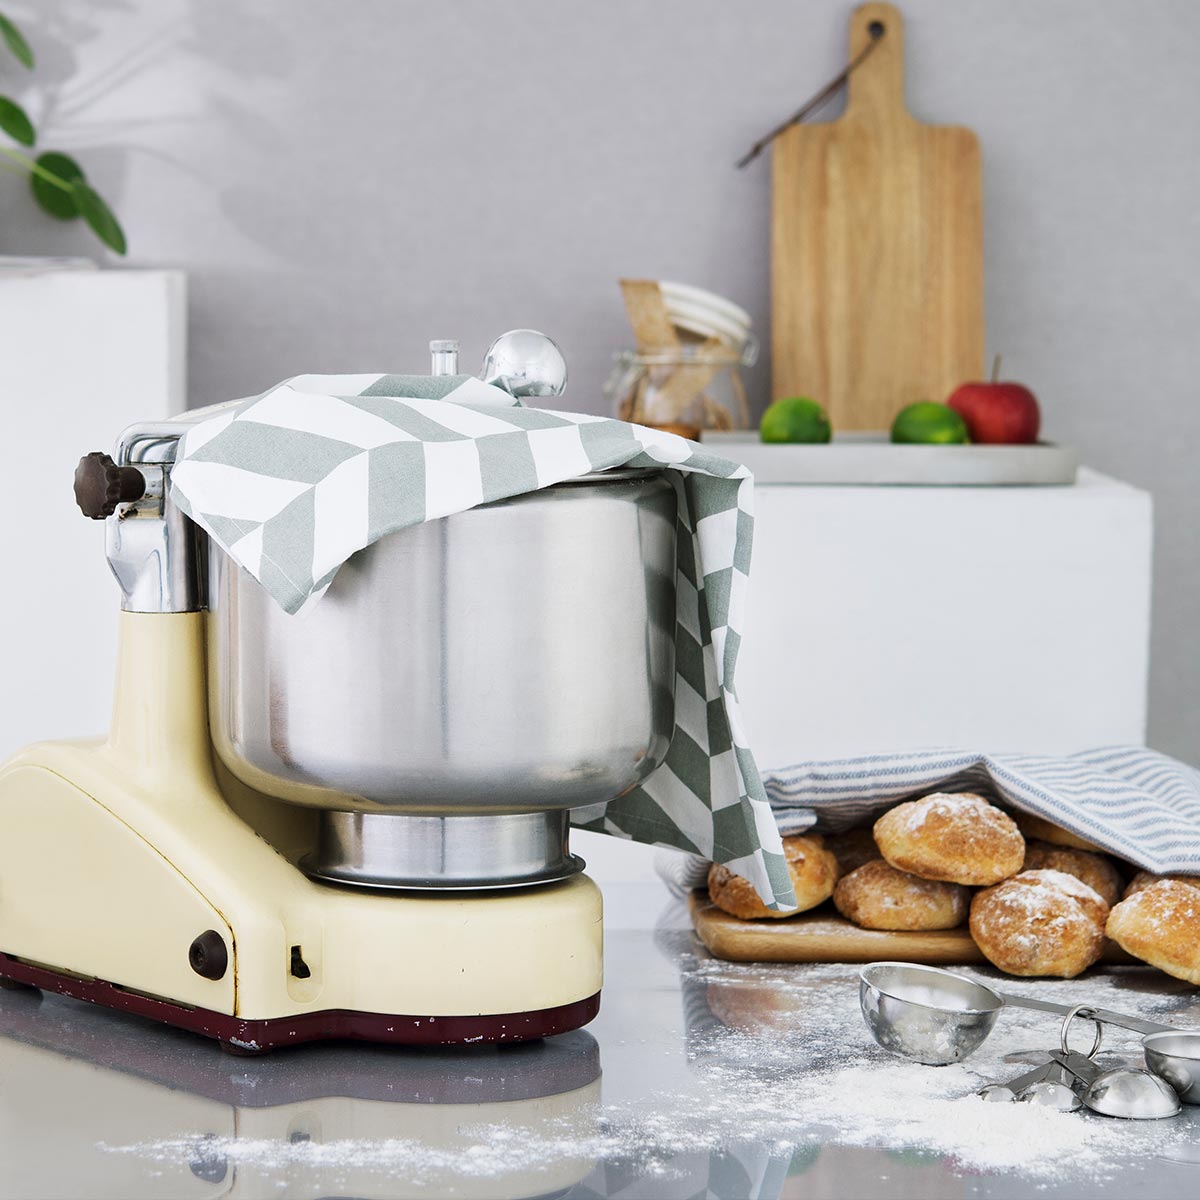 In this section, we’ll start with equipment you’ll use over and over again. We’ll cover perishable items after that. If you’ve heeded our advice and decided to mill your own flour, you’ll need a mill. The Deluxe Manual Grain Mill is a great way to get started, and you can always upgrade or add a motor later. A mixer is nice to have and will save you some physical labor down the road. The Ankarsrum stand mixer with whisks and dough hook is a professional quality, durable all-purpose mixer that produces superior baking results. If you prefer to get an upper arm and forearm workout, a dough whisk and a bowl offer a serviceable alternative. A recipe or Basic Bread Baking Book will come in handy. You’ll need an oven, of course. And while your oven won’t have the features of a commercial oven that lets bakers blast baking bread with steam on command, this Stoneware Dominion bread maker retains heat evenly while redistributing the steam released by the dough as it cooks. This helps create a moist and tender interior with a chewy evenly browned crust.
For baking ingredients, strictly speaking, you need flour, salt, water, and yeast. To get flour, you’ll need your mill and wheat berries. Wheat berries are first classified by growing season, then hardness, then color and shape. This leads to 6 common varietals, each appropriate for different types of recipes. Match the type of berry to the desired result by learning about the types of wheat and what they’re used for. You’ll want spring, well, or distilled water. Tap water has chemicals that will kill your yeast and prevent your bread from rising. Finally, speaking of yeast, you’ll need a starter.
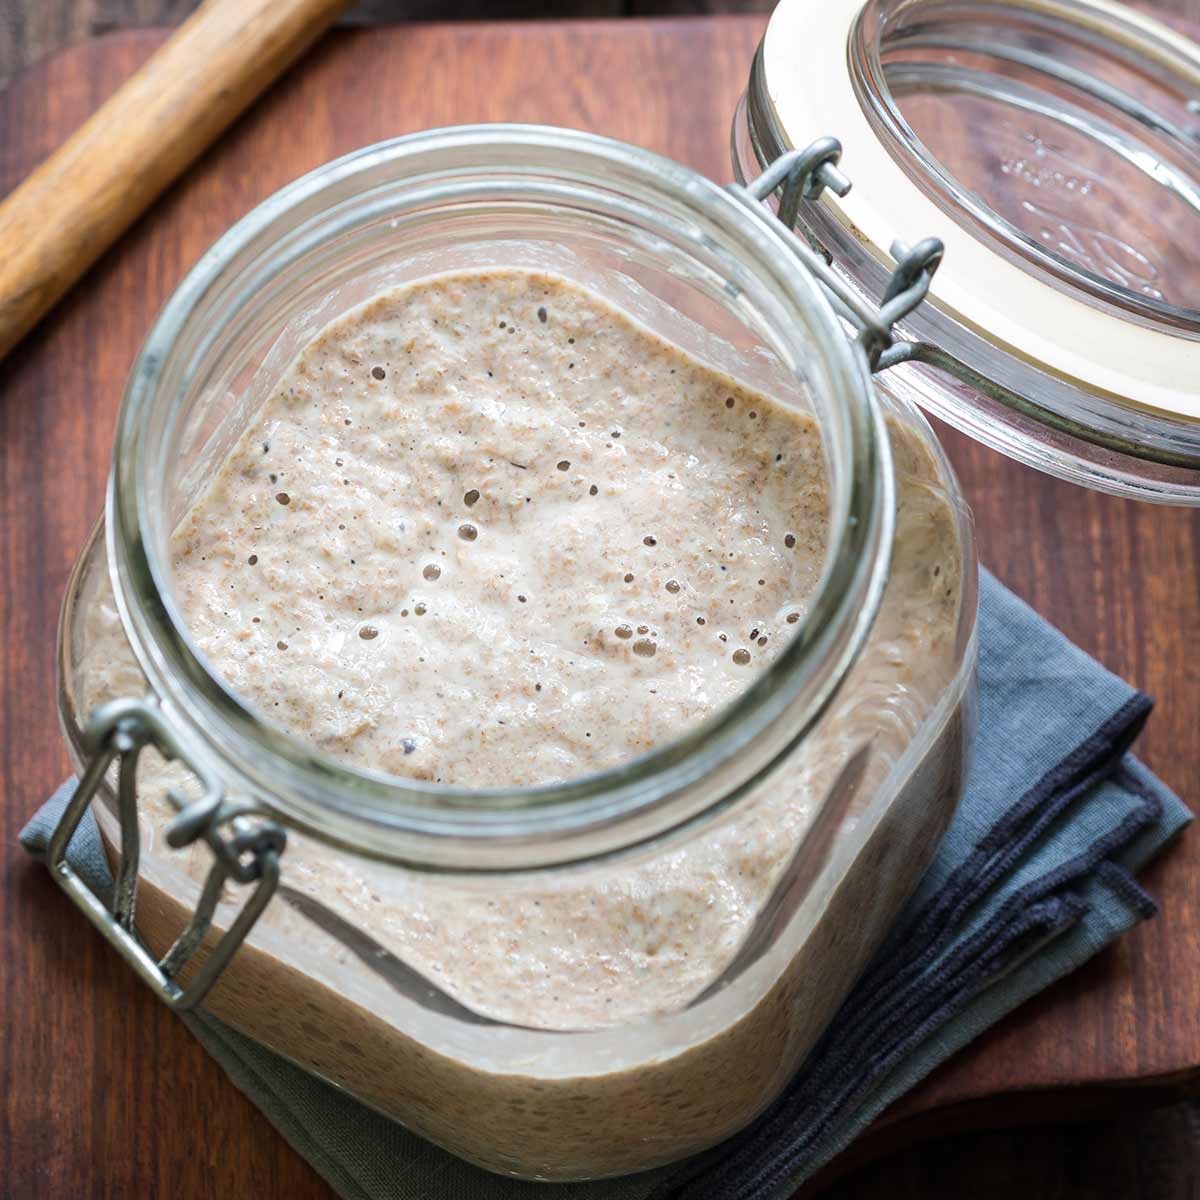 The famous San Francisco sourdough bread gets its signature taste from the microorganisms that are common to the Bay area, especially Lactobacilus sanfranciscenis. And every sourdough starter will have its own flavor and mixture of microorganisms, depending on where it lives, where it began, and how its fed. This is the yeast that makes bread. As you learn more about sourdough starter, you’ll find people keep starters for years, or even lifetimes, passing them down as family heirlooms. If you weren’t lucky enough to inherit one from your family, there are three ways to get one of your own.
Once you’ve chosen your path and made your starter, you’ll want to care for it and save a little every time you bake, then you’ll have sourdough starter for as long as you want.
 For an in-depth and truly detailed explanation of baking sourdough with fresh milled flour, it’s hard to top the Perfect Loaf. But, minus a few additions or tweaks, most sourdough recipes follow this format.
 We hope you’ve enjoyed this foray into baking your own sourdough, from wheat berries to oven-fresh bread. Once you start baking your own sourdough, we’re confident you’ll enjoy it as much as we do. Mastery isn’t easy, but with the right tools and the right attitude, you’ll be on your way before you know it.
A parting idea: nothing finishes home baked sourdough like fresh churned butter. Our butter making kit has everything you need to get started making your own butter in your own kitchen. Fair warning, though: you’ll never want to buy store-brand butter again.
Oftentimes you can find purposes for kitchen tools beyond what they were intended or created to do!
Learning to make things from home with whole, real ingredients can be a skill you practice! Long before you buy...
If you’re trying to be more self-sufficient, making homemade jams and jellies is a great place to start.