10 Best Homemade Yogurt Recipes (and Why You Should Make Them at Home)
The first in a long list of reasons you should be making your own yogurt is that the process is easier than you think. Surprisingly, making yogurt is less complicated than most recipes. While it does take time, much of that time the yogurt is fermenting, which doesn’t require any effort from you. Not only is it relatively easy, it’s also a good money saver, as homemade yogurt is less expensive than store-bought yogurt. That’s two reasons. Reason three? You get total control of what goes into your yogurt. Avoid the gums, stabilizers, fillers, preservatives, and sugars that are so common in commercially-made store-bought yogurt. Finally, when you make your own yogurt, you’ll be sure that the bacterial cultures in your yogurt are alive and well and ready to contribute to the health of your digestive system.
What You Need to Get Started
 Now that you’re convinced and ready to go, let’s run through the equipment and supplies you’ll need to get started. Luckily, it’s a short list.
- A container to hold and ferment the yogurt
- A heavy pot with a lid or an an electric yogurt maker
- A spatula
- A thermometer
- A whisk
- A small measuring cup
- Starter culture or yogurt with live culture
That’s it. We’d be willing to bet you already own everything or almost everything on that list. And while you can add additional equipment to refine the process, (an electric yogurt maker or a dehydrator for maintaining temperature, mason jars for portioning, and a cheesecloth or fine mesh sieve for greek yogurt straining) you don’t need those items to get started. Master the basics first, and then down the road you can experiment with additions and extra techniques.
How It Works
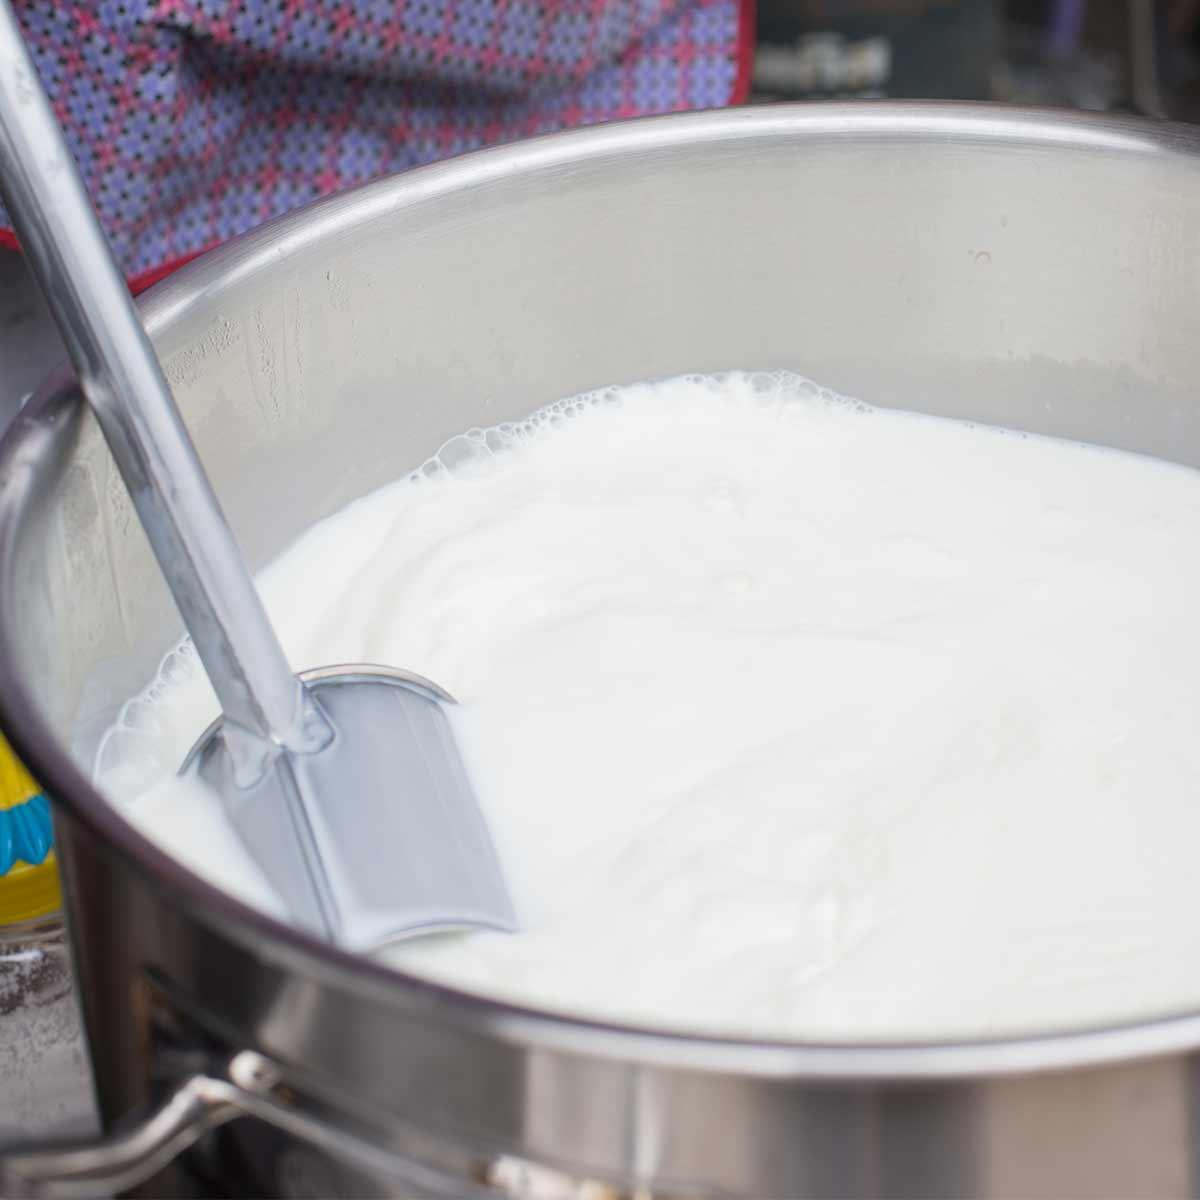
- Heat the milk - Slowly, stirring while you do, heat the milk to at least 180℉. Do not let it boil or scald the milk.
- Cool the milk - Also stirring occasionally, (to prevent a skin from forming,) let the milk cool to approximately 110℉. You can speed the cooling process by placing the pot in a bowl of ice water.
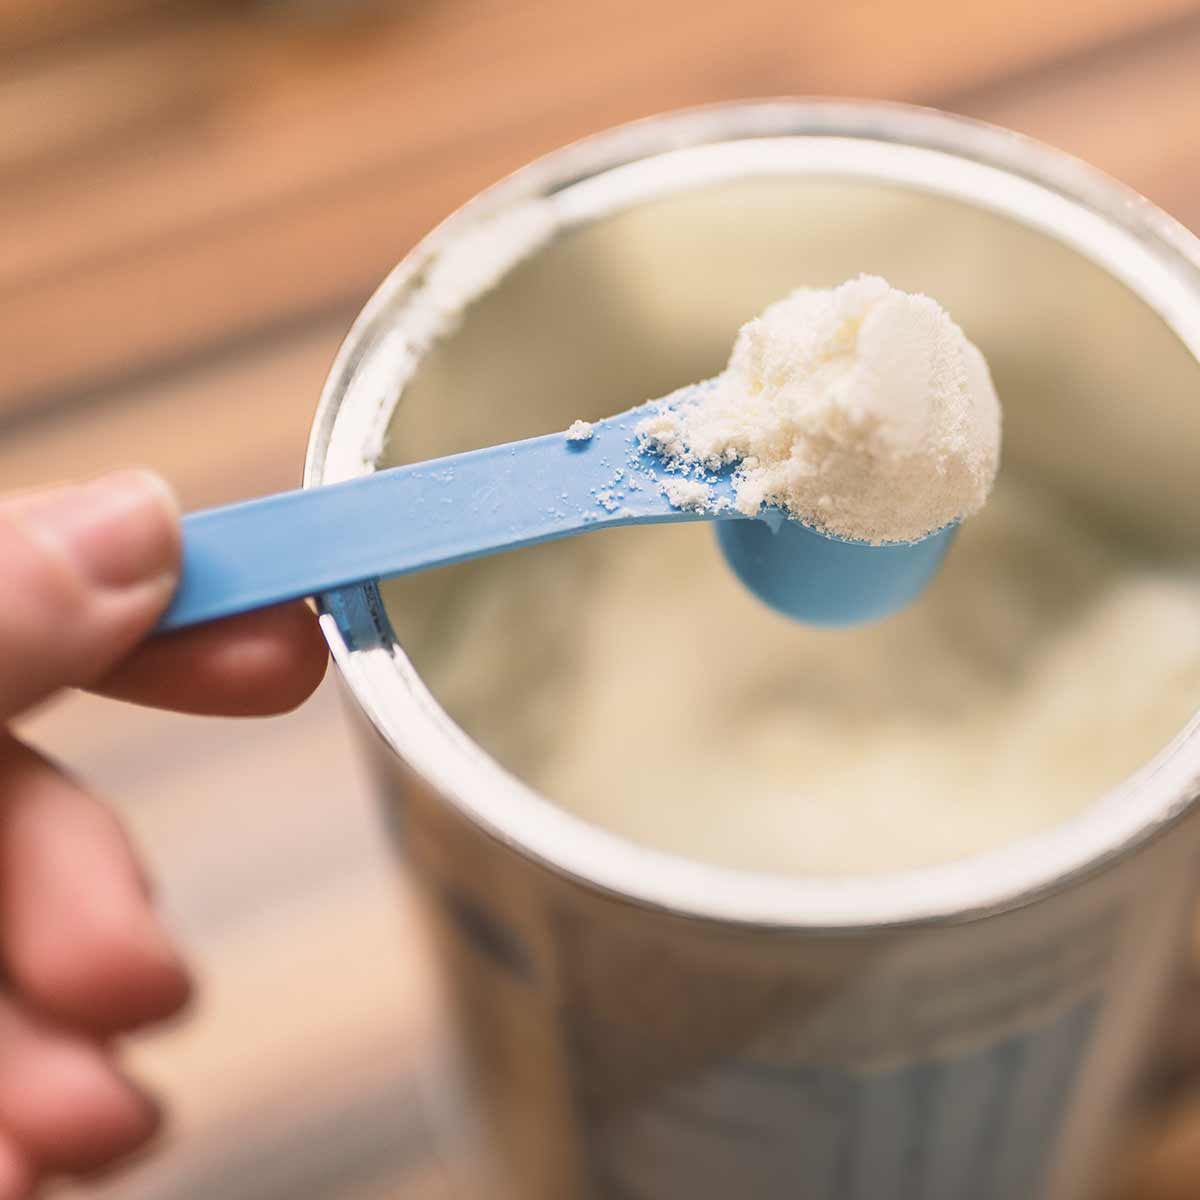
- Add yogurt starter - You can use live, natural yogurt as a starter, or purchase a yogurt starter. Once you’ve finished your first batch, save a half cup of your finished product to use as starter for the next batch.
- Let the yogurt ferment - Let your milk and starter sit in an well-insulated container like a thick-walled dutch oven or a fermenting container for at least 8-10 hours. You’ll want to keep the temperature around 110℉. An electric yogurt maker is ideal, but a warm place in your home, a dehydrator oven, or even a heating blanket can work. Some recipes call for overnight fermentation for thicker, tangier yogurt. Check you starter and recipe for specific time and temperature.
- Chill the yogurt and enjoy - At this point you can chill and enjoy your yogurt. If you’d like a thicker consistency, you would strain the finished product now.
Pro tips
 Practice makes perfect, but here’s a head start. We’ve included some things we learned along the way.
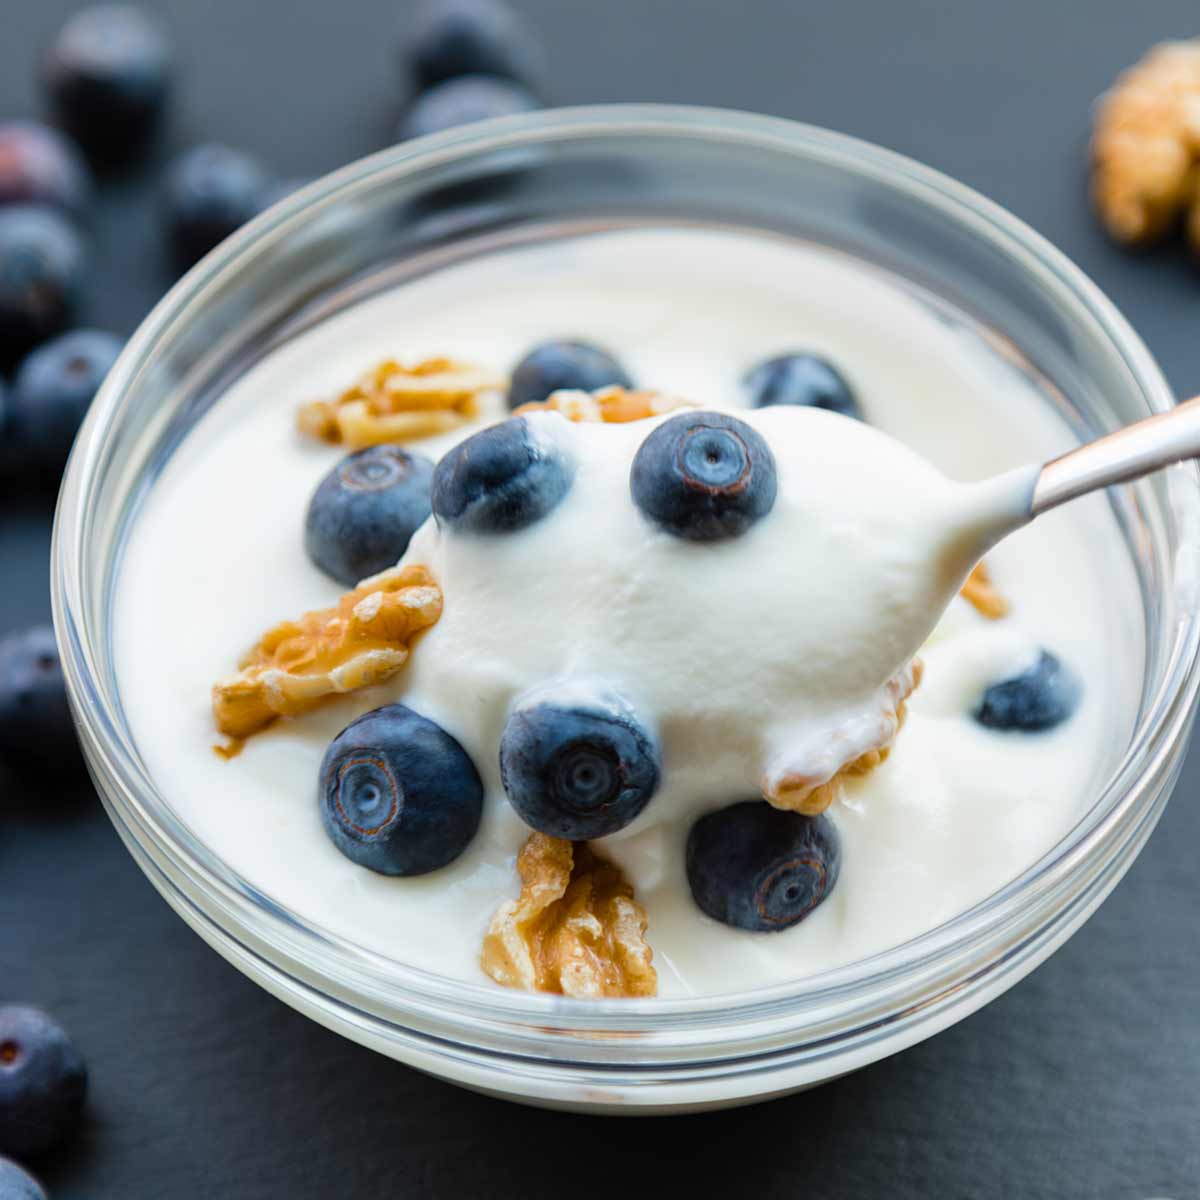
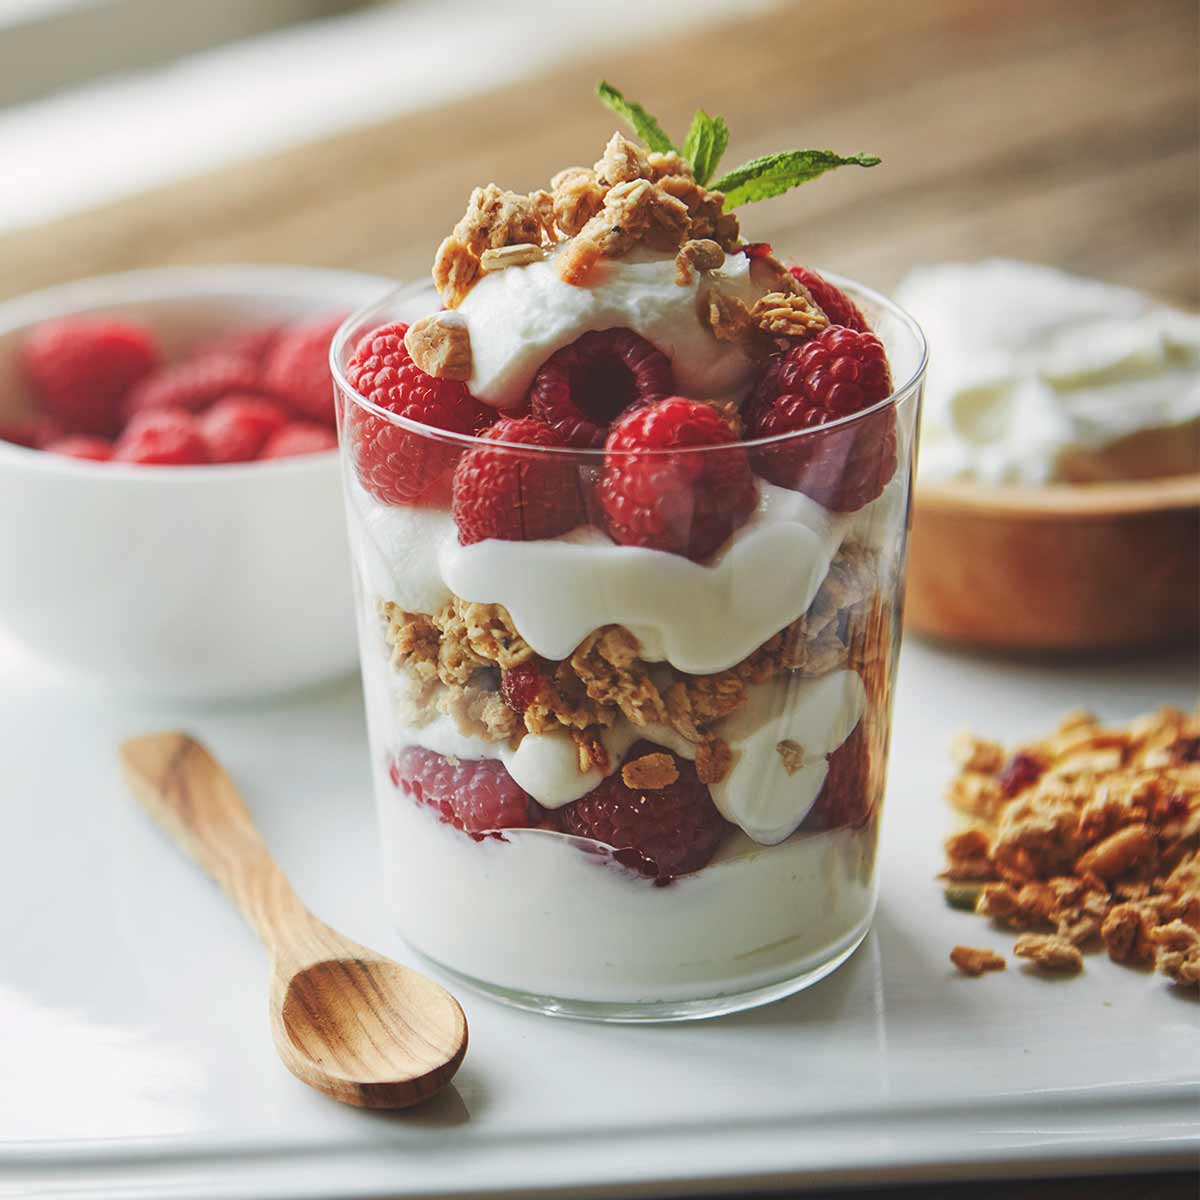
- Since yogurt is usually served in single size portions, why not go ahead and divide the finished product into smaller containers before refrigerating? Mason jars make a great option, and we now offer yogurt jars with lids. You can even get creative and sprinkle toppings or fruit into the individual jars. Check the recipe list below for how to make your own fruit-bottom yogurt.
- Homemade yogurt should be consumed within 2 weeks.
- Re-culturing is the process of saving a small portion of each yogurt batch to start the next one. Your saved portion should be used within seven days to start a new batch. If you’d like to wait longer between batches, you can freeze or dry the yogurt to preserve the cultures for as long as four weeks.
Our Top 8 Recipes
- Genius Kitchen - Check out the comments on this simple recipe for ideas on how to tweak, modify, and elevate this recipe.
- Team Yogurt - How to make yogurt in just 4 steps.
- The Daring Gourmet - Make Greek yogurt using a slow cooker. Includes step-by-step recipe, pictures, and lots of additional information.
- Homemade Blueberry Greek Yogurt with Fruit at the Top - Another recipe from Genius Kitchen, this one adds berries and sugar to plain greek yogurt.
- DIY Homemade Greek Yogurt - The folks at Serious Eats take their food as seriously as you’d imagine. They also break down the process and details in a separate article.
- How to Make your Own Fruit-Bottom Yogurt - What a great concept. Instead of stirring up sugars and preservatives, add fruits of your choosing below any of the make at home yogurt recipes above.
- The Spruce Eats Recipe for Homemade Flavored Yogurt - This recipe includes an optional addition of instant nonfat dry milk to boost the protein content of the finished product.
- Blood Orange Chia Pudding - This one can be made using any of the plain yogurt recipes above as a starting point.