Have some spare jars and a few too many pumpkins? A few years ago, our house was full of… pumpkins. Hundreds of pounds of pumpkins. We made pumpkin everything… bread… muffins… pies… soup. Still, more pumpkin.
So, what did we do? Canned some. It isn’t that hard!
The big thing to note when using your own canned pumpkin is that it contains far more water than store bought canned pumpkin. So, when you break into a jar you will need to remove excess water before making use of the pumpkin chunks inside in your recipes
How to can pumpkin
Start by peeling, cleaning the inside, and then cubing your pumpkin into one-inch cubes.
You can do single varieties or mix varieties together.
Place your cubed pumpkin into a large stock pot.
Cover with water and bring to a boil.
Boil for 2 minutes to blanch pumpkin.
Prep and sterilize wide mouth quart jars and lids.
Strain cubes.
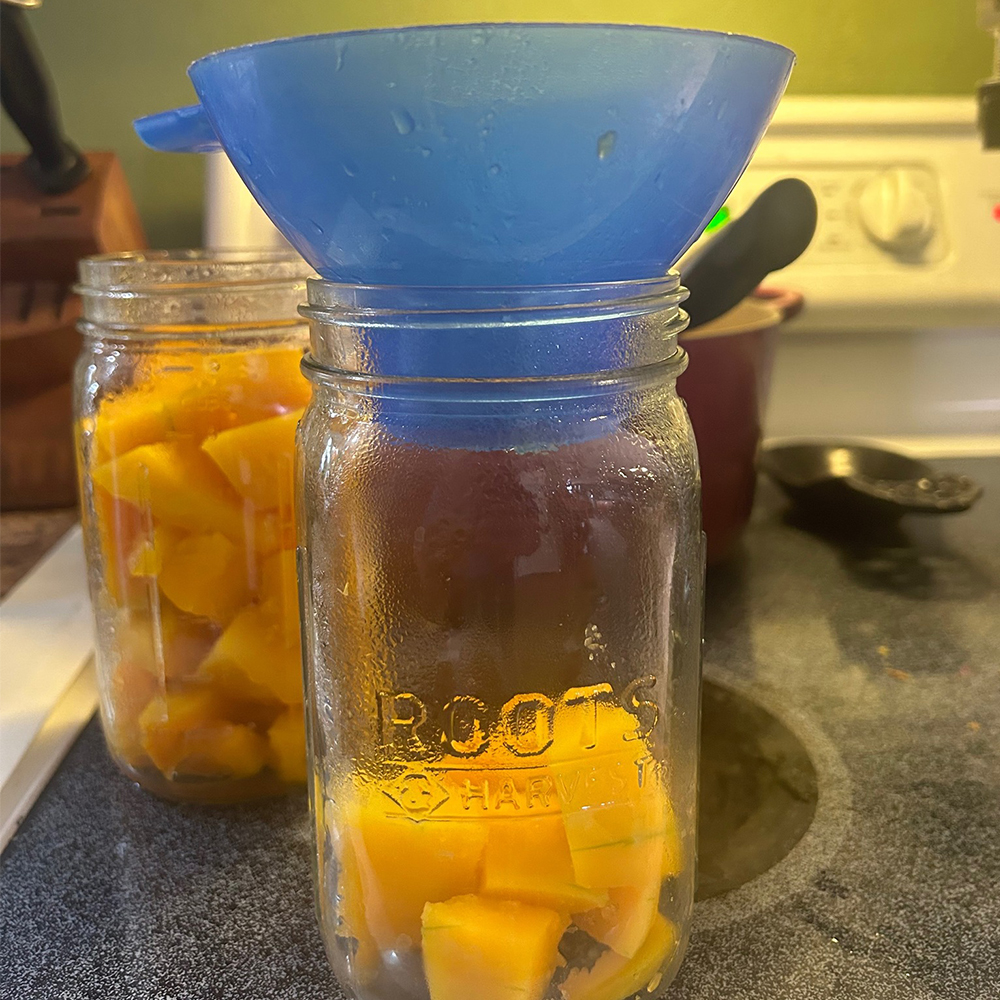
Pack jars with cubes, leaving one inch of head space.
Then fill in space with the blanching water, leaving one inch of head space.
Release air bubbles using a bubble tool.
Wipe rims of jars, place on lids and rims.
Tighten lids to fingertip tightness.
Pressure can last for ninety minutes at 10 pounds of pressure. (this is for sea level, adjust for altitude as needed).
After ninety minutes, turn off the heat. Allow pressure to naturally come to zero.
Once at zero, wait five to ten minutes.
Then, release lid, and allow the lid to sit ajar for another five to ten minutes.
This slow-release approach helps reduce siphoning from the jars
Remove lid fully, pull jars.
Transfer to a spot (we place them on a counter on top of a towel) and Leave a few inches between jars for proper cooling.
Allow you to rest for 12 to 24 hours. Remove bands and check seals on rims.
Any improperly sealed jars should be used immediately.
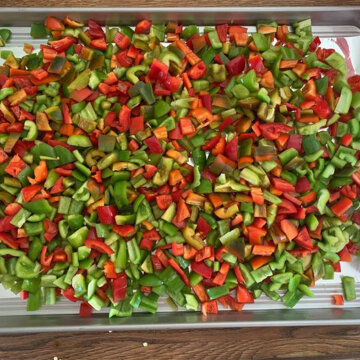
You heard the news. Frost is on the way, and your pepper plants are laden with fruit still… of different...
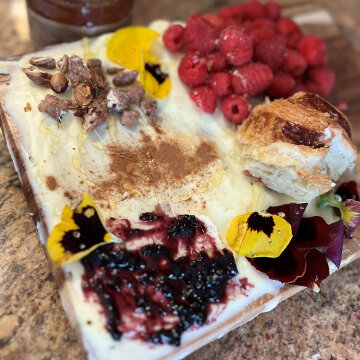
Butter Boards! You’ve seen the in-foodie magazines and social media as the latest greatest trend … but in truth, they’re...