
I have spent many years making grape juice. In the past, I never used any special tools or gadgets. I would squish the grapes in a pot as they heated then pour the released juices and pulp through a sieve. It took me countless hours of work to yield just a few quarts of juice.
I finally decided to upgrade and try a steam juicer. One try and I wondered why I had waited so long. It took just one hour of letting the juicer do the work for me and it was ready! I’m excited to share with you just how easy making and canning grape juice is with this incredible kitchen tool.
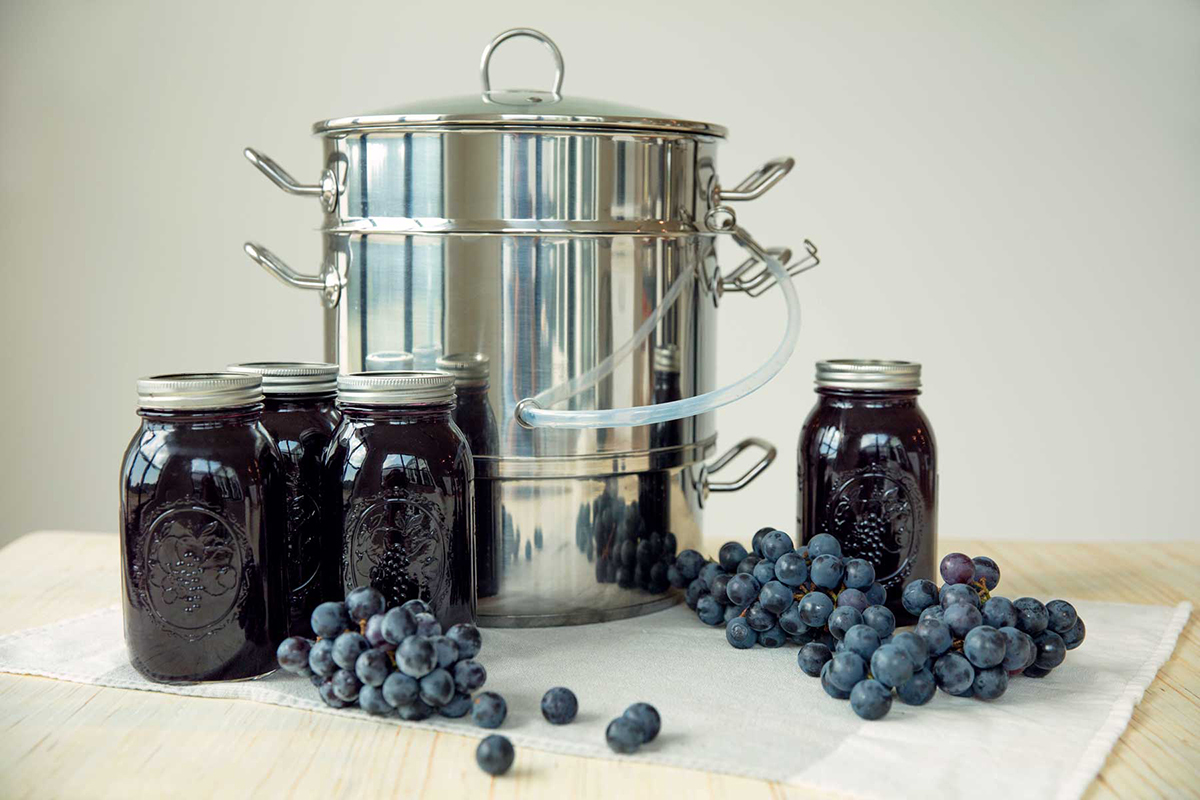
Notes: You can go up to 9 pounds of grapes when making this recipe. This will yield roughly 3 quarts of juice. Don’t do any more than this amount or you will overflow the juice container and it will go into the water below. If you are juicing a large amount of grapes and want to make full canner loads (7 quarts), I recommend purchasing two juicers so you can process six quarts of juice at a time.

Becky Porter is the writer and content creator behind The Seasonal Homestead. She is passionate about gardening, preserving, and self-sufficiency. Becky is also a professional artist and uses her artistic background in her homestead work. She, along with her husband and four children, homestead on a 52 acres in Arkansas, where deciding what seeds to grow or what farm animals to add is an almost daily topic of conversation.
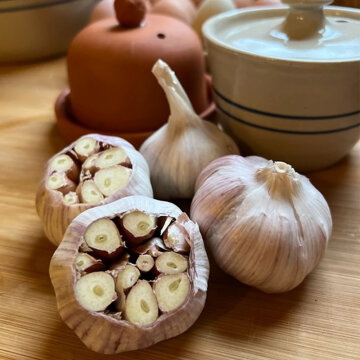
In honor of National Garlic Day, here are 3 different ways I use garlic on my homestead!

If you raise a large number of meat birds and/or plan to raise birds for a number of years, you’ll...
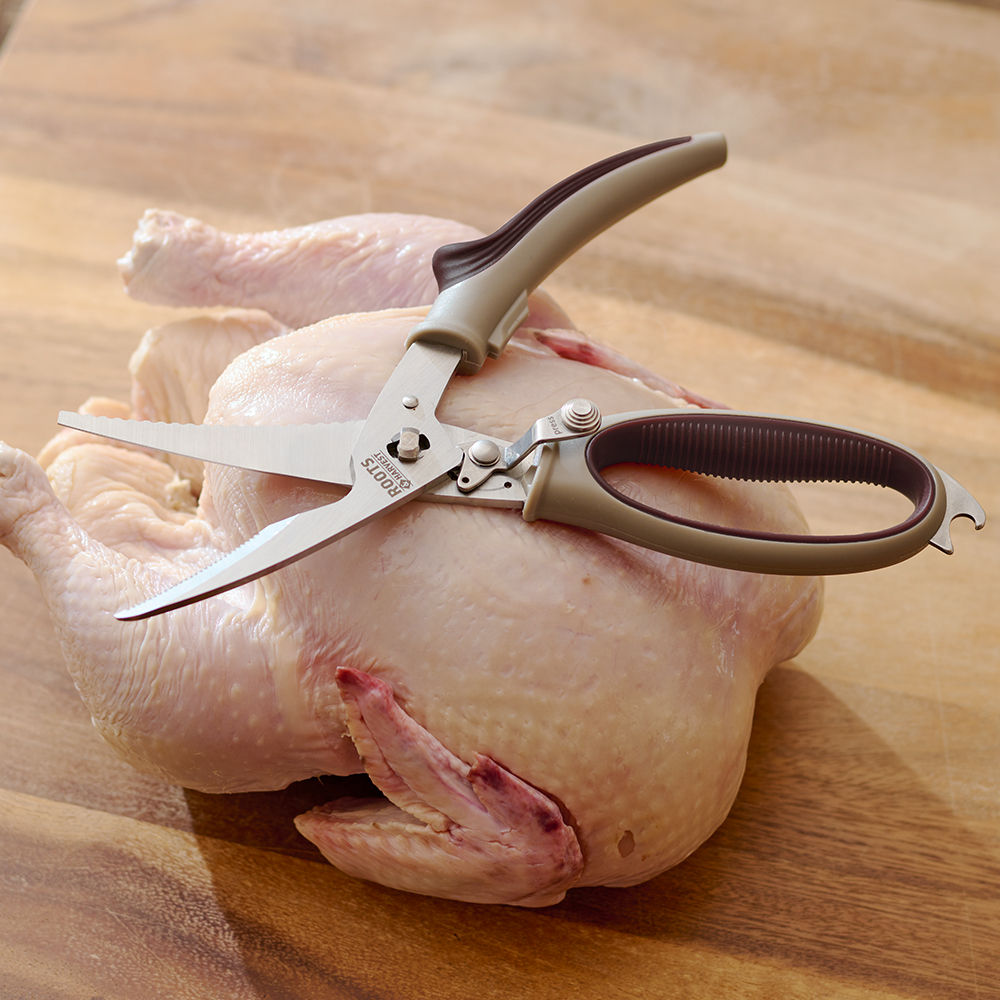
Our poultry shears have heavy-duty, super-sturdy blades that readily cut through cartilage, joints, and bones.