Edit
how to
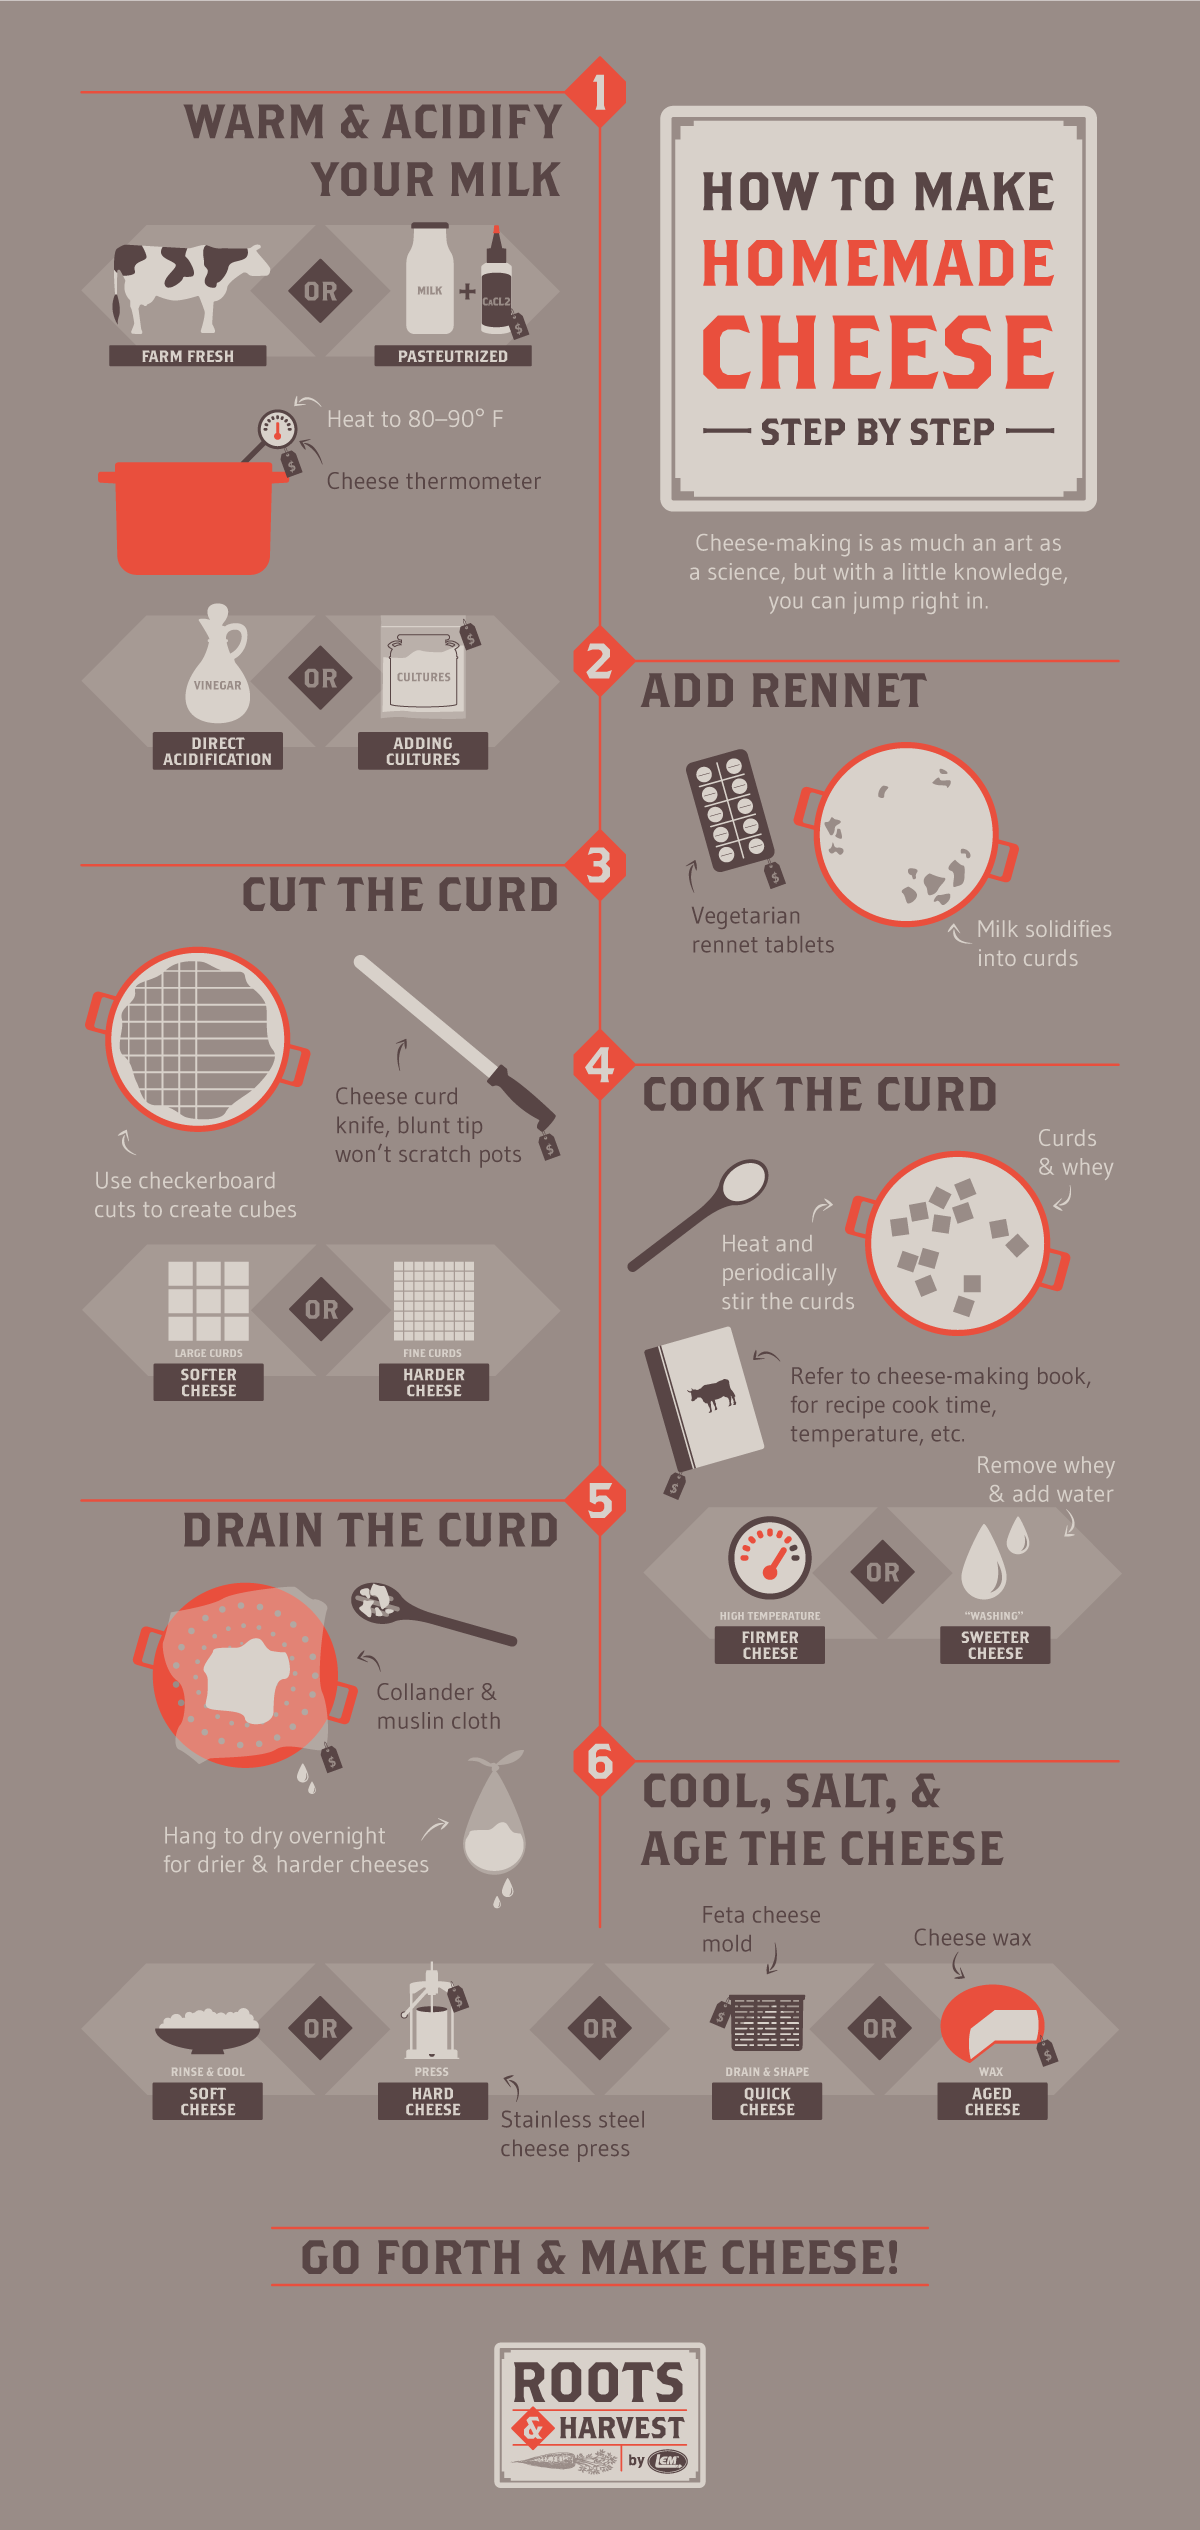
How to Make Homemade Cheese - Step by Step
Posted under: how to, Homesteading, Cooking And Food, Cooking And Dairy
Posted under: how to, Homesteading, Cooking And Food, Cooking And Dairy
There are a number of reasons to make your own cheese, the most obvious being that cheese is delicious. In all its varieties and textures, cheese is a wonderful food that complements and accentuates almost anything you pair it with. It’s also a fantastic way to extend the shelf life of extra milk from something that has to be refrigerated into a shelf-stable product that can be saved for months. Making your own cheese gives you total control of the ingredients, ensuring the only thing that goes into the cheese you serve your family is the ingredients you want, not artificial coloring or additives you don’t. Cheese-making is as much an art as a science, but with a little knowledge, you can jump right in.
If the idea of making cheese at home sounds intimidating, we’re here to help. People have been making cheese at home for thousands of years, and it’s something you can easily learn and do yourself. In fact, the first known use of the term “cottage cheese” dates back to 1831. This easy-to-make cheese was crafted in people’s cottages from any milk left over after making butter. If that’s not enough, there are records of Mesopotamians making a similar style cheese as early as 3000 B.C. If they could do it with the tools they had back then, it should certainly be something you can manage today.
For demonstration purposes, this how-to covers the broad concepts and steps of making cheese, you’ll want to consult a recipe cheese-making book for specifics.
Farm fresh milk is always best if you have it available, warm if possible. If your milk isn’t warm, you’ll want to warm it slowly on the stove. A double boiler or simply placing your jug of milk in a pot of water will help you warm the milk without scalding it. You’re shooting for just above room temperature, between 80-90 degrees. A cheese thermometer is essential for ensuring you hit the target temperature.
If you’re using store-bought pasteurized and homogenized milk, you may add calcium chloride at this point to restore calcium content. Calcium chloride is typically added at the rate of 1/4 tsp per gallon of milk and should be diluted prior to adding.
Once the milk is warm, you’ll acidify the milk by either direct acidification or by adding cultures. Direct acidification means adding an acidic substance like citric acid or vinegar to the milk. Adding cultures creates acid by introducing bacteria that feed on lactose and produce lactic acid. Different methods produce different flavors and different cheeses.
We classify cheese cultures by the temperature at which they work. They are further divided by the bacterial strains they contain, which in turn vary by they type of cheese they are intended to produce.
Mesophilic (medium-loving) cultures work best at temperatures up to 90℉. This shelf-stable mesophilic culture can produce cheeses like Cheddar, Gouda, and Monterey Jack. Thermophilic (heat-loving) cultures work at higher temperatures above 90℉. Generally, mesophilic cultures are used in softer cheese, while thermophilic cultures produce harder cheese. This thermophilic culture can produce mozzarella, parmesan, provolone, romano, swiss, gruyere, and other Italian cheeses. However, some cheeses use a combination of the two types to produce a specific desired texture and flavor. Cultures should be sprinkled on the milk and left to sit to rehydrate for 5 minutes prior to blending in.
Rennet is a coagulant that helps solidify milk into cheese by causing the proteins in your milk to link together and solidify. While rennet was traditionally an enzyme from the stomachs of ruminant mammals, modern rennet are not all animal based. For example, this vegetarian rennet is a microbial enzyme that contains no animal products. Rennet will need to be diluted in a small amount of water 20 minutes before you add it to the milk.
After adding your rennet, the milk should sit for at least 30 minutes or until the curd shows a clean break when cut. The liquid milk will solidify into a gel called curd. The resulting curd will shrink away from the sides of your container. A thin layer of whey may form on top of the curd.
At this point, you’ll have a solid layer of cheese curd atop the remaining liquid. The next step involves cutting it into cubes via a series of checkerboard cuts. The size of the cubes will affect the amount of moisture in your final cheese product, so different recipes will tell you to cut different size cubes: Large curds form softer cheese, while very fine curd forms harder cheese. A curd knife with a blunt tip won’t scratch your pots and can also be used for cake decorating.
Now that you’ve cut the curd into small blocks, you’ll heat and periodically stir the curds. This serves two purposes: Acid will continue to form inside your curds and your curds will begin to dry out during this process. Cook time, temperature, and the amount of stirring depends on the type of cheese and the recipe you’re using. In general, higher temperatures dry the curds more, and produce firmer cheese.
During the cook, you might also “wash” the cheese. This involves removing some whey from your cooking vessel and replacing that with water. This technique will create a sweeter and milder cheese.
After cooking the curd you’ll drain the whey off the curd. While you can use a colander in the sink, a muslin cloth offers you more control of the final product. It allows you to drain the cheese, wrap the resulting curd, and then hang those curds overnight if you prefer a drier, harder cheese. Some recipes might dictate that you use pressure on the curds to drain them quickly. This lets you keep the curds warm so they’ll solidify into a wheel.
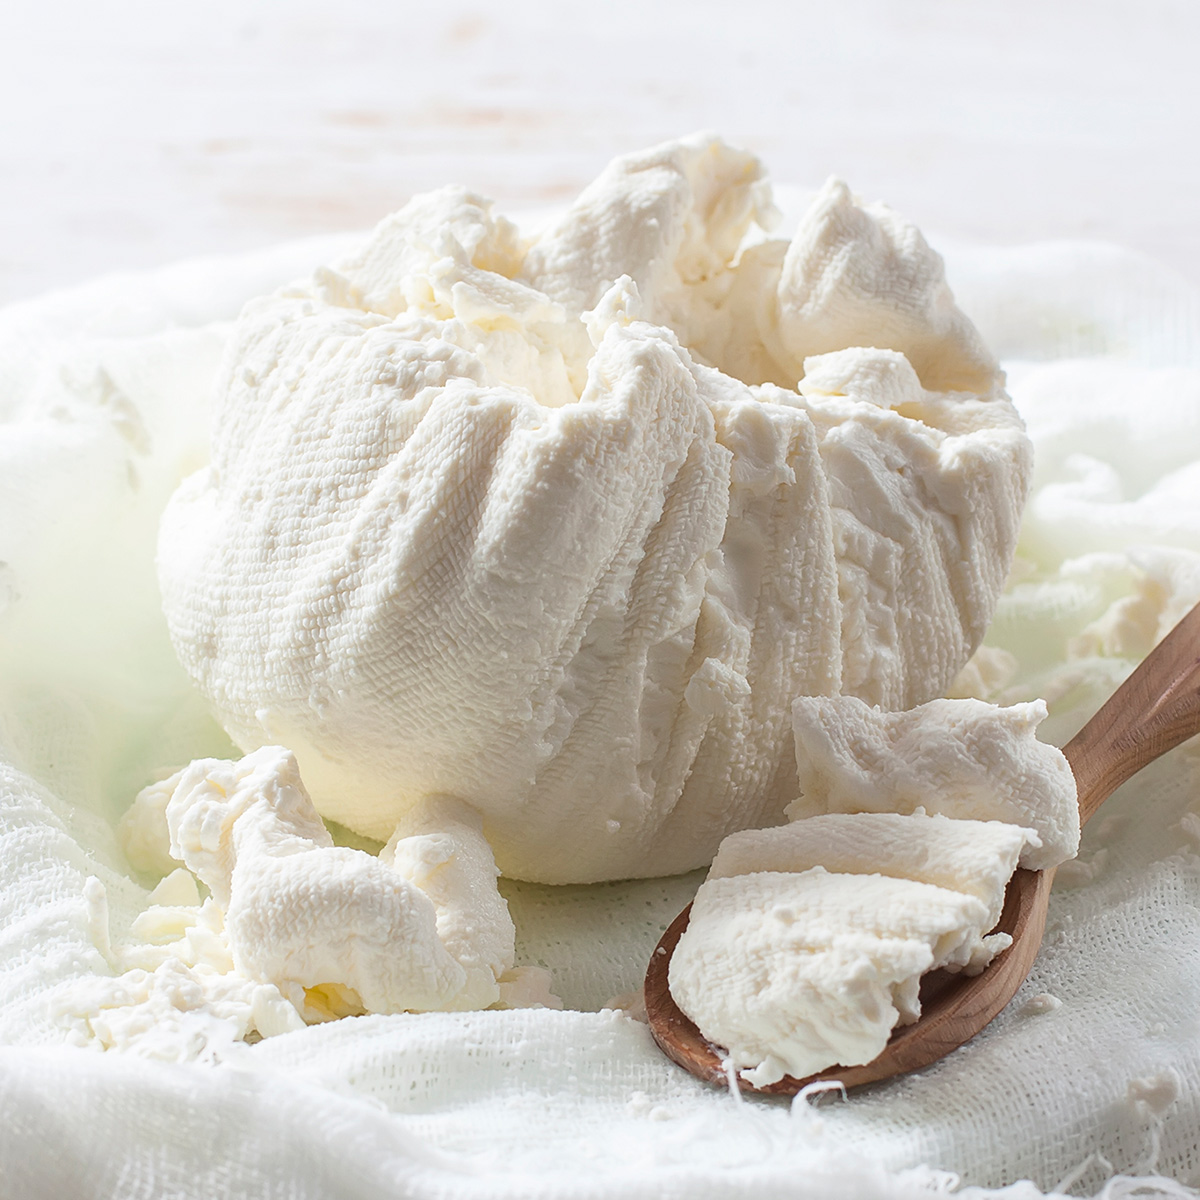
These steps are recipe and cheese specific, but they are the final steps in finishing your cheese. With a softer cheese like cottage cheese, you’re essentially done when you drain the curd. You’ll want to rinse and cool the cottage cheese, and you can add salt and seasonings, but with a soft cheese like that, you don’t need to press it into a wheel or age it further. It’s ready to be eaten.
Some cheeses (like Feta) are finished in a mold or cheese basket that allows excess whey to drain while forming the cheese into a particular shape. This Feta cheese mold is made from food-grade polypropylene plastic and has perforations to allow for drainage of hard cheeses or quick cheeses like Feta.
For hard cheeses like Parmesan or Asiago, you’ll want to use a cheese press to help the curds knit together. A cheese press lets you gradually increase the amount of pressure on the curds while they finish processing. This expels the remaining moisture from the curd and improves the final texture, creating a firm rind on the outside of the cheese and a smooth, uniform consistency inside. It also gives the cheese the traditional wheel shape and readies it for aging. After the curds have been drained to remove any additional trapped moisture, you’ll place them in the cylinder of the cheese press. Follow your recipe or cheese press directions for additional whey extraction. With the Roots and Harvest stainless steel cheese press, compression is as simple as cranking the handle. When the required time has passed, you can open the press and remove your cheese.
You have the option of waxing your cheese before aging, which will prevent unwanted mold growth with retaining moisture in the cheese. This cheese wax will coat up to 20 one-pound cheeses when using the brush-on technique.
Now that you know the basics, you’re ready to start making your own cheese. Knowledge in hand, find some milk, grab your supplies, and set out to make some cheese.
In honor of National Garlic Day, here are 3 different ways I use garlic on my homestead!
If you raise a large number of meat birds and/or plan to raise birds for a number of years, you’ll...
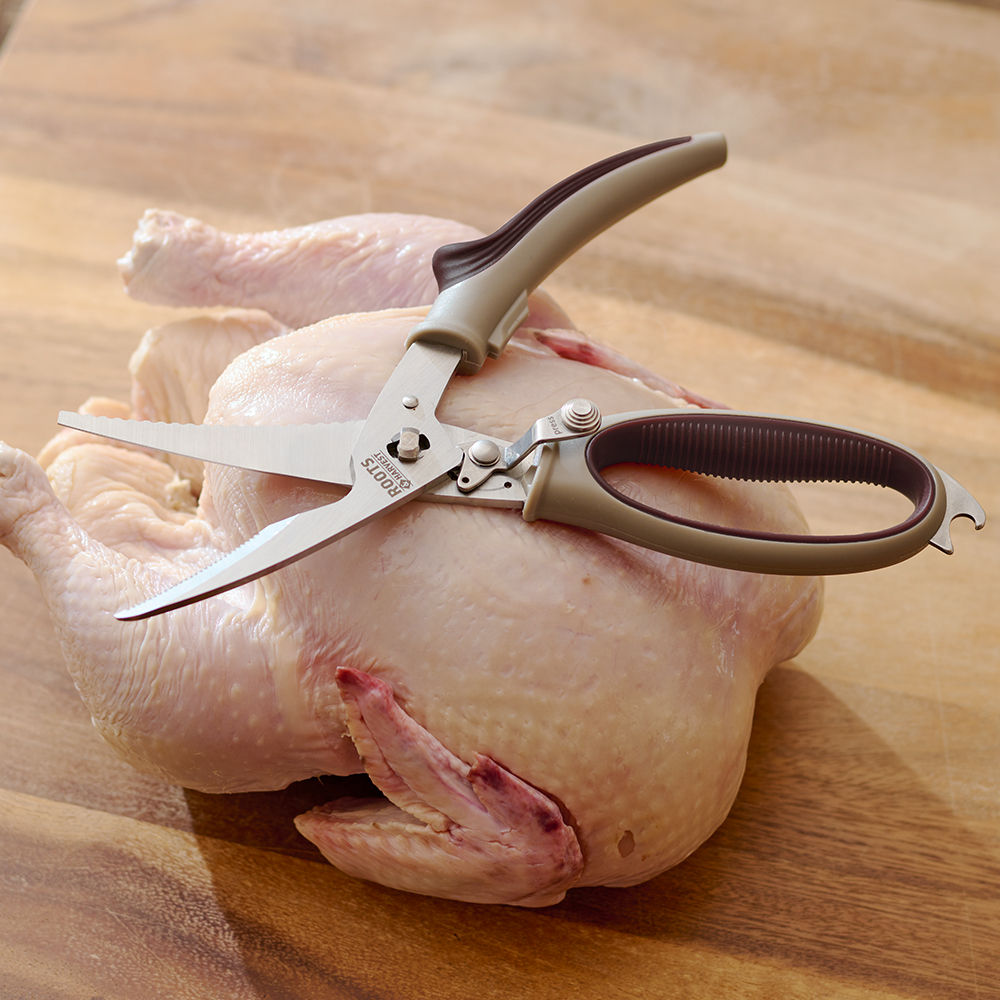
Our poultry shears have heavy-duty, super-sturdy blades that readily cut through cartilage, joints, and bones.