You heard the news. Frost is on the way, and your pepper plants are laden with fruit still… of different shapes, sizes, and colors. Or perhaps you are just ready to be done with the garden, and it is time to pull the plants and get all the remaining produce possible.
Don’t be sad. Every summer must eventually come to an end. And we have a way to enjoy part of that summer bounty all winter long. Fresh organic peppers are pricey. Frozen organic peppers? Forgot about it! But what if you could make your own frozen peppers, of mixed colors no less? It’s easy.
First, harvest… pick your peppers! Note, one of the best parts of freezing is damaged or partially right peppers are perfect candidates
Next, if needed, wash the peppers off.
Then, dry. Extra moisture will pose a problem when freezing, so dry off or allow the peppers to dry before moving forward. We just toss them on towels to sit for a few hours.
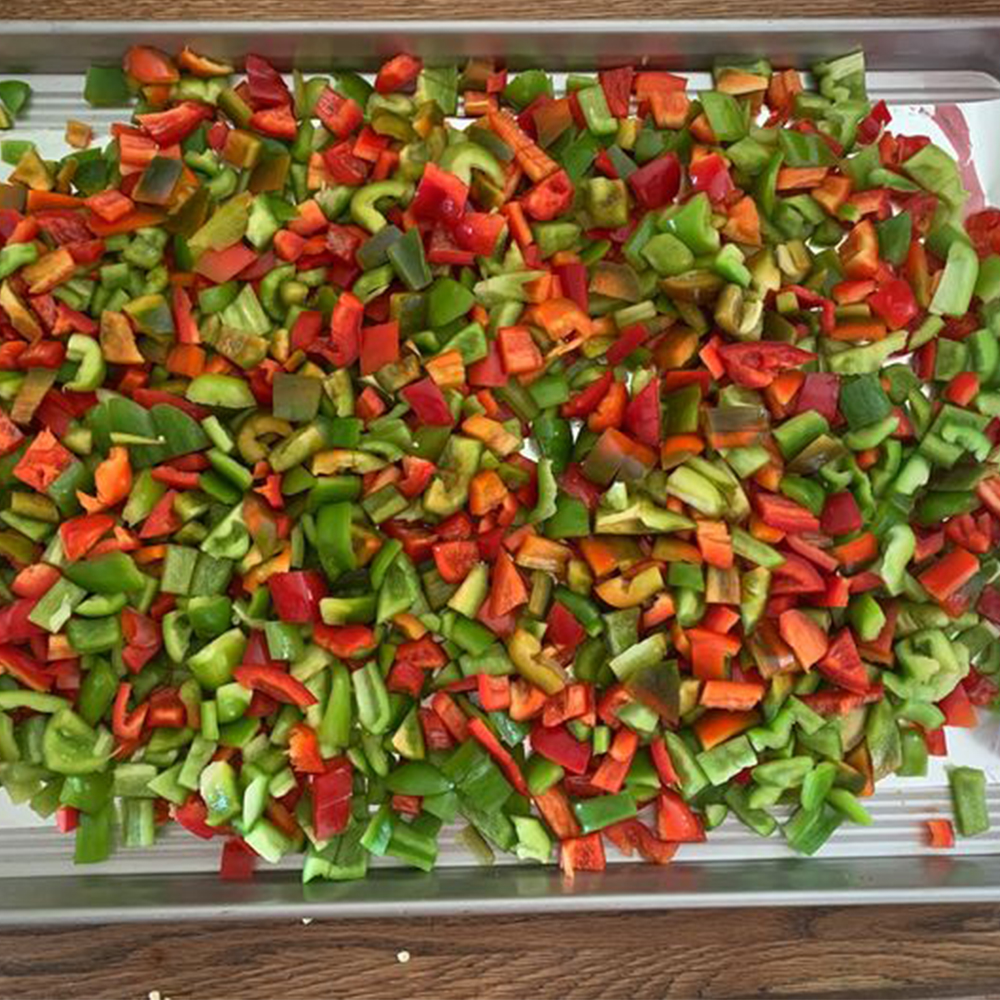
Now, prep - You have two options - slices and squares. How you do it depends on how you like to use peppers. Since we mainly use them in omelets and similar dishes, squares work well for us. No real tips here - just get to work slicing and dicing the peppers to the size and shape you prefer. Any damaged, imperfect, or unusable areas and spots go into compost.
At this stage you need to decide to do you want to store your peppers separately - reds, oranges, greens, yellows, and whatever other colors you have, or mix them all together knowing later this is how you plan to use them.
Almost done, portion - this is a key step. Portion the peppers into weights or amounts that you actually use! If your recipe requires a cup of peppers, then divide them into cups. If it calls for a pound of peppers, then pound them out! This will make life easier later when cooking time calls. Sometimes we portion before freezing, sometimes after.
Note, you can get away with doing double, triple, or even quadruple what you need, and then eyeballing or weighing some out from the frozen bags later. Just note that once you unseal the bags, you need to use the peppers within a few weeks so keep that in mind when you decide just how much to store.
Spread and freeze - The trick here is to have a cookie or similar sheet or tray that will fit inside your freezer or chest freezer. Spread the peppers on a tray - not too thick - and stick them into the freezer. It will take them about eight or so hours to freeze. This keeps your peppers from becoming one giant frozen clump that is hard to work with later.
Before you pull them out of the freezer, make sure you have everything ready to store them.
We used to use Ziploc bags or simple plastic bags. While these work okay, after a few months in the freezer, you get icing and possible freezer burn and other issues. So, we now vacuum seal longer term storage peppers using the Sure Seal.
Vacuum pack - select a bag size that works for your portion of peppers. Quickly put the peppers into the bag, vacuum pack and seal the bag, and then toss them right back into the freezer!
There you go, now you have ready to cook peppers all winter long, easy to pull out when the recipe calls for it.
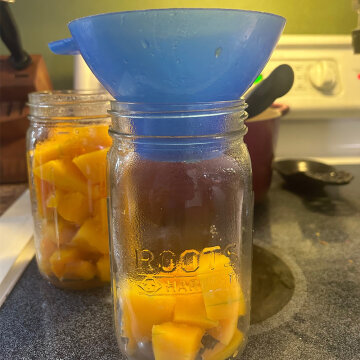
Have some spare jars and a few too many pumpkins? A few years ago, our house was full of… pumpkins....
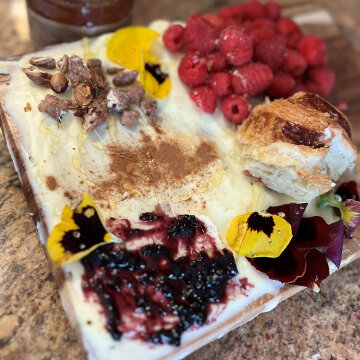
Butter Boards! You’ve seen the in-foodie magazines and social media as the latest greatest trend … but in truth, they’re...