
From starters to scoring patterns, you may have tried your hand at a loaf or two of sourdough - or perhaps you simply watched your friends take the challenge. While it is true you could spend years perfecting your sourdough game, with a few tips and tools you too can achieve the chewy, crispy-crusted loaves of your dreams.
You may have heard of heirloom sourdough starters that are decades old, or your friend’s beloved starter lovingly named and tended to. Sourdough starters are the basis to making sourdough bread, and provide flavor, as well as act as the main leavening agent in lieu of commercial yeast. Starters are created by allowing natural airborne yeasts to culture in flour and water and you can make them right at home! A gooey mixture of flour and water is set out on the counter and allowed to sour over a week or so. When your starter is ready, the mixture will have bubbled up, fallen back on itself, and have a characteristic sour scent.
If you’d like to jumpstart the process you can obtain a bit of starter from a friend, or purchase a dehydrated starter culture. Take your pick! Once you’ve got a sourdough starter, you can keep it in the refrigerator indefinitely as long as you regularly (every week or two) discard a portion and feed it fresh flour mixed with a bit of water.
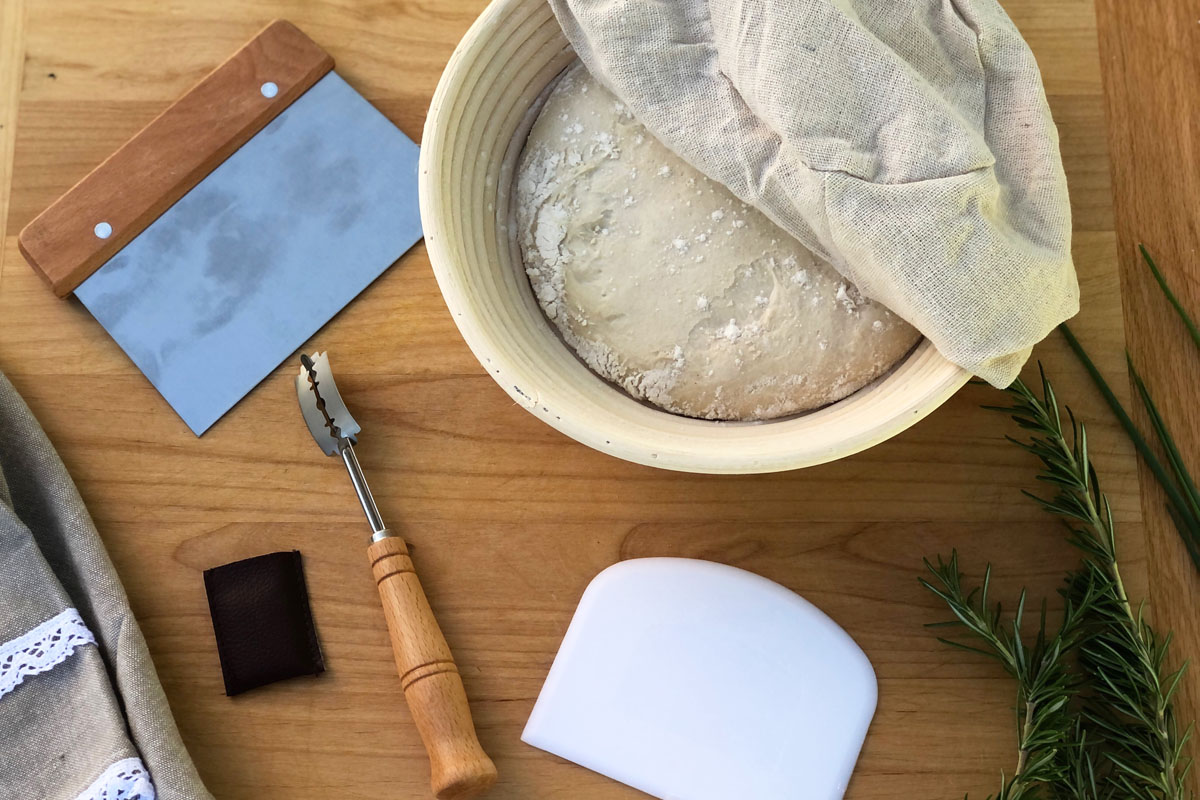
 There are a multitude of sourdough bread recipes out there, and if you are obtaining a starter from a friend, they will probably have a favorite to share with you. Making sourdough is a process that requires time and practice, but there is certainly nothing like slicing into a loaf of fresh-from-the-oven bread. Traditional tools of the trade include dough scrapers for handling the sticky dough, wicker bannetons (proofing baskets) for allowing the dough to rise and making picturesque circlets of flour on the loaf tops, and a razor-sharp lame for scoring the loaves so they do not burst open during baking. Bread cloches or Dutch ovens are also excellent helpers, although a simple baking sheet will do in a pinch. Once you’ve assembled your starter, a good recipe and something to bake your bread on, the fun begins.
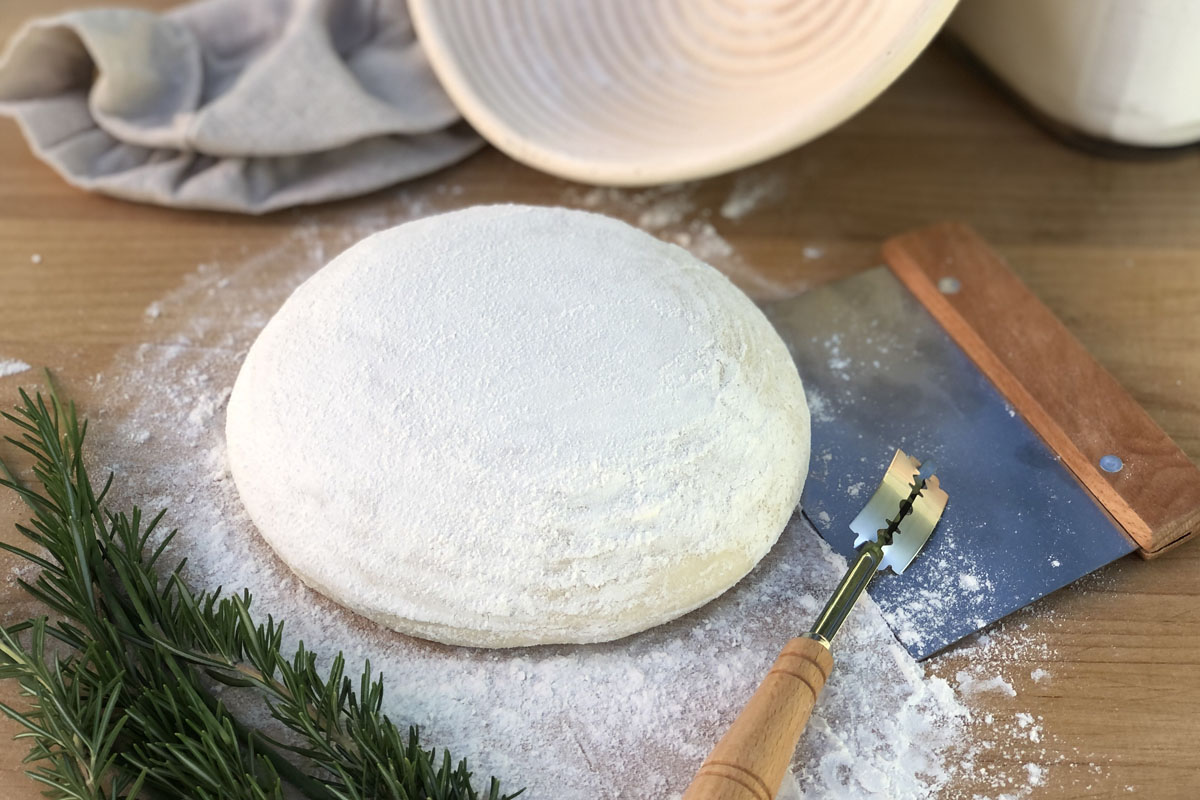
Follow your recipe, mixing your starter with carefully measured flour, water, and salt. Allow a slow rise before adding any herbs or flavorings, shaping and then proofing the loaves in special baskets or on parchment paper.
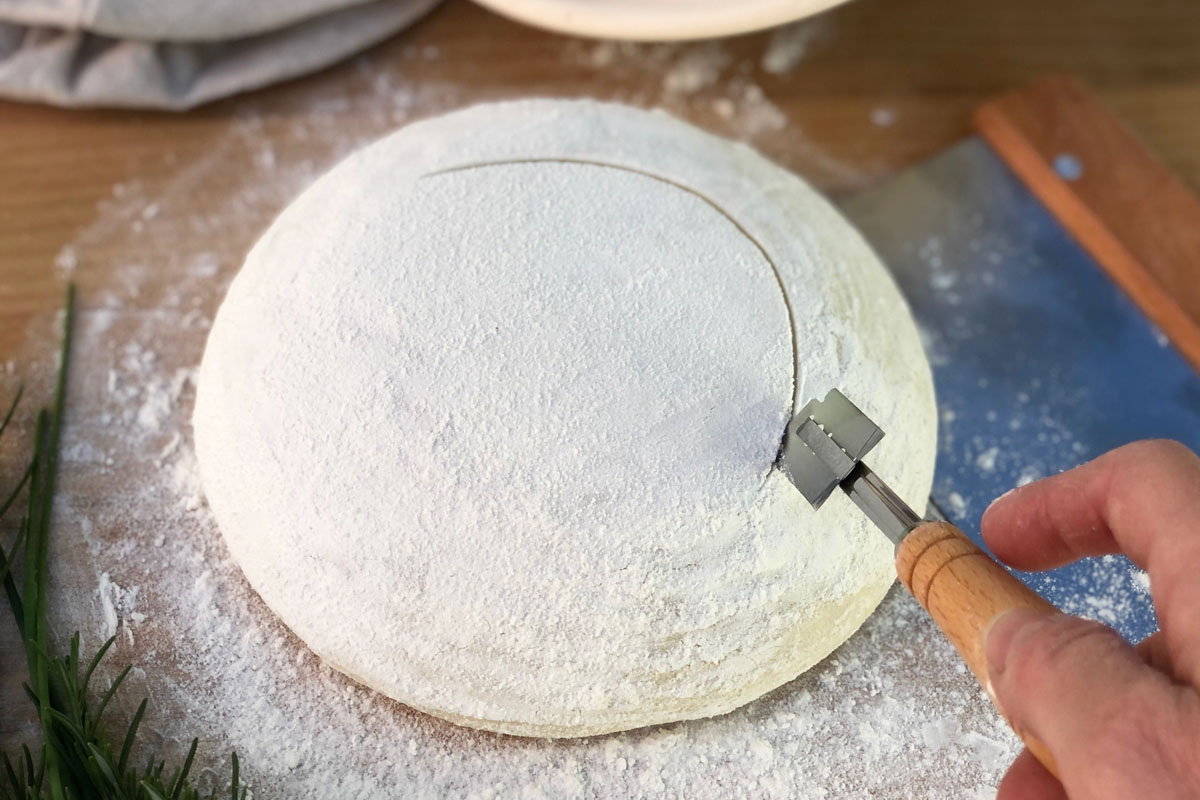 Once your dough has been shaped and reached its final rise, place the dough topside up and use a very sharp blade or sourdough lame to score a design into the top. There are dozens of designs traditional scoring patterns, or you can simply make up something on your own. The Roots & Harvest sourdough bread kit includes a pamphlet with twenty-six different scoring patterns to try. For my loaf I went with a simple half moon curve. When you get to the point of scoring your loaf, your oven should be preheating.
 In order to obtain a crispy, crusty sourdough loaf, there are several tricks. Most importantly, preheat your oven! I start with a high temperature of 450°. If you are using a pizza stone or a cast iron Dutch oven, it is a good idea to preheat them in the oven and add the loaf when the oven is at full temperature. If you are using a ceramic bread baker or cloche, follow the manufacturer’s instructions. A Dutch oven or cloche will help to steam the loaf, which creates a nice crust. If you are not using a covered baking dish, simply use a spray bottle to mist the loaf lightly with water when you add it to the oven.
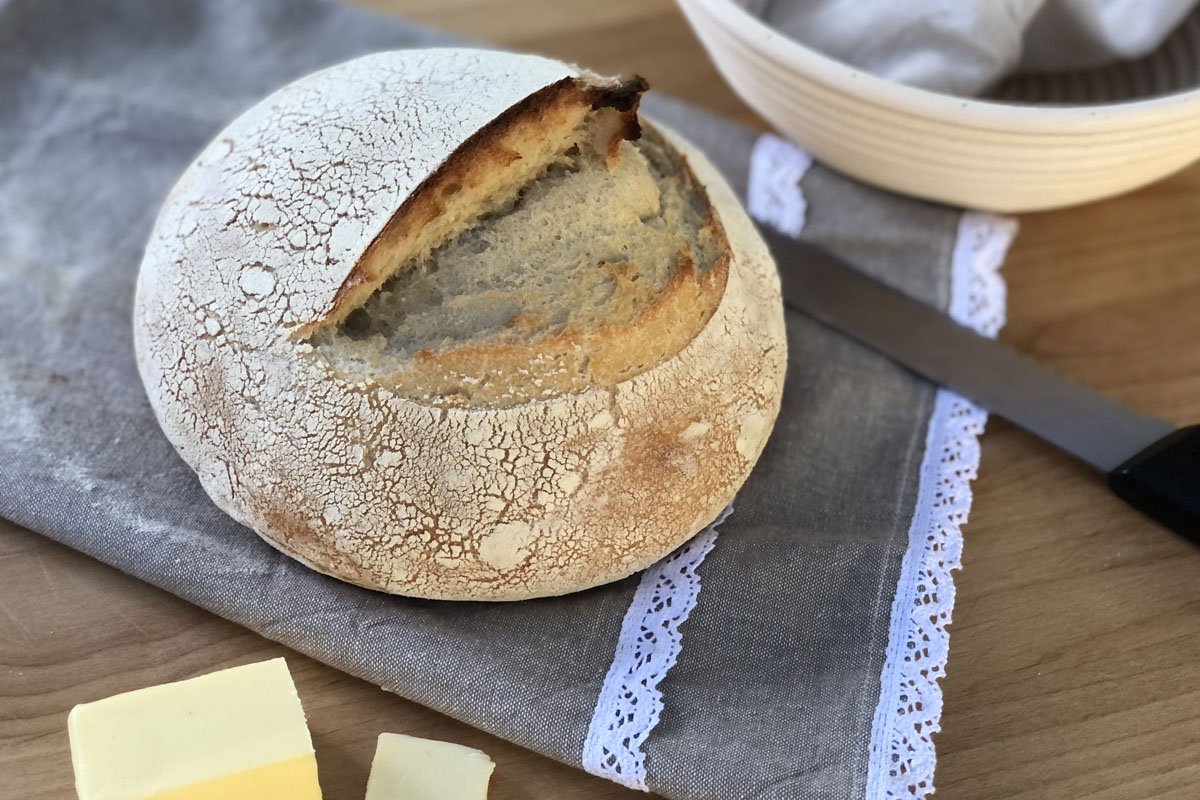
Bake your loaf for approximately 20 minutes at 450°, then turn down the oven to 350° and continue baking for another 20-25 minutes. When the loaf is finished it will sound hollow when you tap the underside, the internal temperature will read around 210°, and the loaf should be golden brown and crusty.
Above all, practice is what will yield you perfect sourdough loaves, so grab your flour, scraper, and lame, and have fun in the kitchen!
 Sienna Orlando-Lalaguna is the owner and maker behind Sienna Ceramics. She is a foodie, urban gardener, and plant-lover with a background in professional cooking. Her interest in food preservation stems from a love of local, organic produce, and a desire to extend the harvest from season-to-season. Sienna is interested in reviving the knowledge of fermentation, and bringing this ancient process back into modern communities like yours!
In honor of National Garlic Day, here are 3 different ways I use garlic on my homestead!
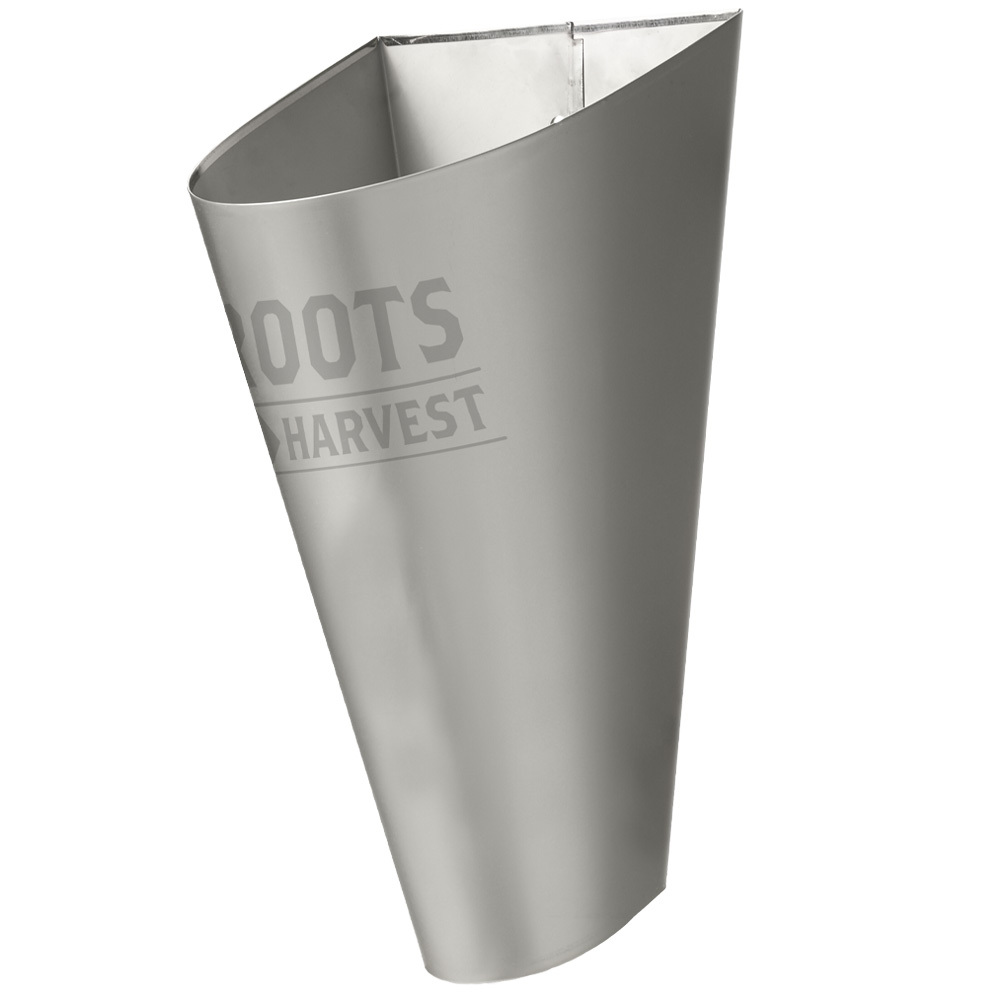
If you raise a large number of meat birds and/or plan to raise birds for a number of years, you’ll...
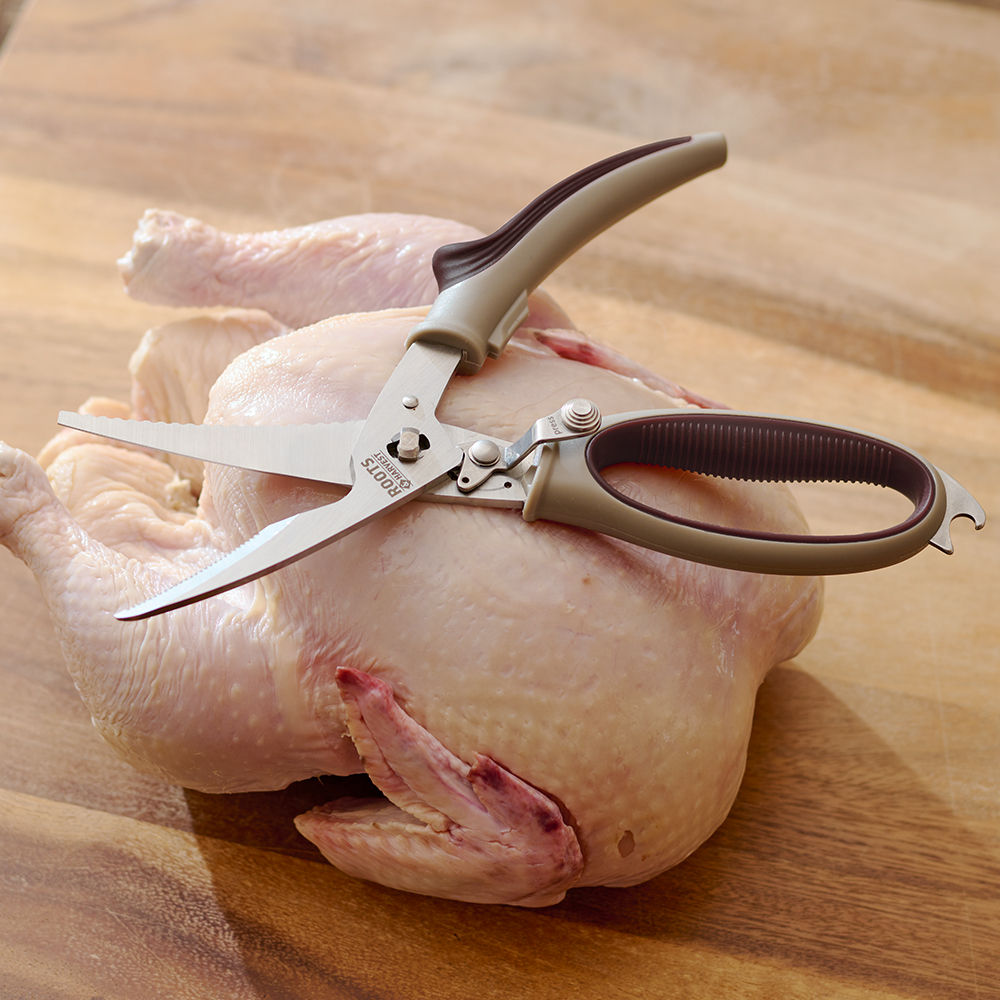
Our poultry shears have heavy-duty, super-sturdy blades that readily cut through cartilage, joints, and bones.