Edit
healthy living
Why Vegetables Should Be Fermenting In Your Kitchen
Posted under: healthy living, Homesteading, Food Preservation, Fermentation And Pickling
Posted under: healthy living, Homesteading, Food Preservation, Fermentation And Pickling
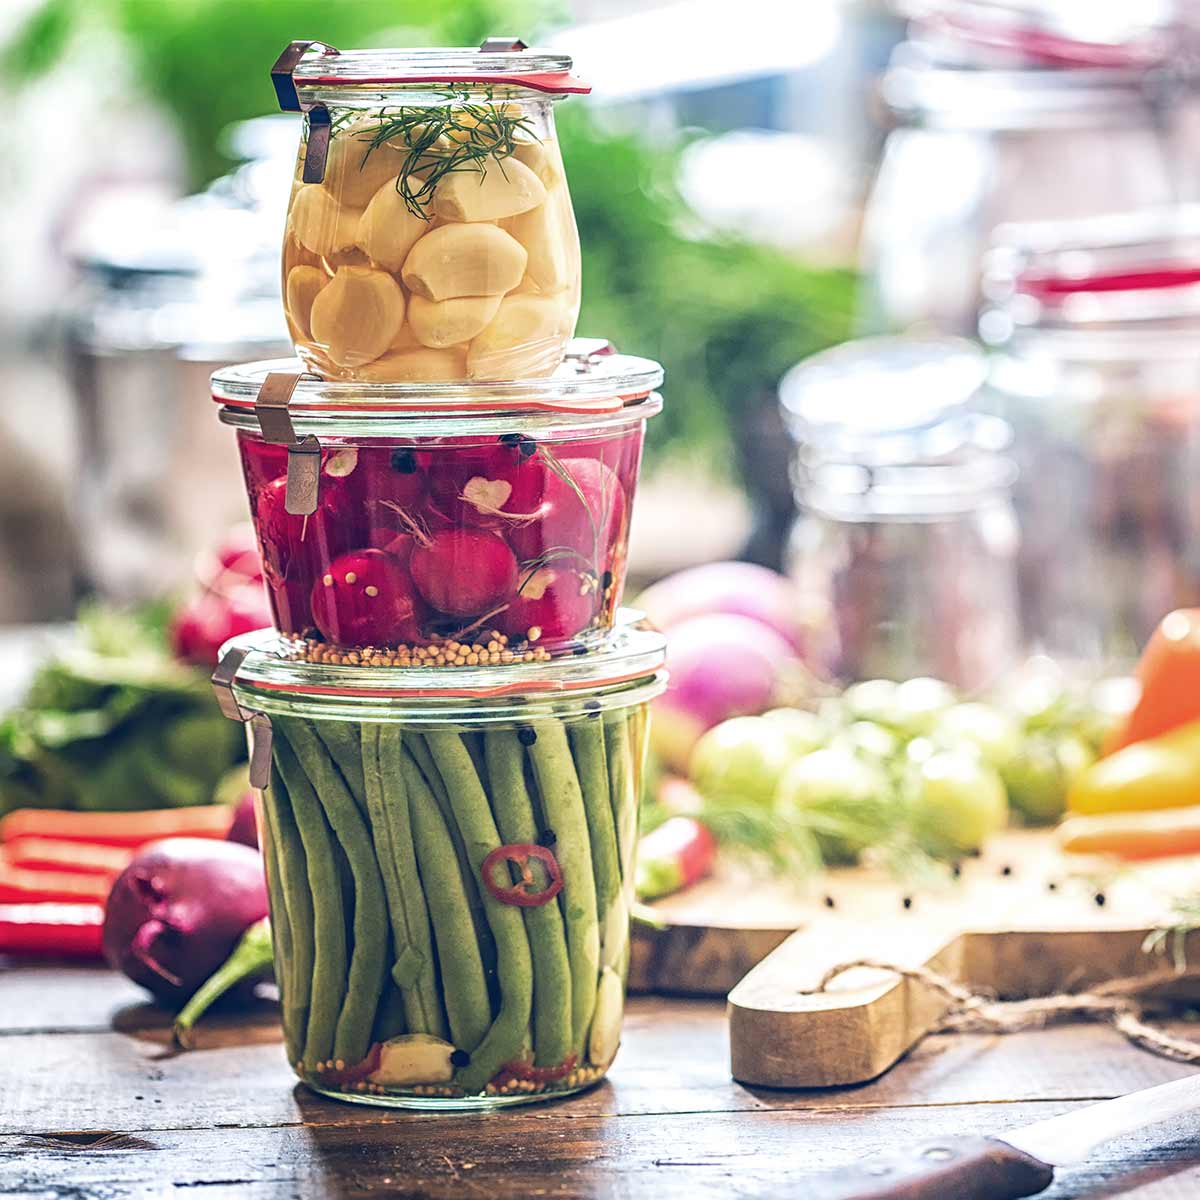
If you don’t have vegetables fermenting in your kitchen right now, you’re missing out. Fermenting vegetables by preserving them in liquid improves their nutritional profile and results in a tangy, crunchy, delicious final product. Kimchi and sauerkraut are popular variations, but almost any vegetable will ferment when submerged in liquid with salt and / or another starter culture added. Fermented vegetables also last for many months, allowing you to enjoy the flavorful vegetables of summer all year round.
 Why should you try fermenting your own vegetables? Well, eating fermented vegetables is good for you. Fermented vegetables contain probiotics that will help the balance of bacteria in your digestive system. Having a healthy balance of gut bacteria helps your digestive system absorb more of the nutrients from other foods you eat. These are the same kinds of probiotics you see advertised on TV and sold in capsule form, except these are all-natural and cost you nothing. Also, fermenting vegetables is a simple and low-cost process that requires very little effort beyond the initial preparation. Finally, the process preserves fresh vegetables well beyond their normal shelf life, keeping their nutrients intact for much longer periods of time without the nutrient loss you’d expect from heating and canning. We should note that fermented vegetables will not last as long as canned vegetables, as the latter process is better suited for longer-term preservation.
Salt, vegetables, and water. From these three ingredients, you can make an almost limitless list of fermented vegetables. And while you can add a starter culture to change the flavor and get things moving, the basic process requires only those three items. How is that possible? Vegetables ferment because harmful bacteria can’t tolerate salt. When you set out to ferment vegetables, you add salt and water to fresh vegetables. This creates a brine solution that lets the bacterial magic happen. The salt kills the harmful bacteria while the bacteria we want to grow (Lactobacillus) gets to work. If you read our blog about make your own yogurt or make your own sourdough, you might recognize this process, as both yogurt and sourdough bread are fermented foods. As with yogurt and sourdough, the Lactobacillus bacteria converts lactose and other sugars into lactic acid, imparting that signature fermented tang, but more importantly, creating a natural preservative that keeps vegetables edible and preserves their nutrients.
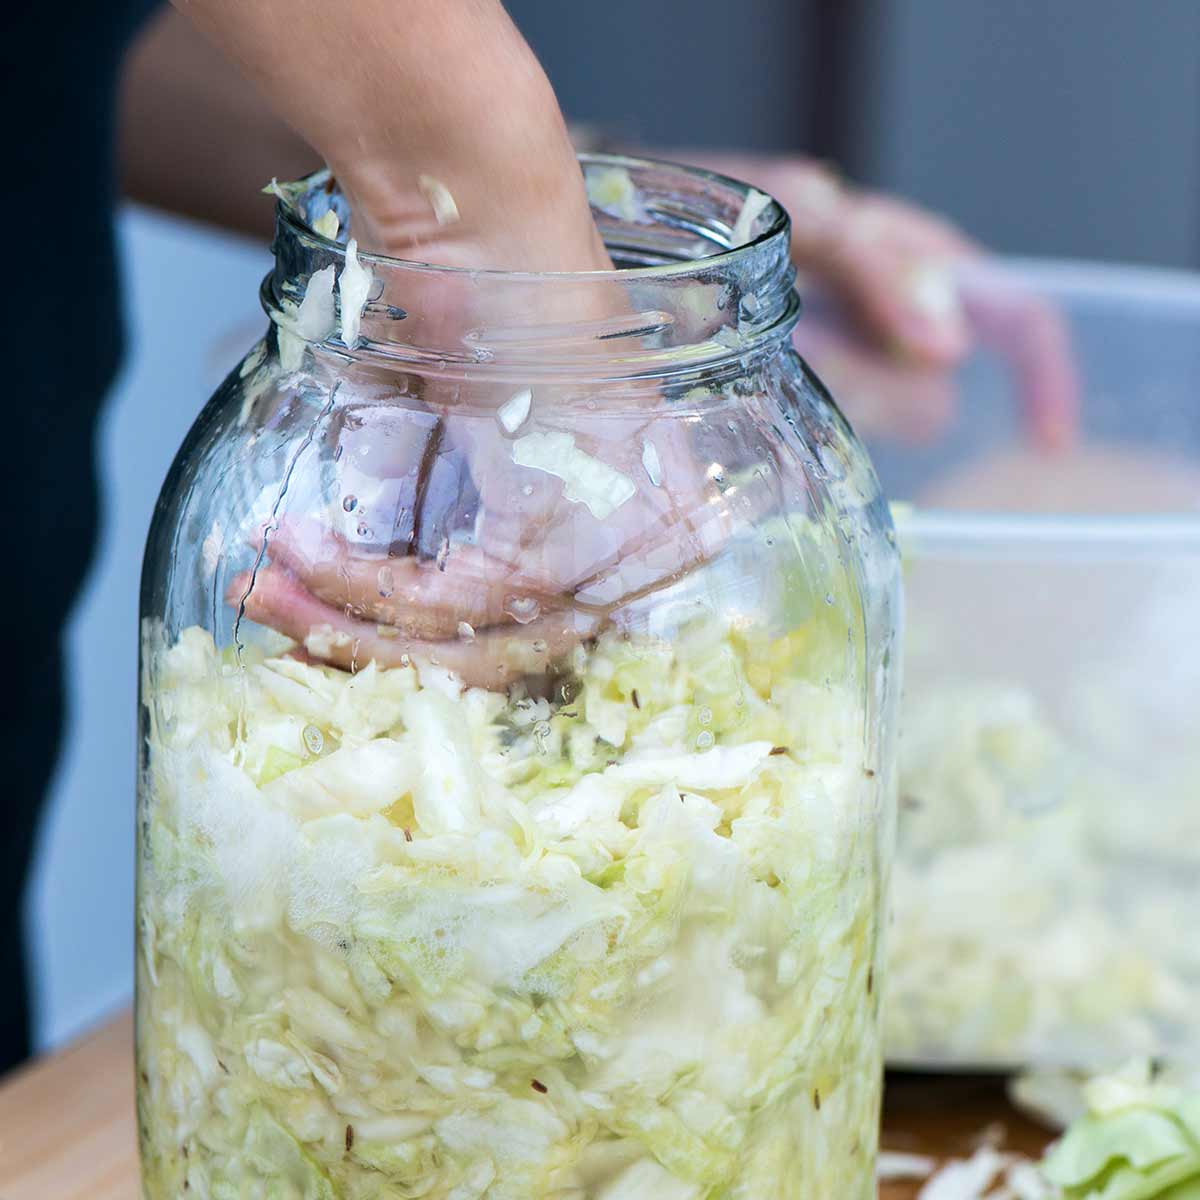
 The equipment required to ferment vegetables is very simple. You’ll need knives, a cutting board, (both of which you probably already have,) and if you want to shred cabbage for sauerkraut, you’ll need a cabbage cutter or shredder. The second, more specific, type of equipment you’ll need is a fermentation vessel. The road forks here into two options: you can use mason jars or a fermentation crock.
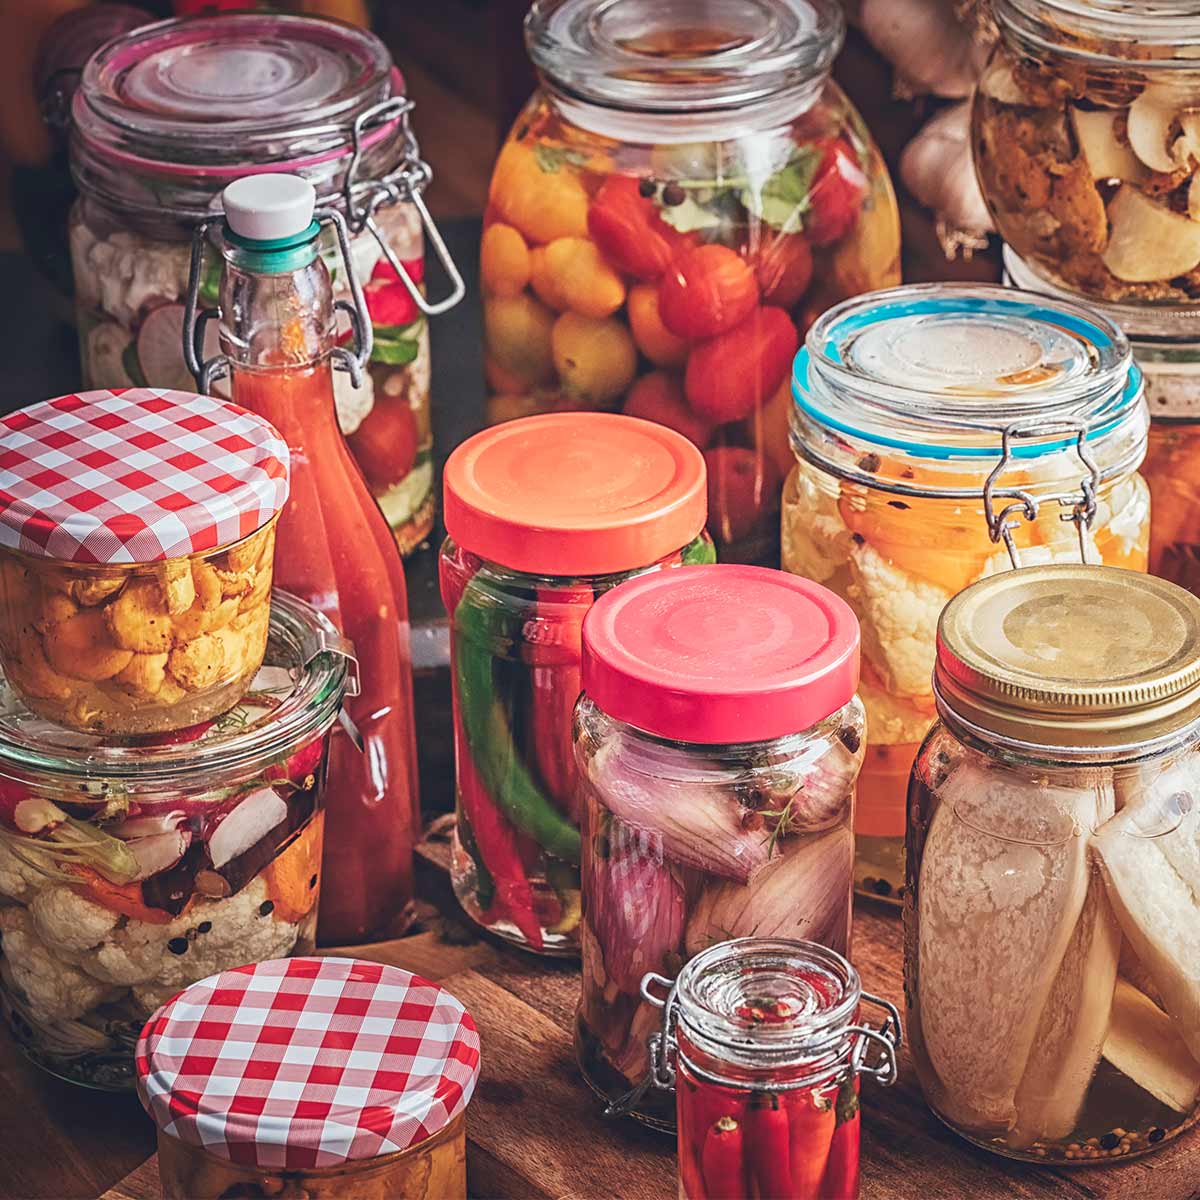
 Fermenting in mason jars is a great low-cost way to get started. You’ll need to be careful about exposure to UV light, but that can be managed. Along with the jars themselves, you’ll need weights that fit into your jars and some type of airlock. The airlock allows carbon dioxide to escape without letting oxygen in. Letting carbon dioxide out keeps your jars from building up too much pressure. Keeping the oxygen out prevents mold from growing on your fermenting foods. Our pickle pipe airlock lets you make fermented foods easily with one-piece, self sealing airlock that don’t require daily monitoring or maintenance. Or, if you’re fermenting cabbage into sauerkraut, you might also check out our Farm Steady Kraut Kit.
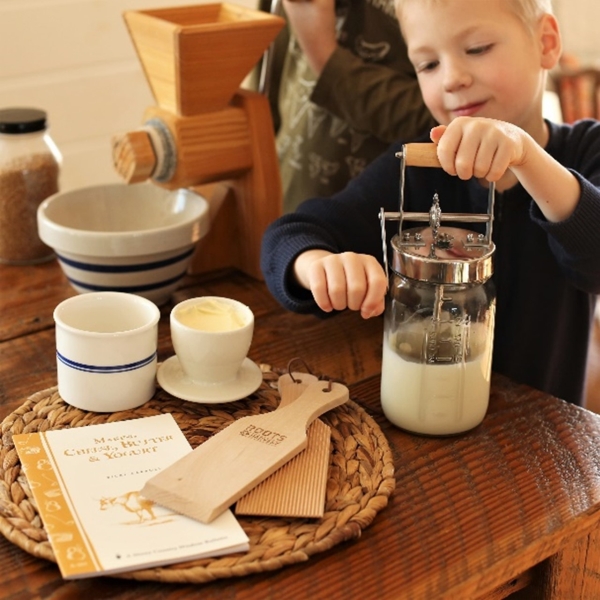
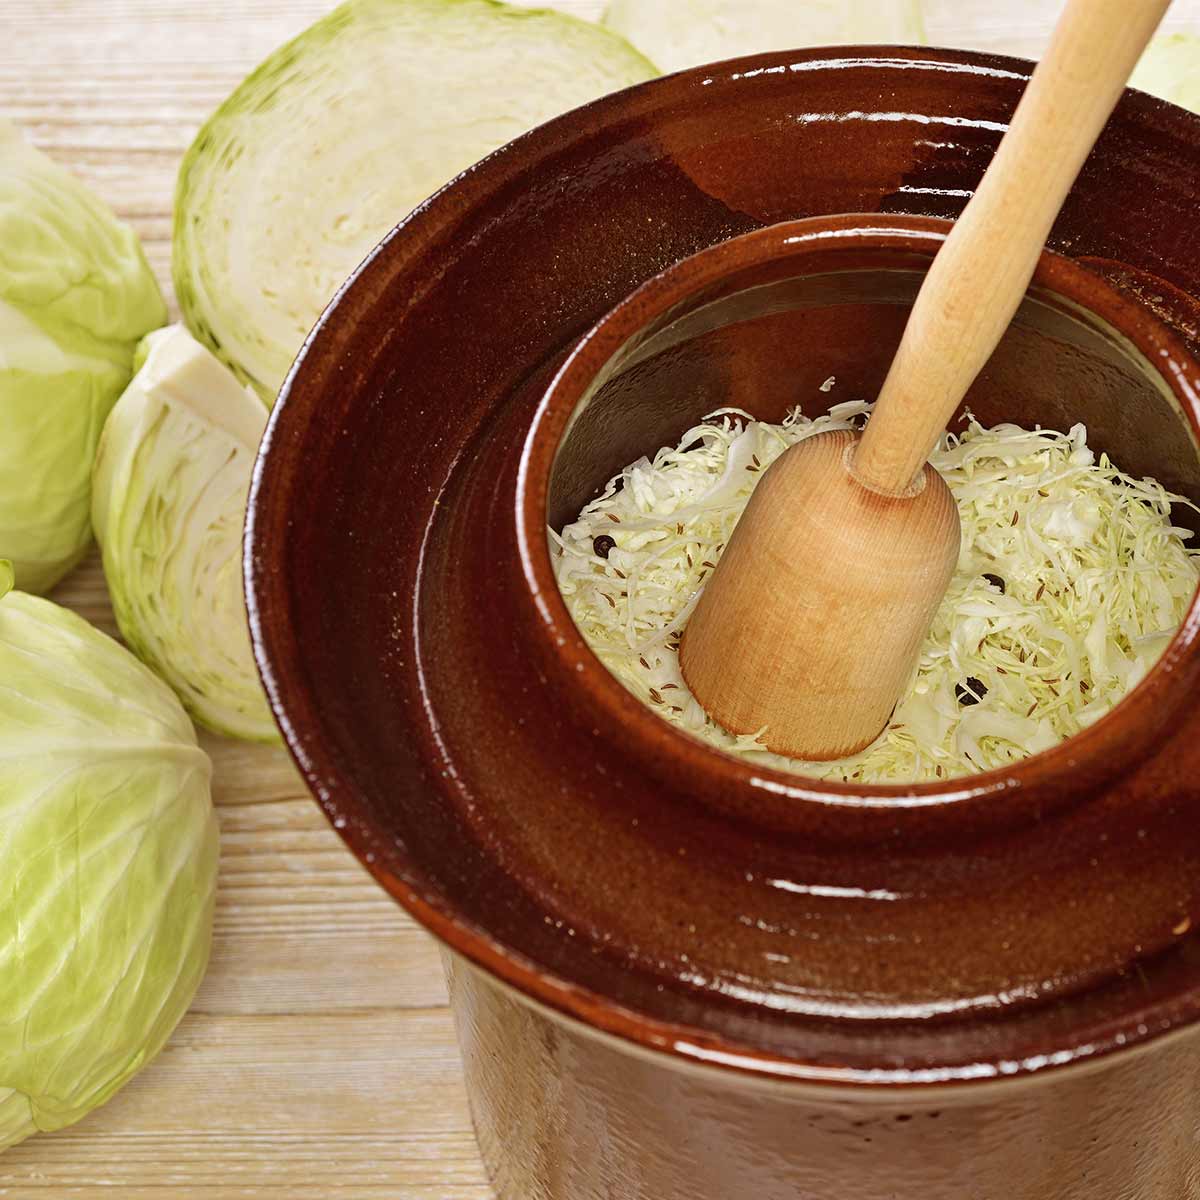 While you can use a mason jar, fermenting in a water seal or traditional crock has several advantages over a jar. Fermentation crocks are opaque, which protects your fermenting food from sunlight. UV rays from sunlight kills the bacteria that produce lactic acid, stopping the fermentation process. Fermentation crocks are also designed to keep fermenting foods in an anaerobic or oxygen-free environment while also offering a built-in vent for gas produced during fermentation to escape. Finally, the thick ceramic walls of a fermentation crock insulate the reaction happening inside, keeping the vegetables warm as they ferment. If you don’t already have everything you need, our Fermenting Kit includes a water-seal crock, a traditional triple blade cabbage cutter, a wooden stomper, and our Favorite Pickles and Relishes recipe book.
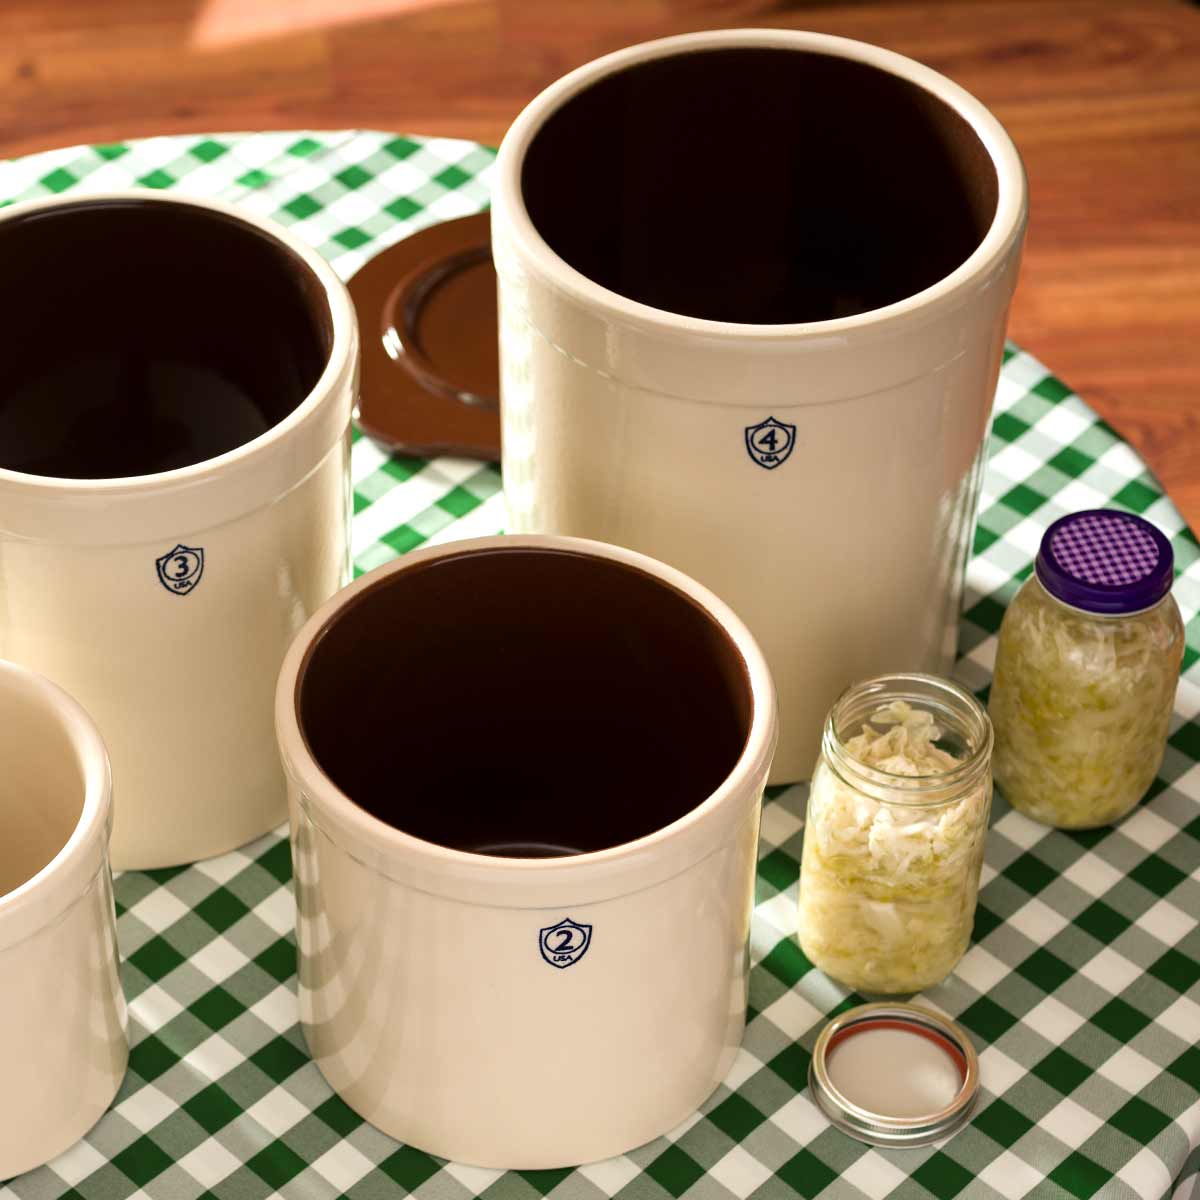 Fermentation crocks come in two types, water seal vs. traditional. Both types are large, opaque, ceramic jars with heavy half-circle ceramic weights that fit inside to hold your vegetables under the surface of the brine. The difference is in the top of the jar. A water seal crock has a lip at the top that holds water to create an airtight seal for fermenting while allowing carbon dioxide and other fermentation gasses to escape. No need to open the lid to check in, just add water to the lip as it evaporates. A traditional crock is covered with a flat lid or cloth that allows the gasses produced to escape while keeping other bacteria out. No matter which version you prefer, both create a better environment to ferment vegetables than a mason jar. A water seal crock does a better job containing the smell of fermenting vegetables, but will require occasional refills when the water evaporates. A traditional crock is usually less expensive than a water seal crock.
 When stirring or packing your fermenting vegetables, always use wooden utensils. Never use metal utensils or ordinary pots or pans from your kitchen, as aluminum, copper, and silver all react to the acids found in fermenting vegetable brines, and can harm your ferments and cultures.
To make your first batch of fermented vegetables, follow this list.
With the information here and the equipment you have in your kitchen or available from Roots & Harvest, you’ll be on your way to making tasty, nutritious fermented vegetables in no time at all. And so, without further ado, let the fermentation begin.
Besides the obvious reasons for going to a market and getting delicious food, the market is full of a product...
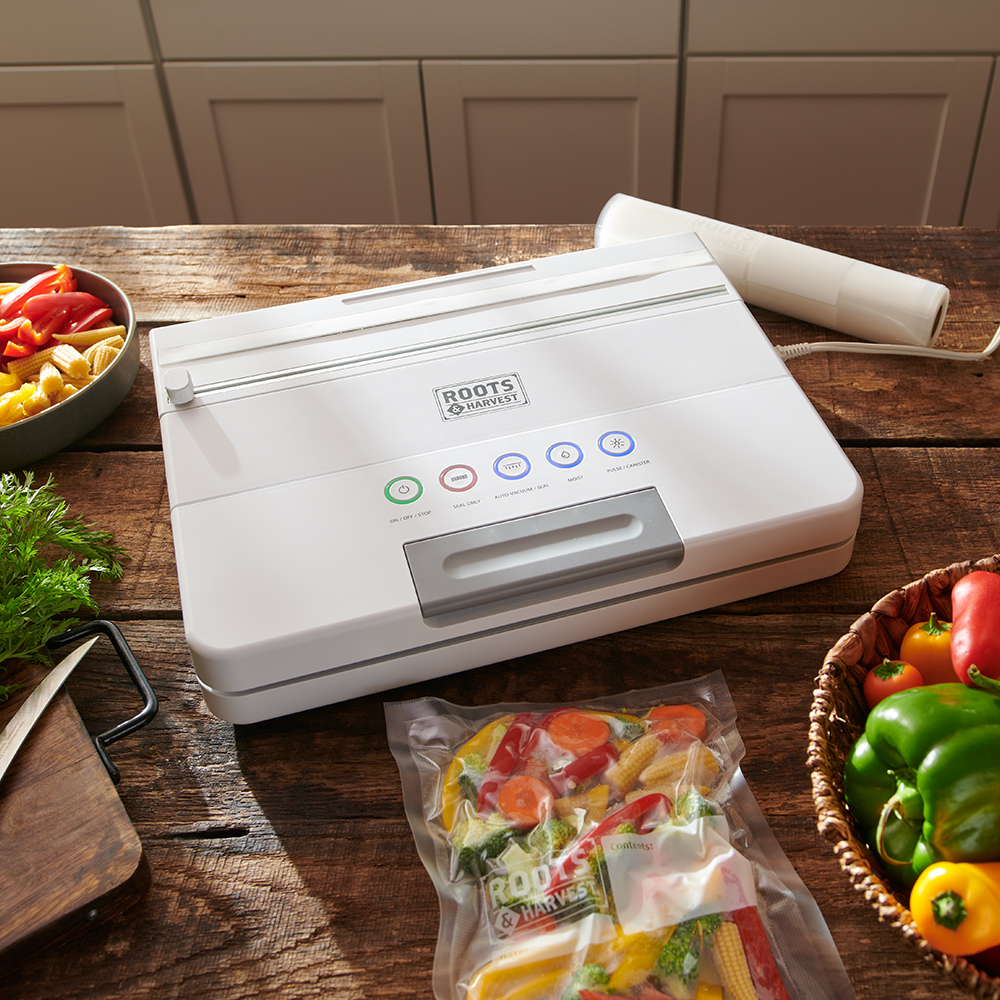
We designed this vacuum sealer with a convenient magnetic roll holder that is easily removed for two-person cutting and sealing,...
You can accomplish so much more than you may think without acres of land. How do you start? Right where...