Edit
healthy living
Put A Summer Garden In Your Winter Pantry
Posted under: healthy living, Homesteading, Food Preservation, Canning
Posted under: healthy living, Homesteading, Food Preservation, Canning
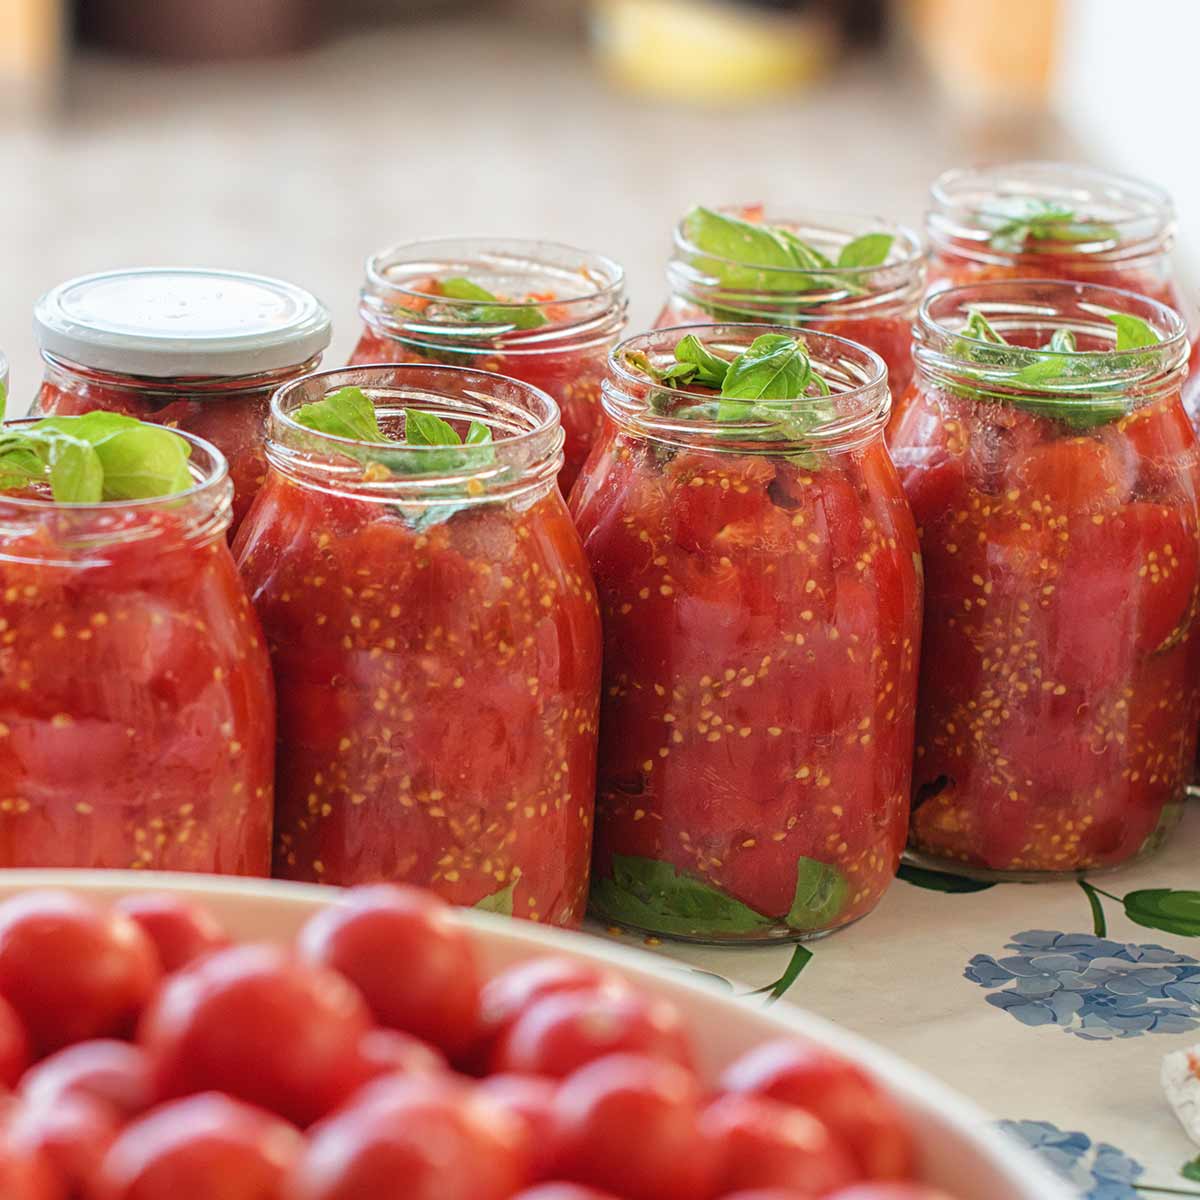
There’s nothing like a ripe summer tomato, tender, rich and summer sweet. Sliced fresh over the sink, sandwiched between bacon, lettuce, and bread, or simmered down into marinara sauce, it’s as if you’ve condensed the summer sun into a ripe, red, ball of joy. But, come January, the fresh taste of tomatoes feels as far off as those warm summer days. That is, unless you were smart enough to remove and save some of those fresh tomatoes you grew in your garden when the days were warm. With a little preparation and the right equipment, you can save and enjoy the flavors of summer vegetables all year long.
Anyone who’s ever gardened knows the pressure of having more ripe and ready-to-eat vegetables than you have mouths to feed. You don’t want to let your hard work go to waste, but you can only eat so many carrots in a day. We usually give the extras to friends and neighbors, but after the third basket, even they’ve had enough summer squash. It’s a common problem, and home gardens can generate a significant amount of waste if you’re not selling or preserving what you don’t eat right away. Canning offers a great solution.
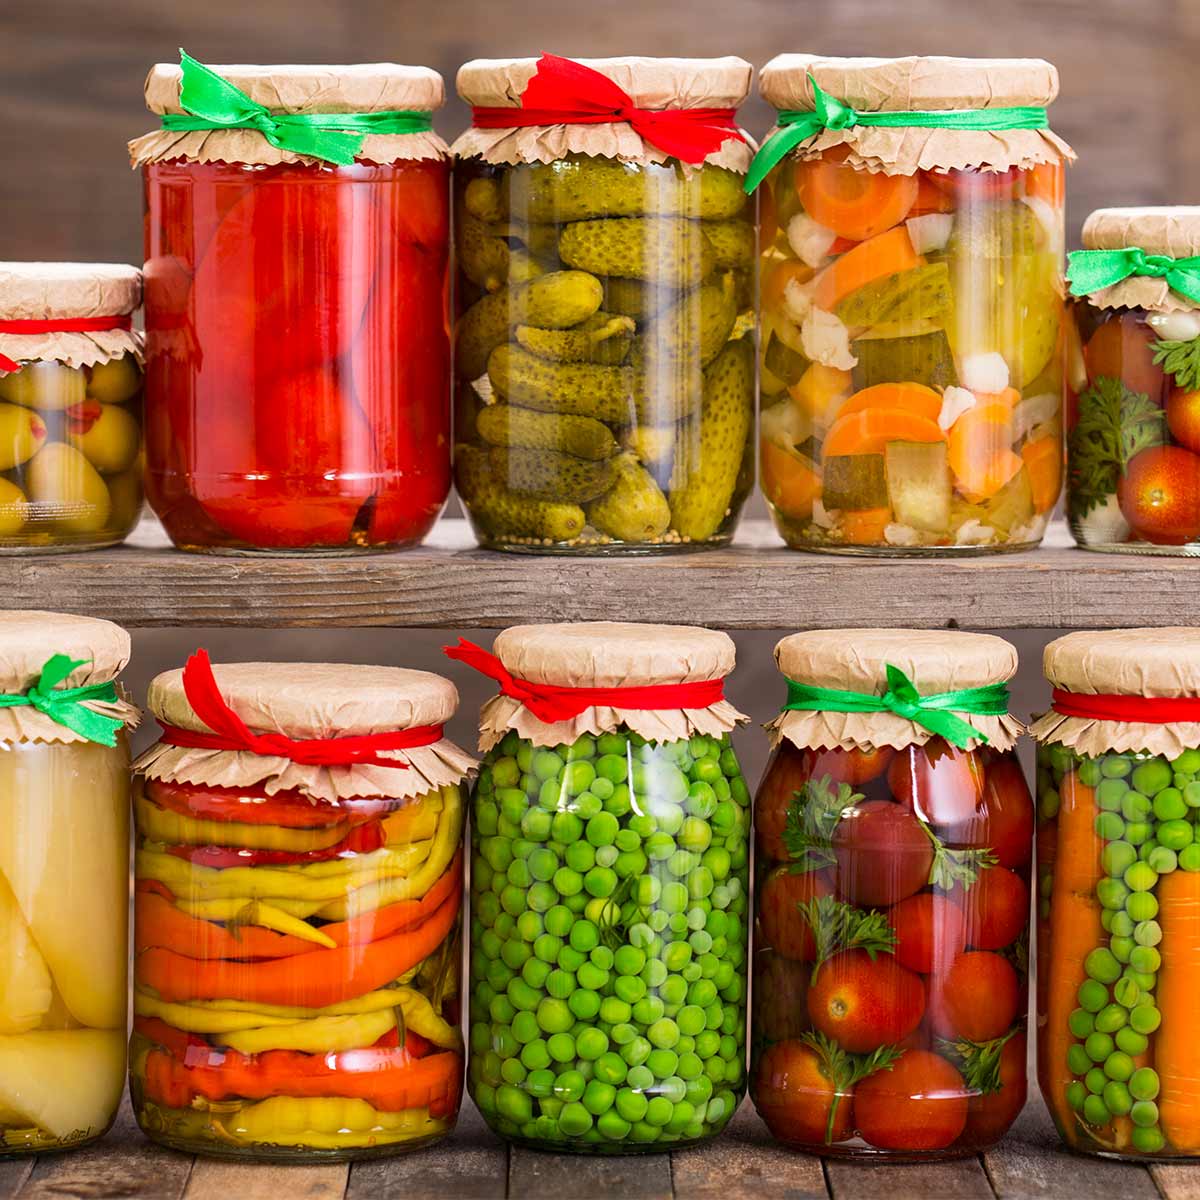
Home canning fresh vegetables maintains both the quality and freshness of newly picked veggies and greens. And these aren’t like the store-bought canned vegetables, packed with preservatives and chemicals. Open a jar of home canned carrots and the smell alone will convince you this is something that belongs in your kitchen. You’ll also have convenient, ready to cook vegetables on hand for whenever you need them. And while frozen vegetables are delicious, you don’t have to give up valuable freezer space to preserve vegetables you’ve canned. Once you’ve preserved fresh vegetables via canning, they’re shelf stable at room temperature all winter long.
The time to get creative with fresh vegetables and greens is after they’ve been safely preserved via canning; The preservation process is not the place to play around. Time and temperature recommendations should come from a reputable source like the USDA’s National Center for Home Food Preservation (NCHFP). Based on our experience, we’ve included a list of do’s and don’ts here.
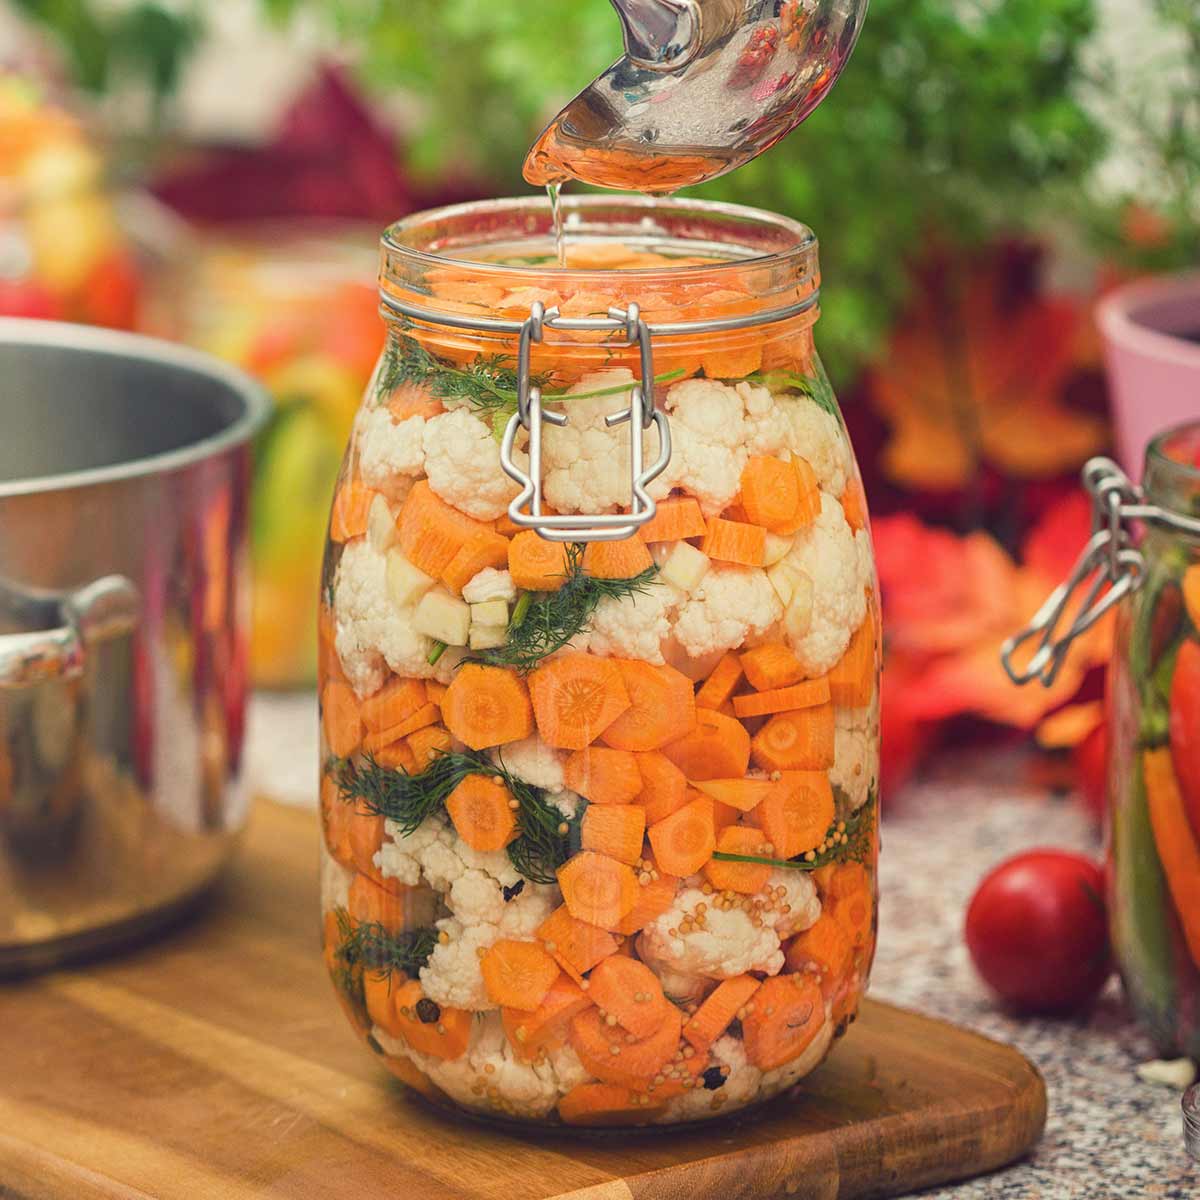 The following list of vegetables are commonly canned, and you’ll be able to find safe and tested recommendations for processing times on each of them. For the high-acid items like tomatoes, it’s possible to can them safely in a water bath canner, but most of the vegetables on this list should be canned in a pressure canner. The higher temperatures possible in a pressure canner kill the bacterial spores that can grow into botulism, which is a must for safely preserving vegetables.
What follows is a list of vegetables that while delicious fresh, should not be canned, for different issues. With some, it’s a density issue, the pressure required would basically turn them to mush. With others, there wasn’t enough demand to create a safe standard for canning that particular vegetable. Lettuce? Who wants canned lettuce? And others develop too much flavor, as the canning process can concentrate the flavors already present in a vegetable. If you’d like to learn more about how these time and temperature recommendations came to be, read this blog on Healthy Canning. Or, if you’re stuck wondering what to do with all this leftover cabbage, eggplant, and broccoli, check out our blogs on making Sauerkraut and Fermenting Vegetables.
 If you’re starting from scratch, our ultimate canning kit comes with 10 essential canning tools including a pressure canner. But, if you already own some of the essentials, you can simply add what you don’t have from the list below.
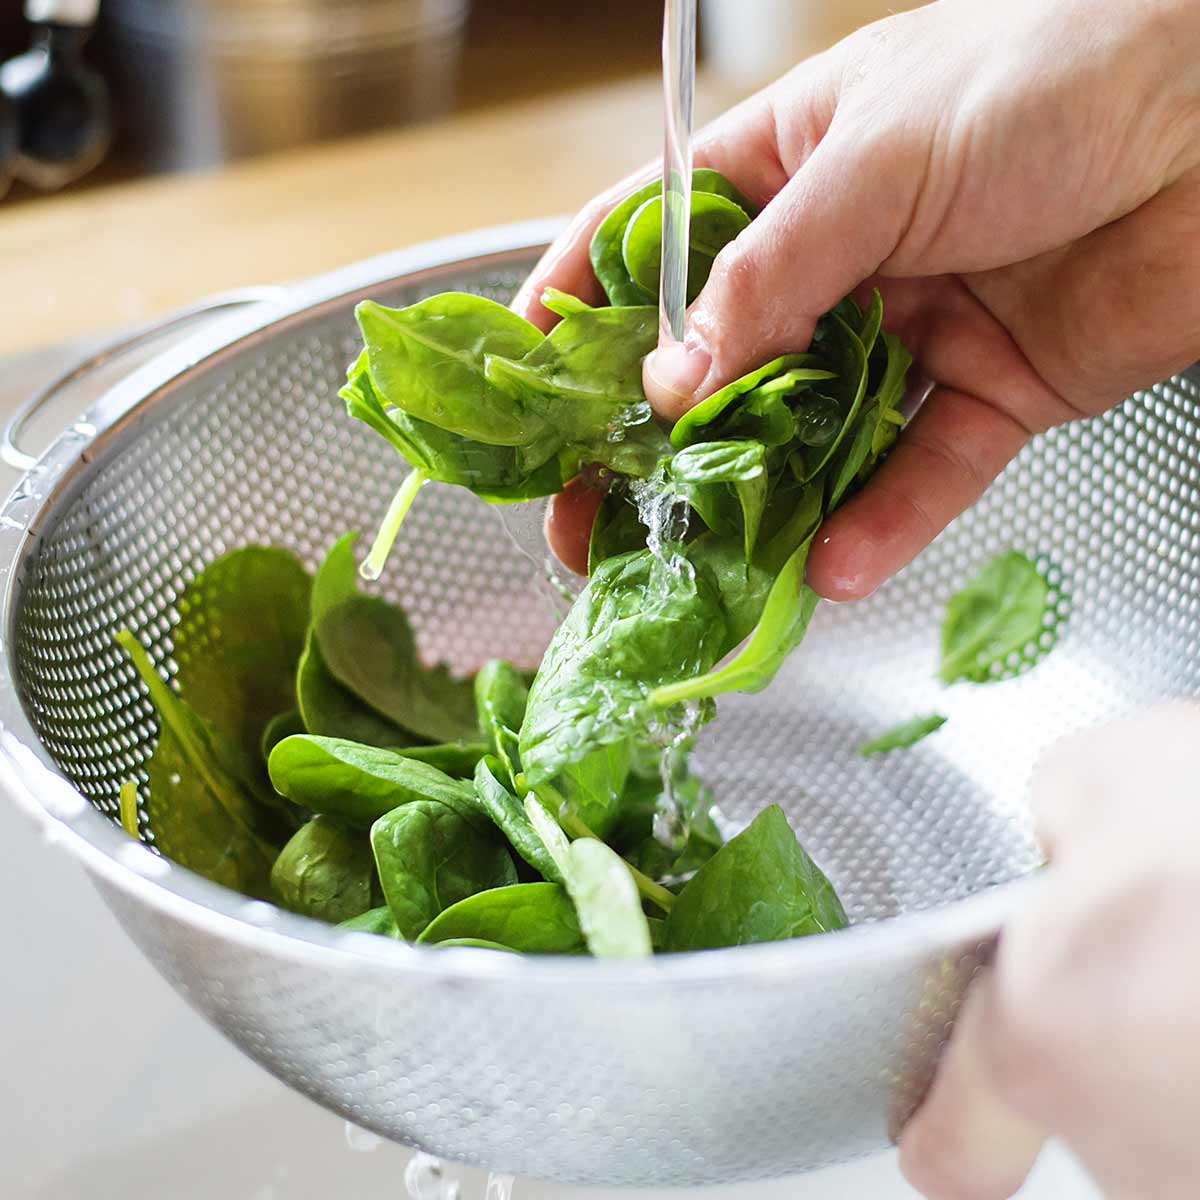 Begin by checking the USDA Complete Guide to Home Canning for a specific pressure and processing time recommendation. In this case, we’ll use spinach as an example, but for each of the vegetables where a tested and safe canning recommendations exists, you’ll find it in the USDA guide. Obviously, you should start with freshly harvested spinach, the fresher the better. Quality in means quality out, so make sure to pick the best, freshest greens to can. Throw out any wilted, yellowed, damaged, or discolored leaves.
 Use a spatula to release the air bubbles that may be trapped in your greens or at the sides of the jars, and adjust the headspace as necessary.
We hope you’ve enjoyed this article on canning vegetables and fresh greens, and don’t forget to always check the USDA guidelines for Home Canning to ensure safe food preservation. Now, go out there and put some summer in your pantry.
Besides the obvious reasons for going to a market and getting delicious food, the market is full of a product...
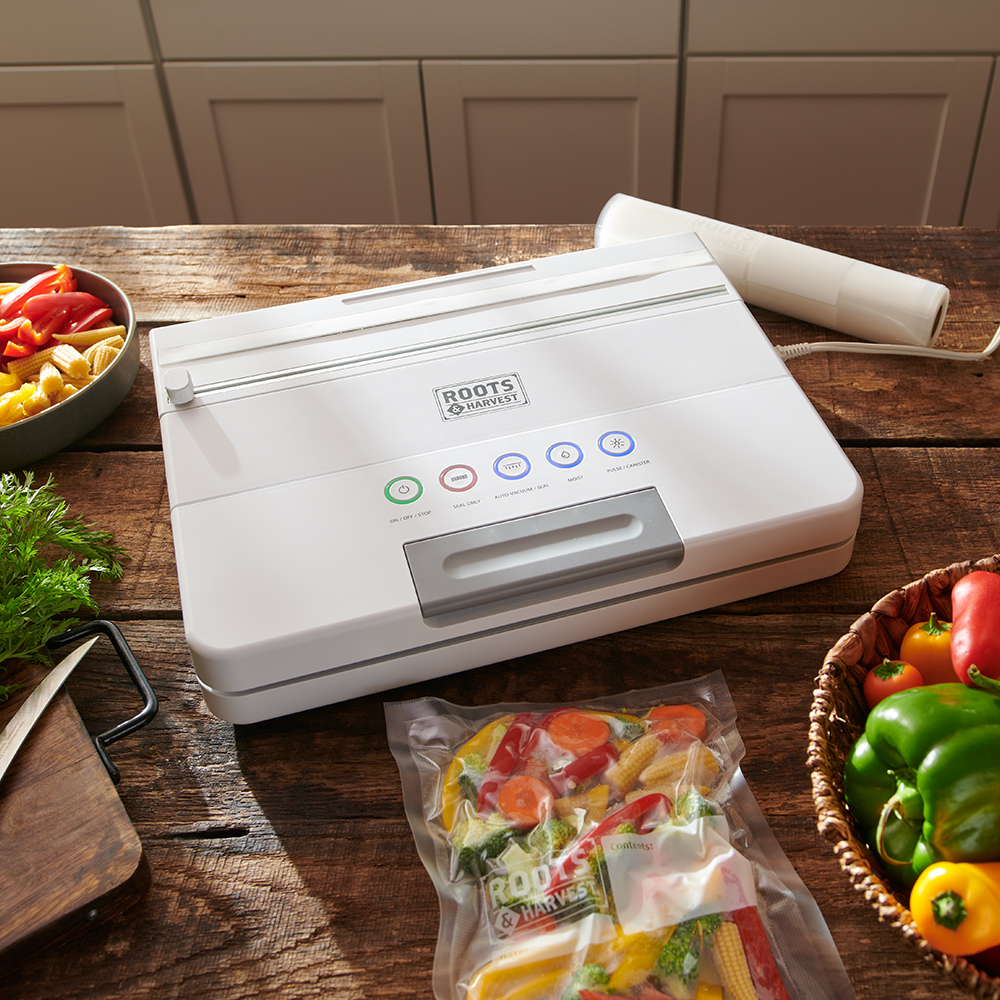
We designed this vacuum sealer with a convenient magnetic roll holder that is easily removed for two-person cutting and sealing,...
You can accomplish so much more than you may think without acres of land. How do you start? Right where...